

Forget the Kardashians. Forget Birkenstocks and ombre hair and cold shoulder shirts. Forget Lebron and matcha and cold brew coffee. Yeah, all of those things might be having a moment… but painted sugar cookies? Well, in my book, they’re really having a moment.
I get a million and one food related questions on any given week, but one of the most frequent items I get asked about are painted sugar cookies. Why? Well, for one, sugar cookies are a crowd pleaser. I’ve literally never heard anyone say, “I don’t like sugar cookies,” and I can tell you that if I did, we wouldn’t be friends. They’re sweet and celebratory, and if you know what you’re doing, they’re fun way to tie desserts into any themed event or party.
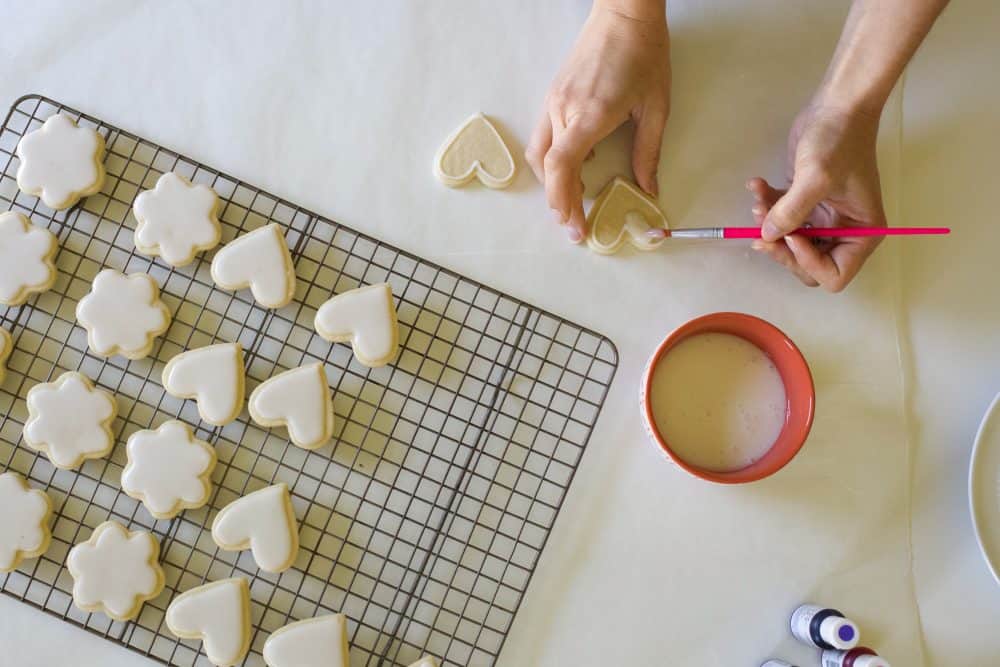
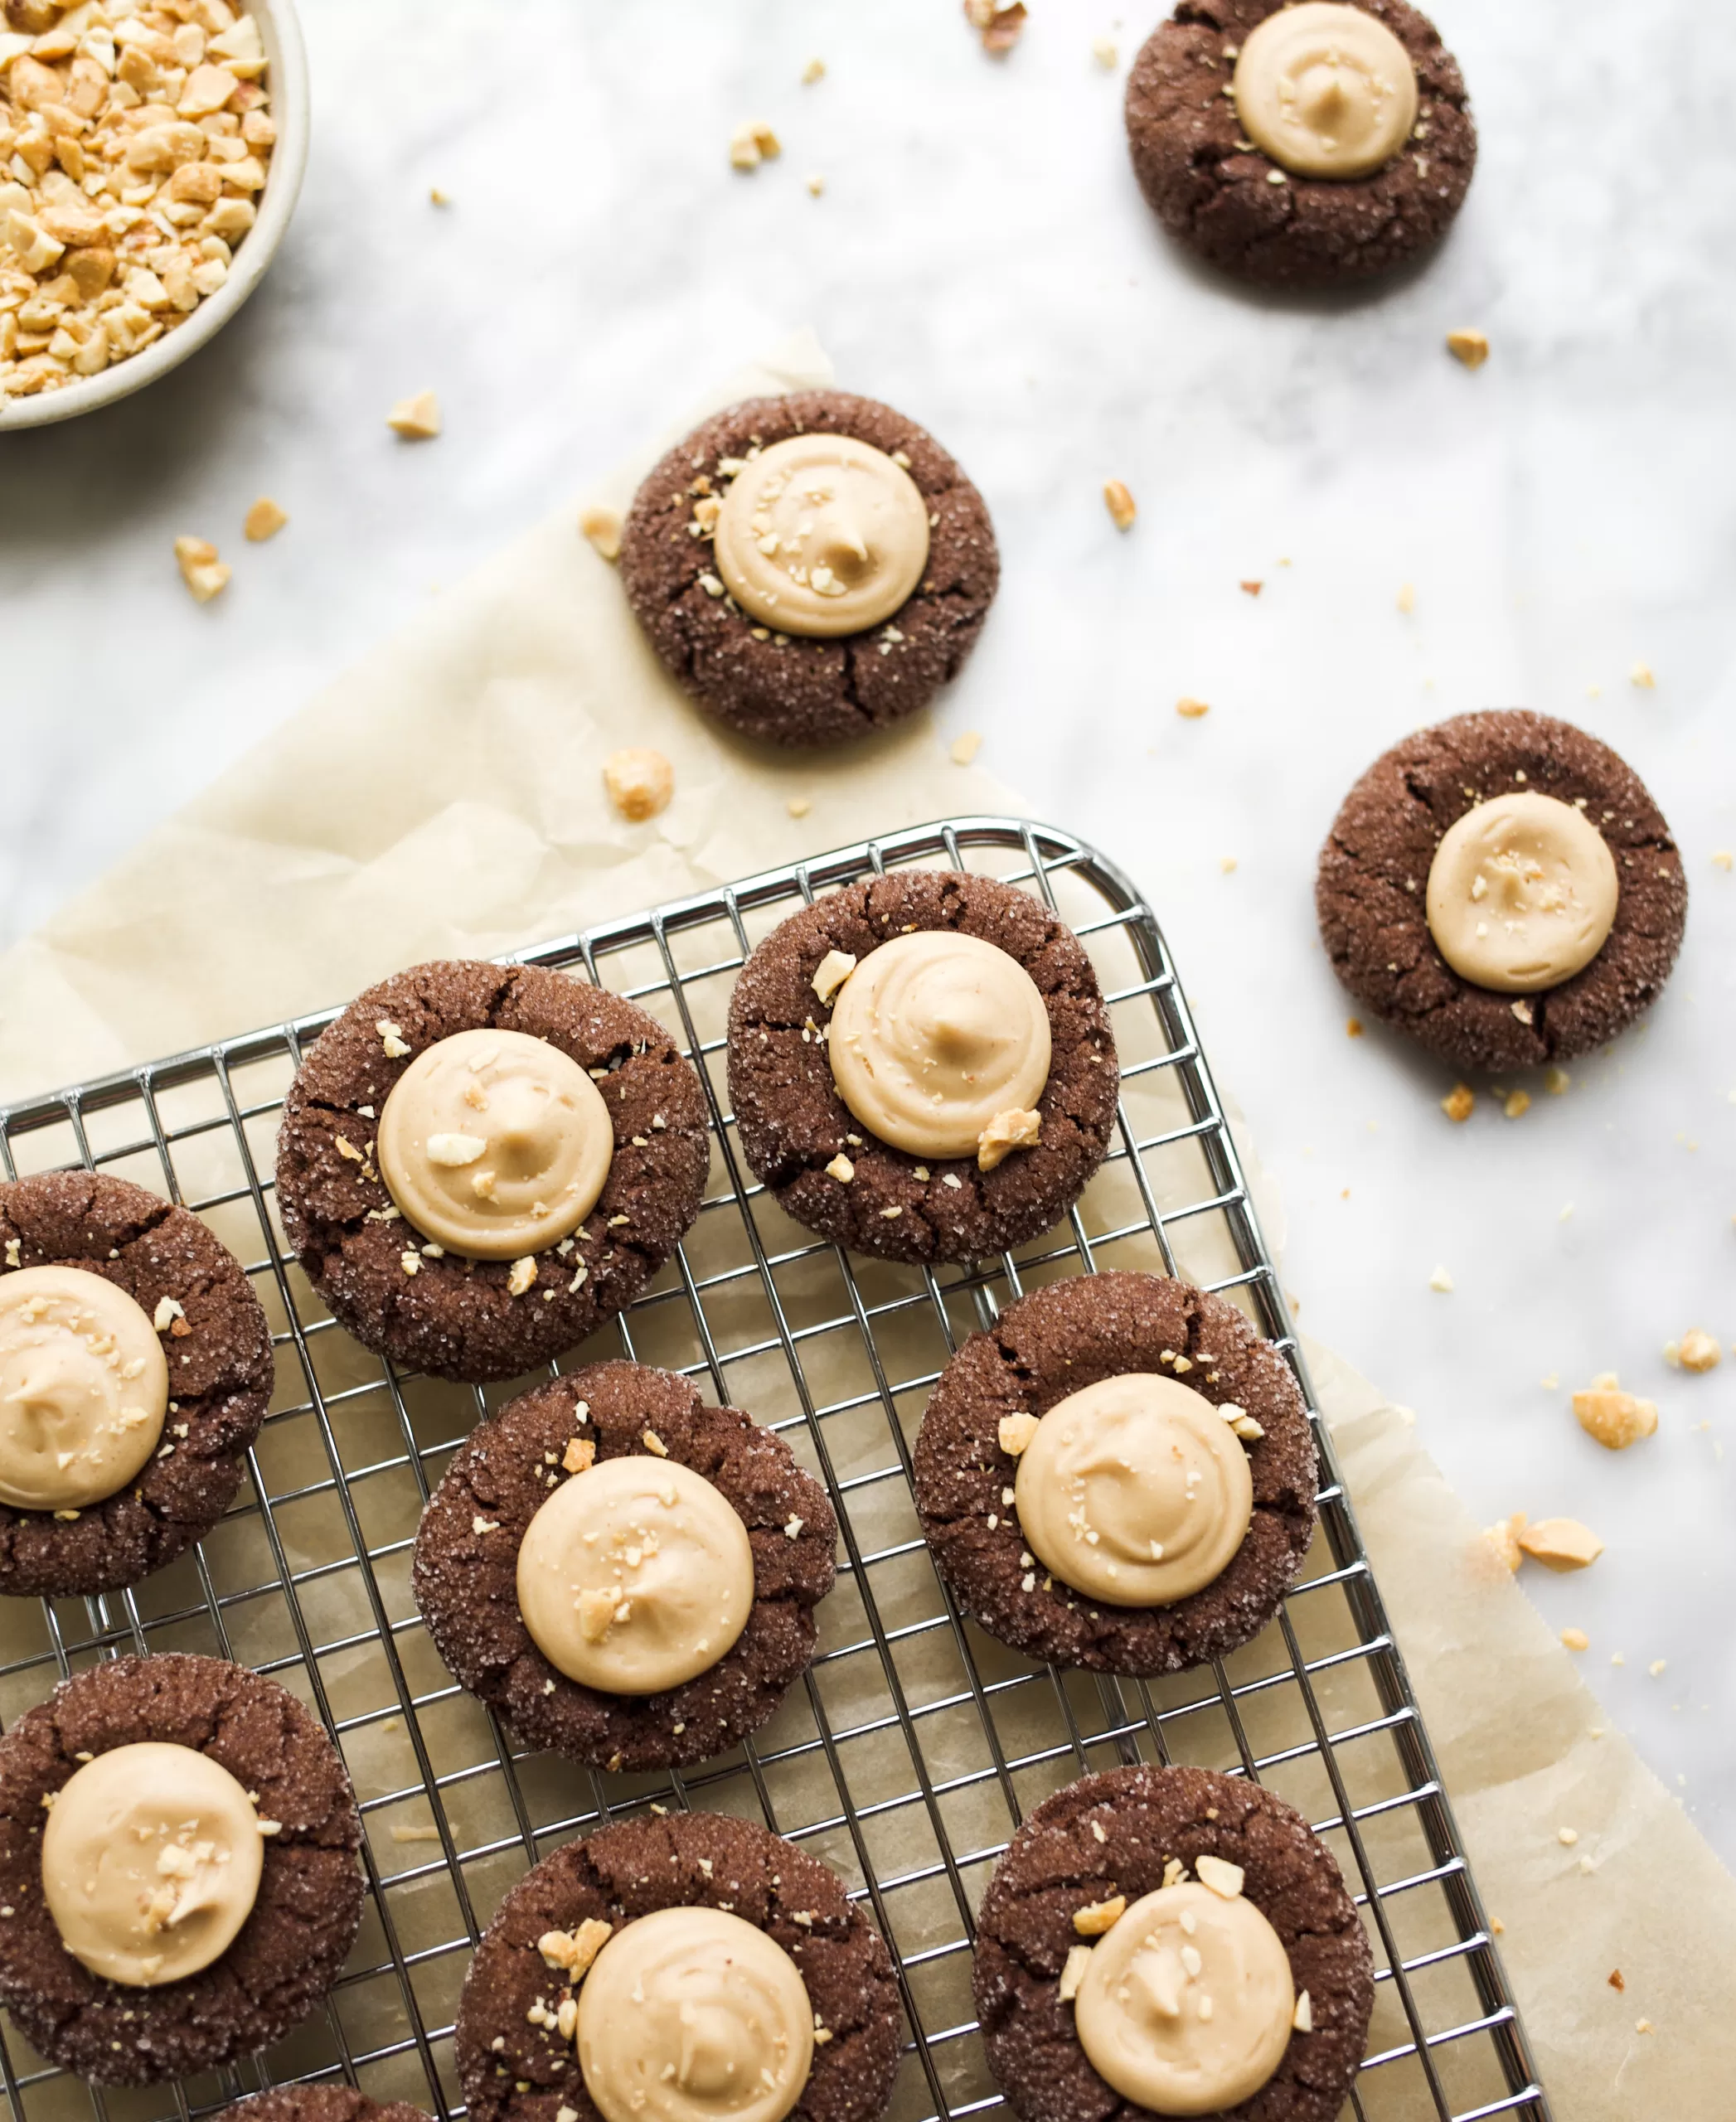
Up until a few years ago, I had only been exposed to the two extremes of sugar cookies: a soft, lofthouse style cookie with a thick and creamy butter-based frosting, and a hard, crunchy sugar cookie with tooth-shattering, cloyingly sweet royal icing. Enter painted sugar cookies. These little guys are a soft yet stable sugar cookie that holds its shape in the oven. The icing is pipeable and easy to decorate with but without all the fuss of a royal icing.
If you’re anything like me, trying to pipe a bunch of designs on a cookie is a daunting, time consuming, and ultimately disappointing task. I’ve done it before, and I can say that I won’t be doing it often in the future. Painting the cookies allows me to decorate the cookies and flex my creative muscle without all the mind-numbing tedious work of piping. I love it.
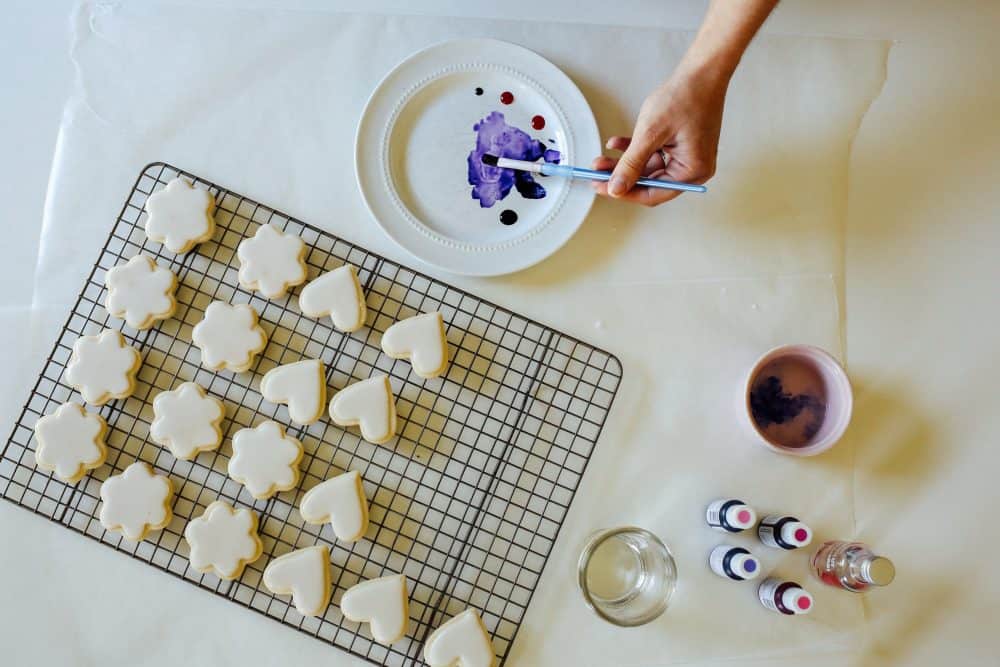
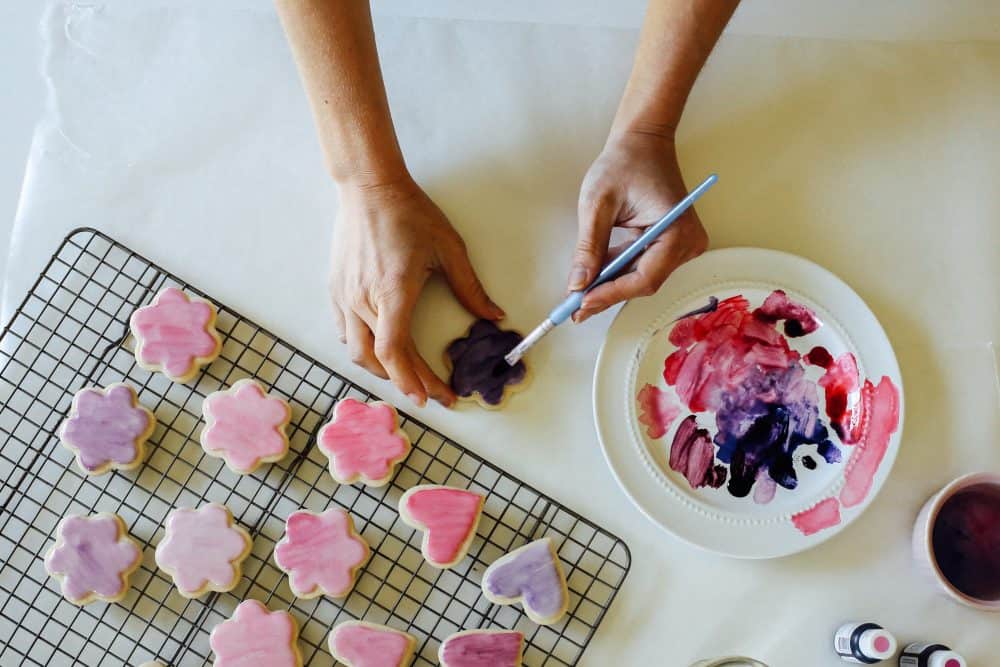
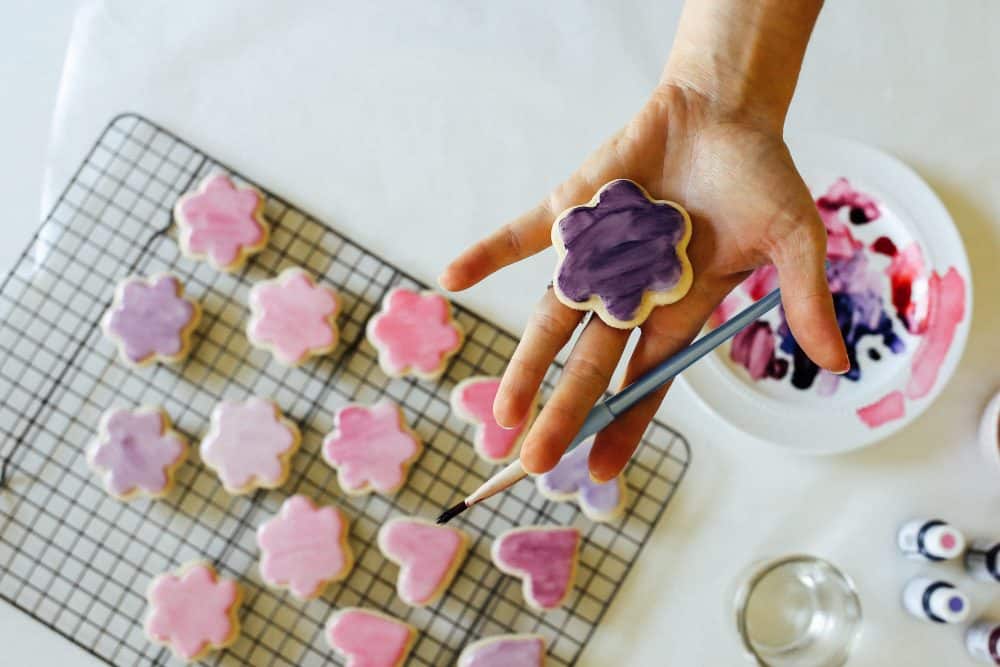
Once the sugar cookies are iced and dry, you simply mix a small amount of gel food coloring with a clear liquor. I prefer vanilla vodka, but really, you can use any type of clear liquor. (Sidenote: If you would prefer to not use alcohol, you can try clear vanilla extract.) Once your paintbrush is wet with a teeny amount of liquor and food gel, you are free to paint away! I usually just paint solid colors on the cookies, but if you’re super artsy, you can Monet and van Gogh all over that goodness. The world (read: cookie) is your oyster, so go for it.
For cookie inspiration, you can check out the cookies I’ve made here, here, here, and here.
Let me know how your cookie making goes and be sure to have a blast doing it. Cheers to you!

Items Needed:
Directions:
Cutout Sugar Cookies

Perfect every time cutout sugar cookies get the royal treatment with some cute and colorful painted icing! Find the tutorial and buttery recipe here!
- Prep Time: 30
- Cook Time: 30
- Total Time: 1 hour
- Yield: 30
Ingredients
For the cookies
- 3 cups all-purpose flour
- 2 teaspoons baking powder
- 1/4 teaspoon salt
- 1 cup sugar
- 2 sticks unsalted butter, cold and cut into small pieces
- 1 egg
- 1–1/2 teaspoon princess cake and cookie emulsion (or 1 teaspoon vanilla and 1/2 tsp almond extract)
For the icing
- 3 cups powdered sugar
- 3–6 tablespoons of whole milk or heavy cream
- 1 teaspoon almond extract, vanilla extract, or bakery emulsion
Instructions
For the cookies
- Preheat the oven to 350 degrees.
- Combine the dry ingredients and set aside.
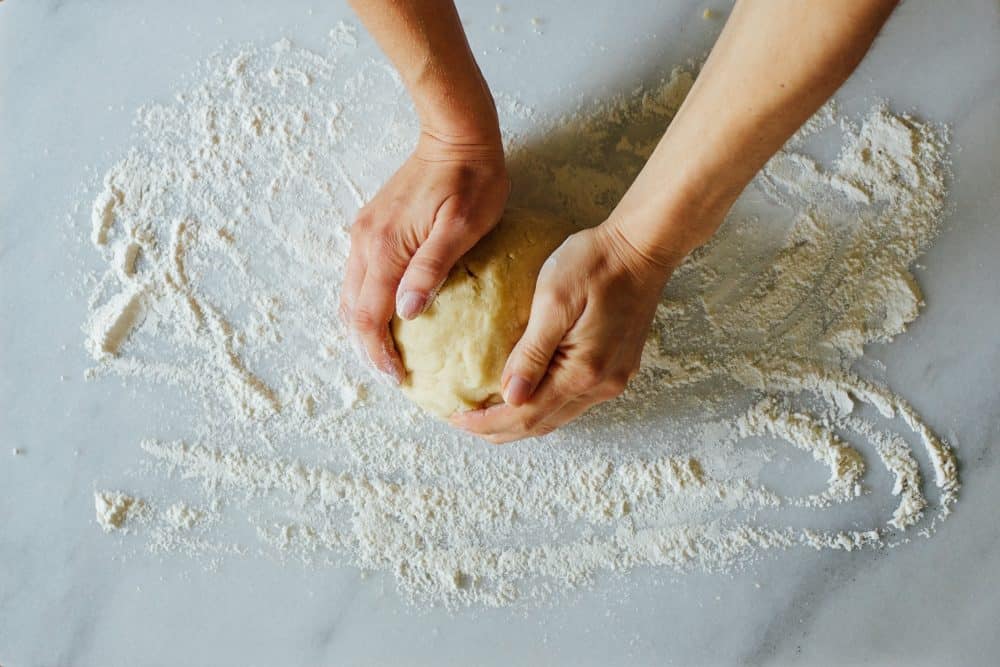
- In the bowl of a stand mixer, cream the butter and sugar until smooth and well combined, about 2-3 minutes. Add the egg and extract and cream until combined. Add the dry ingredients and stir on low just until combined.
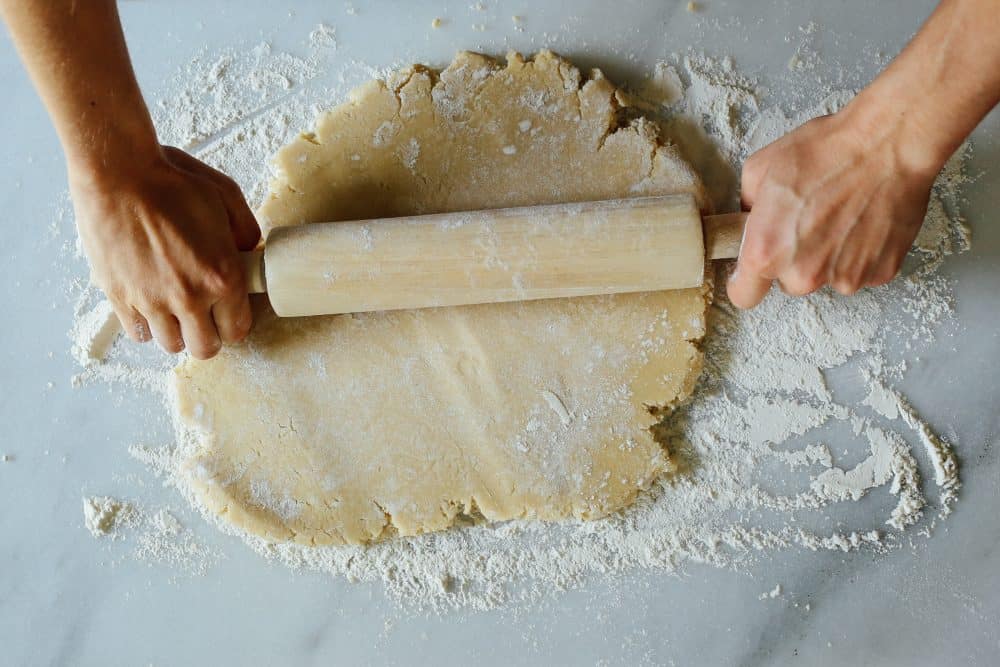
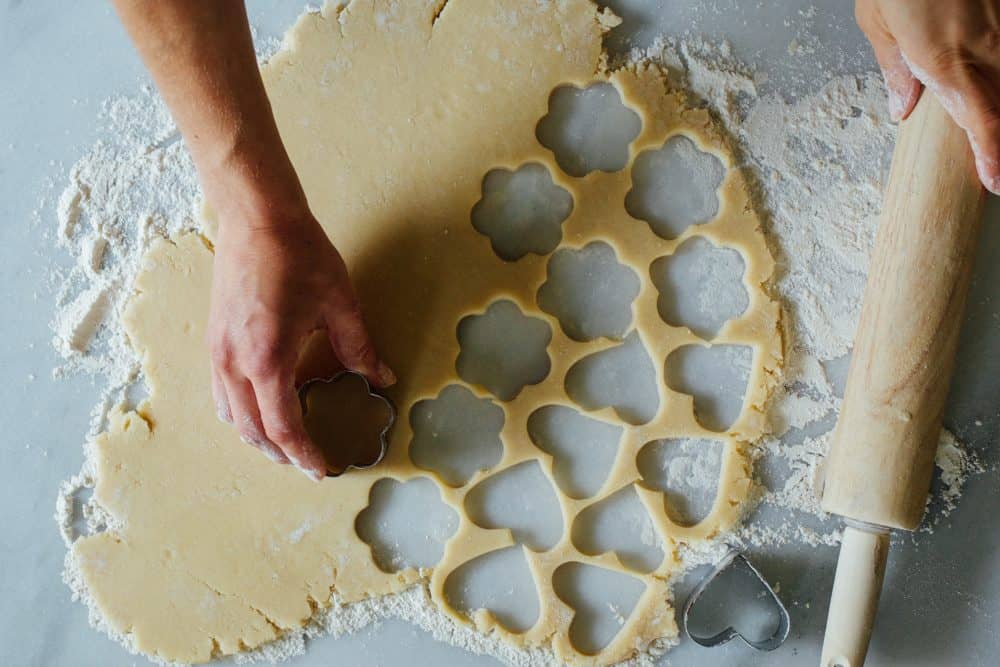
- Dump the dough crumbles out on to a lightly floured surface and work together into one ball with your hands. Using a rolling pin, roll the dough to just over 1/4″ thicken and use a medium sized cookie cutter to cut shapes. If the dough ever gets too soft, refrigerate briefly.
- Place shapes on a baking sheet and freeze briefly for about 5 minutes.
- Once chilled, bake in the preheated oven for 10-12 minutes and then cool on a cooling rack. Allow cookies to cool completely prior to icing.
For the icing
- Sift or whisk powdered sugar to remove lumps.
- Add 3 tablespoons of the milk and the extract, whisking until combined. Continue to add milk until it is the right viscosity. You will want thicker frosting for piping. To test viscosity, run your whisk or a knife through the bowl of frosting- your frosting should slowly move back together until you can’t see any trace of the whisk any longer. This process should take about 10 seconds. If the frosting is too thick, it will not pool back together, and if it is too thin, it will pool back together too quickly. The ten second test doesn’t lie. Add more milk for a thinner icing and more powdered sugar if your icing becomes too thin.
- Cover tightly in a tupperware or with a wet paper towel if you are not using it immediately, as frosting will dry out and become clumpy. Whisk occasionally and add more milk if it becomes too thick.
Notes
- Icing will keep in the fridge for up to a week and can easily be colored with gel food coloring.
Recipe Adapted From: Bake At 350


11 thoughts on “Painted Sugar Cookies”
Pingback: Cookie Paint Recipe - Painted Sugar Cookies | Mccormick
How could you make these ahead? I saw you can make the Fido’s ting a week ahead how about the cookies? Thanks in advance.
absolutely! the cookies and dough can all be made ahead. once you frost, you do have to be careful. when subjected to drastically different temps and moisture in the air, the cookies can kinda weep a bit in the icing. I typically move from the freezer to the fridge overnight and then set out to come to room temp the next day. if you notice your cookies are tacky or glistening with stickiness, pop them in front of a little box fan and they’ll dry up! 🙂
Hi there, please could you tell me in grams how much a stick of butter weighs. Thanks. We just get out butter in big blocks here ..
Yes! 114 gm/4 ounces. Each stick is 1/2 cup! Happy baking!
um, MIND BLOWN. I literally just spent SO MUCH TIME decorating cookie onsies for a baby shower. They were adorable, and I’m glad I did them, but this would have saved so much time, and who doesn’t love using a paintbrush?! Aimee is one lucky lady!
you will fall in love with this method. it’s so incredibly easy. definitely try it. 🙂
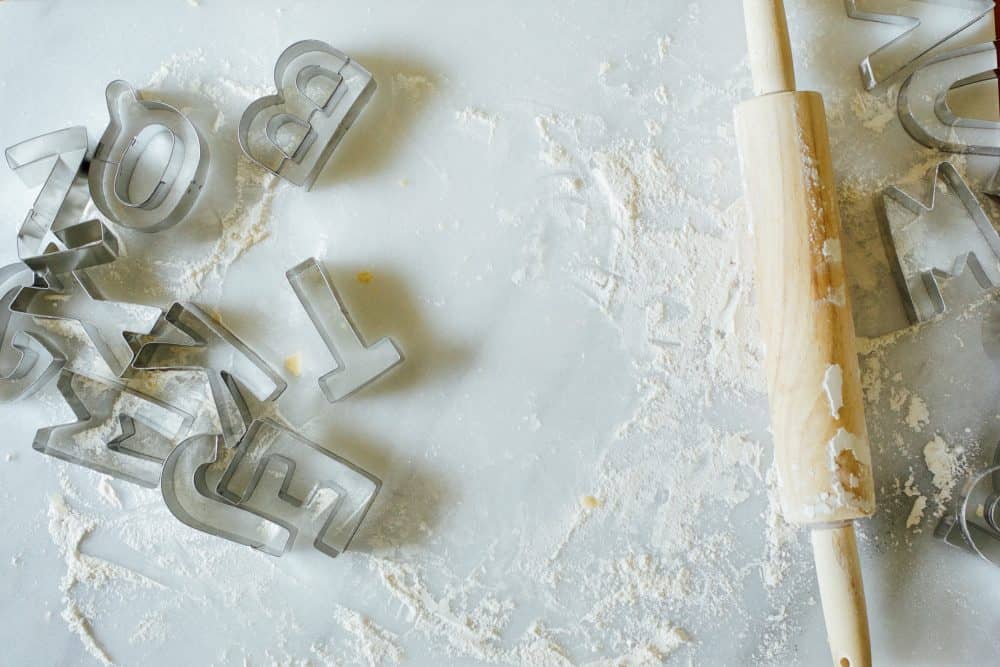
Where can I purchase these adorable alphabet cookie cutters ?
Hi there! I bought them here: https://www.amazon.com/Alphabet-Piece-Cookie-Cutter-Set/dp/B001NO09RG/ref=sr_1_8?ie=UTF8&qid=1474459970&sr=8-8&keywords=alphabet+cookie+cutters
They’re not the BEST quality cookie cutters, but they’re perfect for the amount that I use them. And they’re so fun to for writing out messages!
Painted on Royal Icing! CLEVER! I normally fill a piping bag which of course dribbles everywhere, its never the right consistency and already in the bag and I can’t be bothered taking it out to fix it… its a bloody disaster every time. This looks like the best method ever!
And the watercolour/painted thing is so so cool! I’m not particularly arty but I have a friend who came over one time and drew on some macarons that I made. It was next level. So amazing.
xx
I loved those macs you made! I think I saw them? I’m not artsy at all, but I like to pretend that I am. ANYONE can watercolor solid colors on a cookie though, which is why I love these so.