
Did you enter this period of quarantine with some butter and a hint of creativity? I’m really hoping so, because today I have a festive and kid-friendly Easter cookie tutorial that you will love. These chocolate cutout cookies are fairly simple and a great recipe to get your feet wet in the decorating arena with. If you have some free time this week (and let’s be honest, a lot of us have TONS lately), this is definitely a treat worth trying out.
Have you seen all the jokes on social media about Quarantine Karen? They basically poke fun at the overachieving Moms who are doing ALL THE THINGS with their kids while out of school during this time. The jokes are comical and rolls eyes at the excessive crafts, homeschooling rituals, and Super Mom tendencies that are emerging in the thick of all this home togetherness. The basic gist is that a handful of humans out there are really thriving in the home while there are others seriously struggling.

Memes and jokes aside, I want to let you know that it’s okay to be exactly who you are in this season. If you’re really struggling at home- maybe you’re buried under schoolwork, stressed under the circumstances, feeling lonely, or slowly going insane with a handful or stir-crazy kids- it’s okay. You can be exactly who you are in this moment, and you’re allowed to grieve and process this new normal in a way that feels healthy for you.
“It’s ok to be exactly who you are in this season.”
On the other hand, if there is grace in your life right now to create and play and achieve and thrive in this season, embrace that too. You don’t need to shrink back or make yourself smaller because an internet full of memes is telling your personality or abilities are just way too much. You be you. We all have grace in our life for different seasons and settings, and it’s okay to flourish in some and be vulnerably in process in others. Make room for yourself, your friends, and the people you rub shoulders with on social media to be exactly who they are, and remember to be kind- to others and especially to yourself. You’re enough exactly how you are.

Chocolate Cutout Cookies
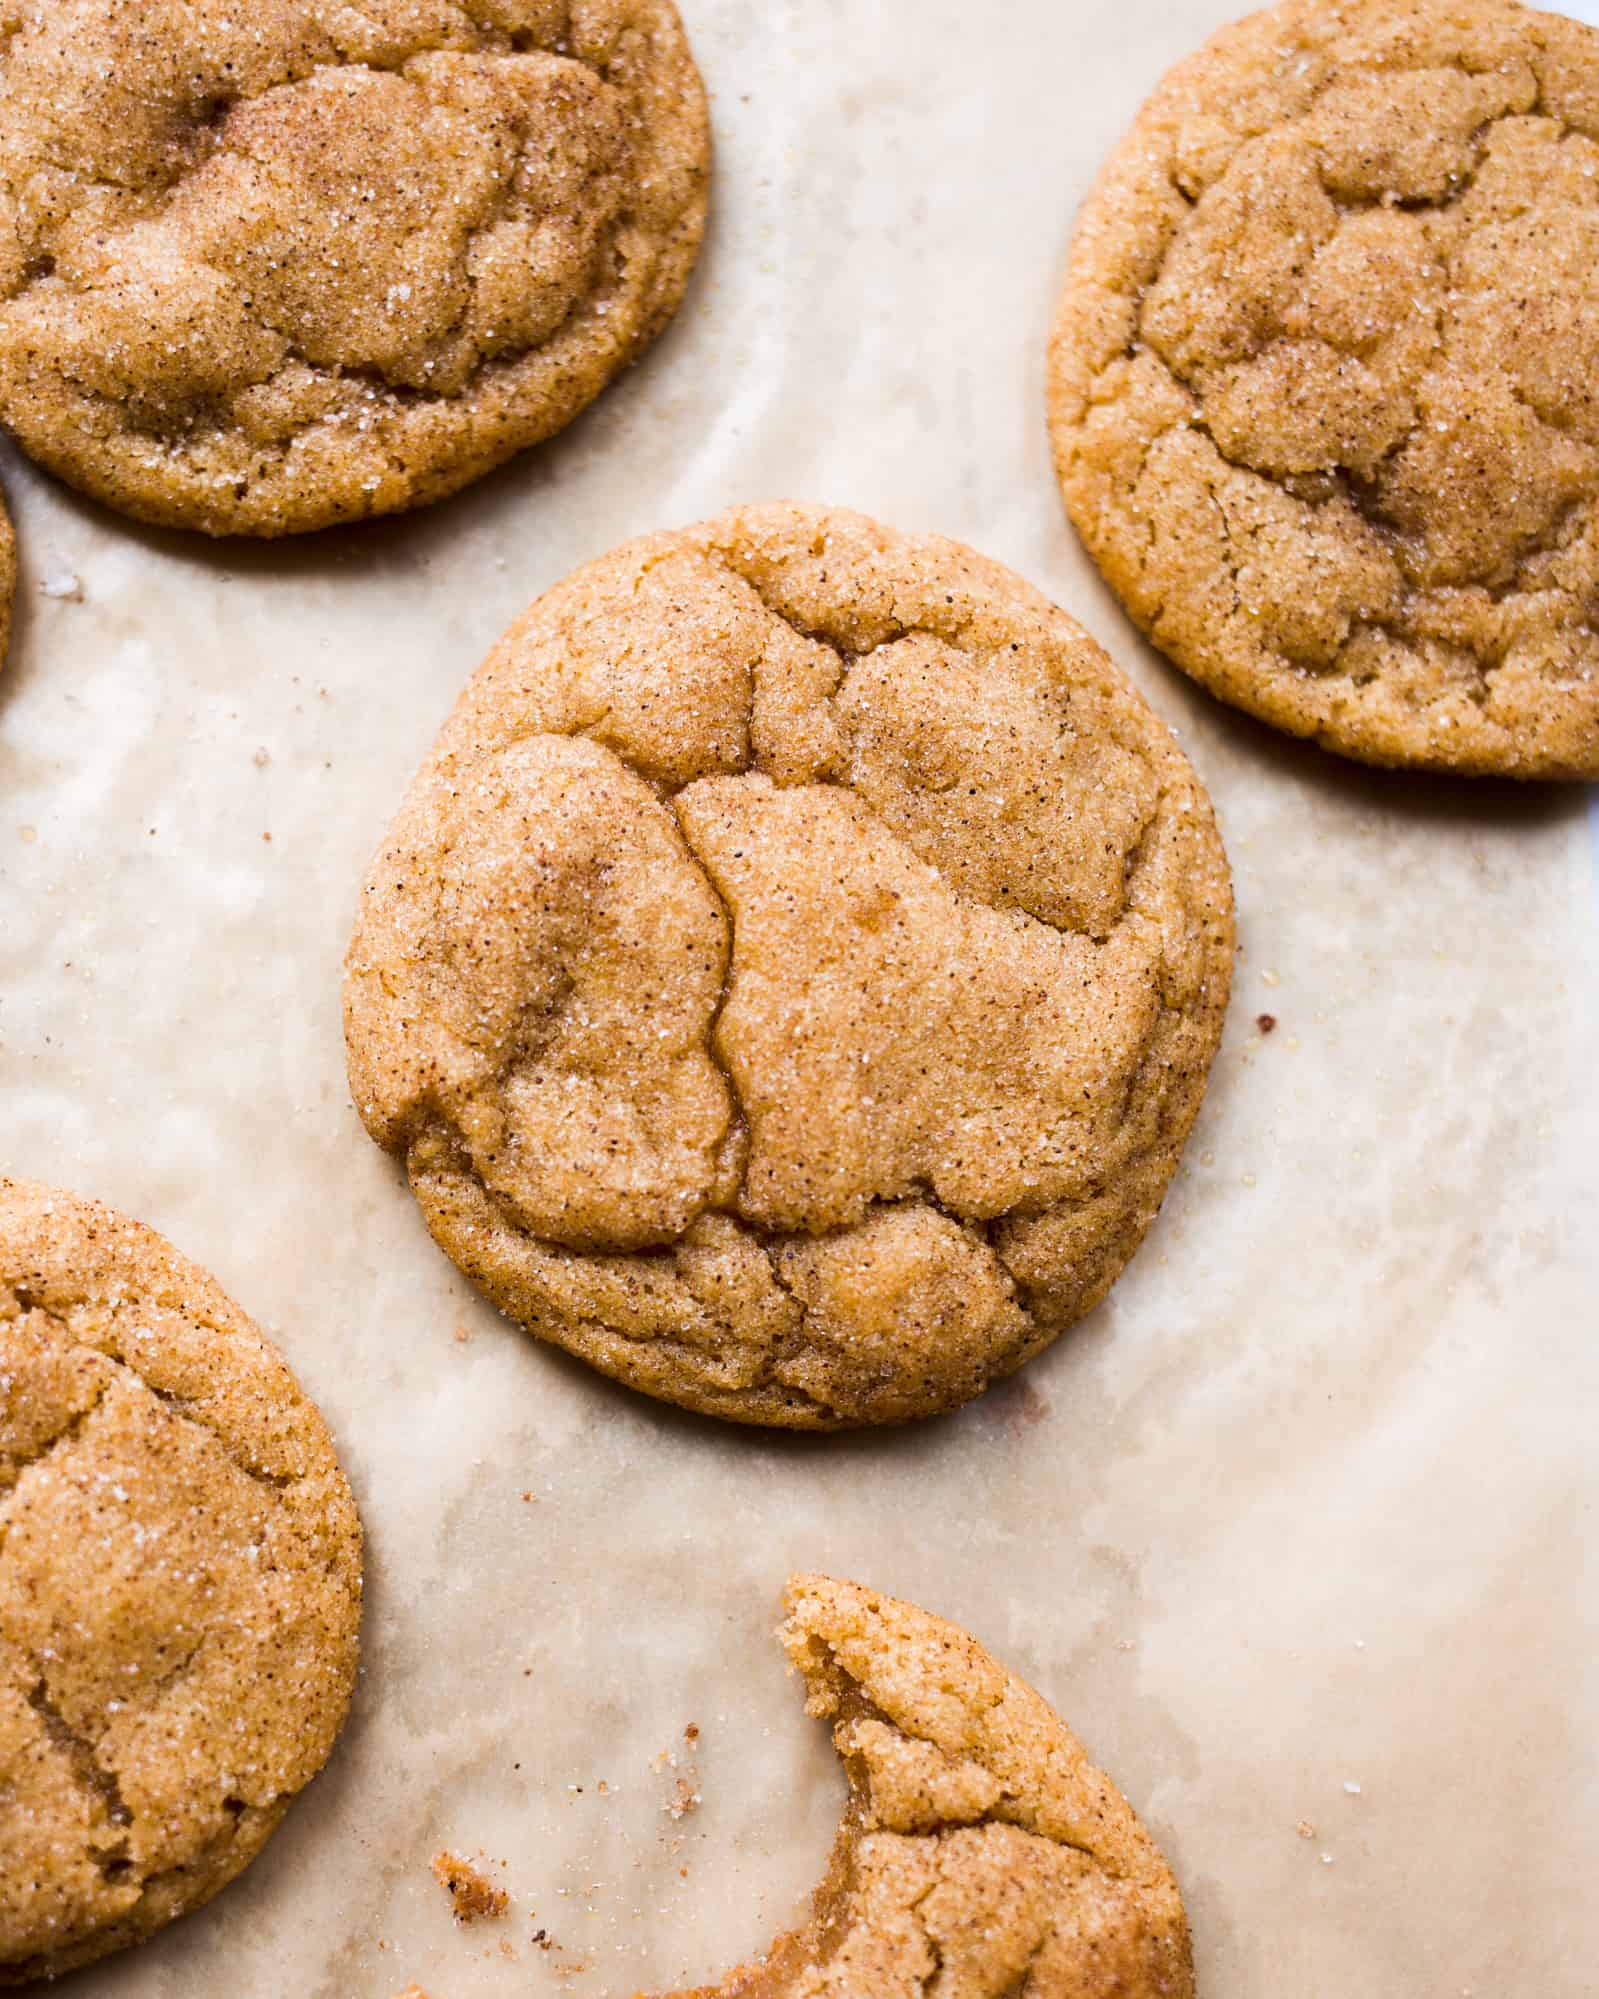
Some of you looking at this recipe for chocolate cutout cookies are already overwhelmed. Like, whose kids are going to cooperate in making decorated cookies at a time like this? Others are like, “YES! A new project!” Either way, please keep reading and consider making these. Granted, any cutout cookie is a bit of production, but these are about as simple as they can get. Lots of reward for the moderate amount of effort they require.
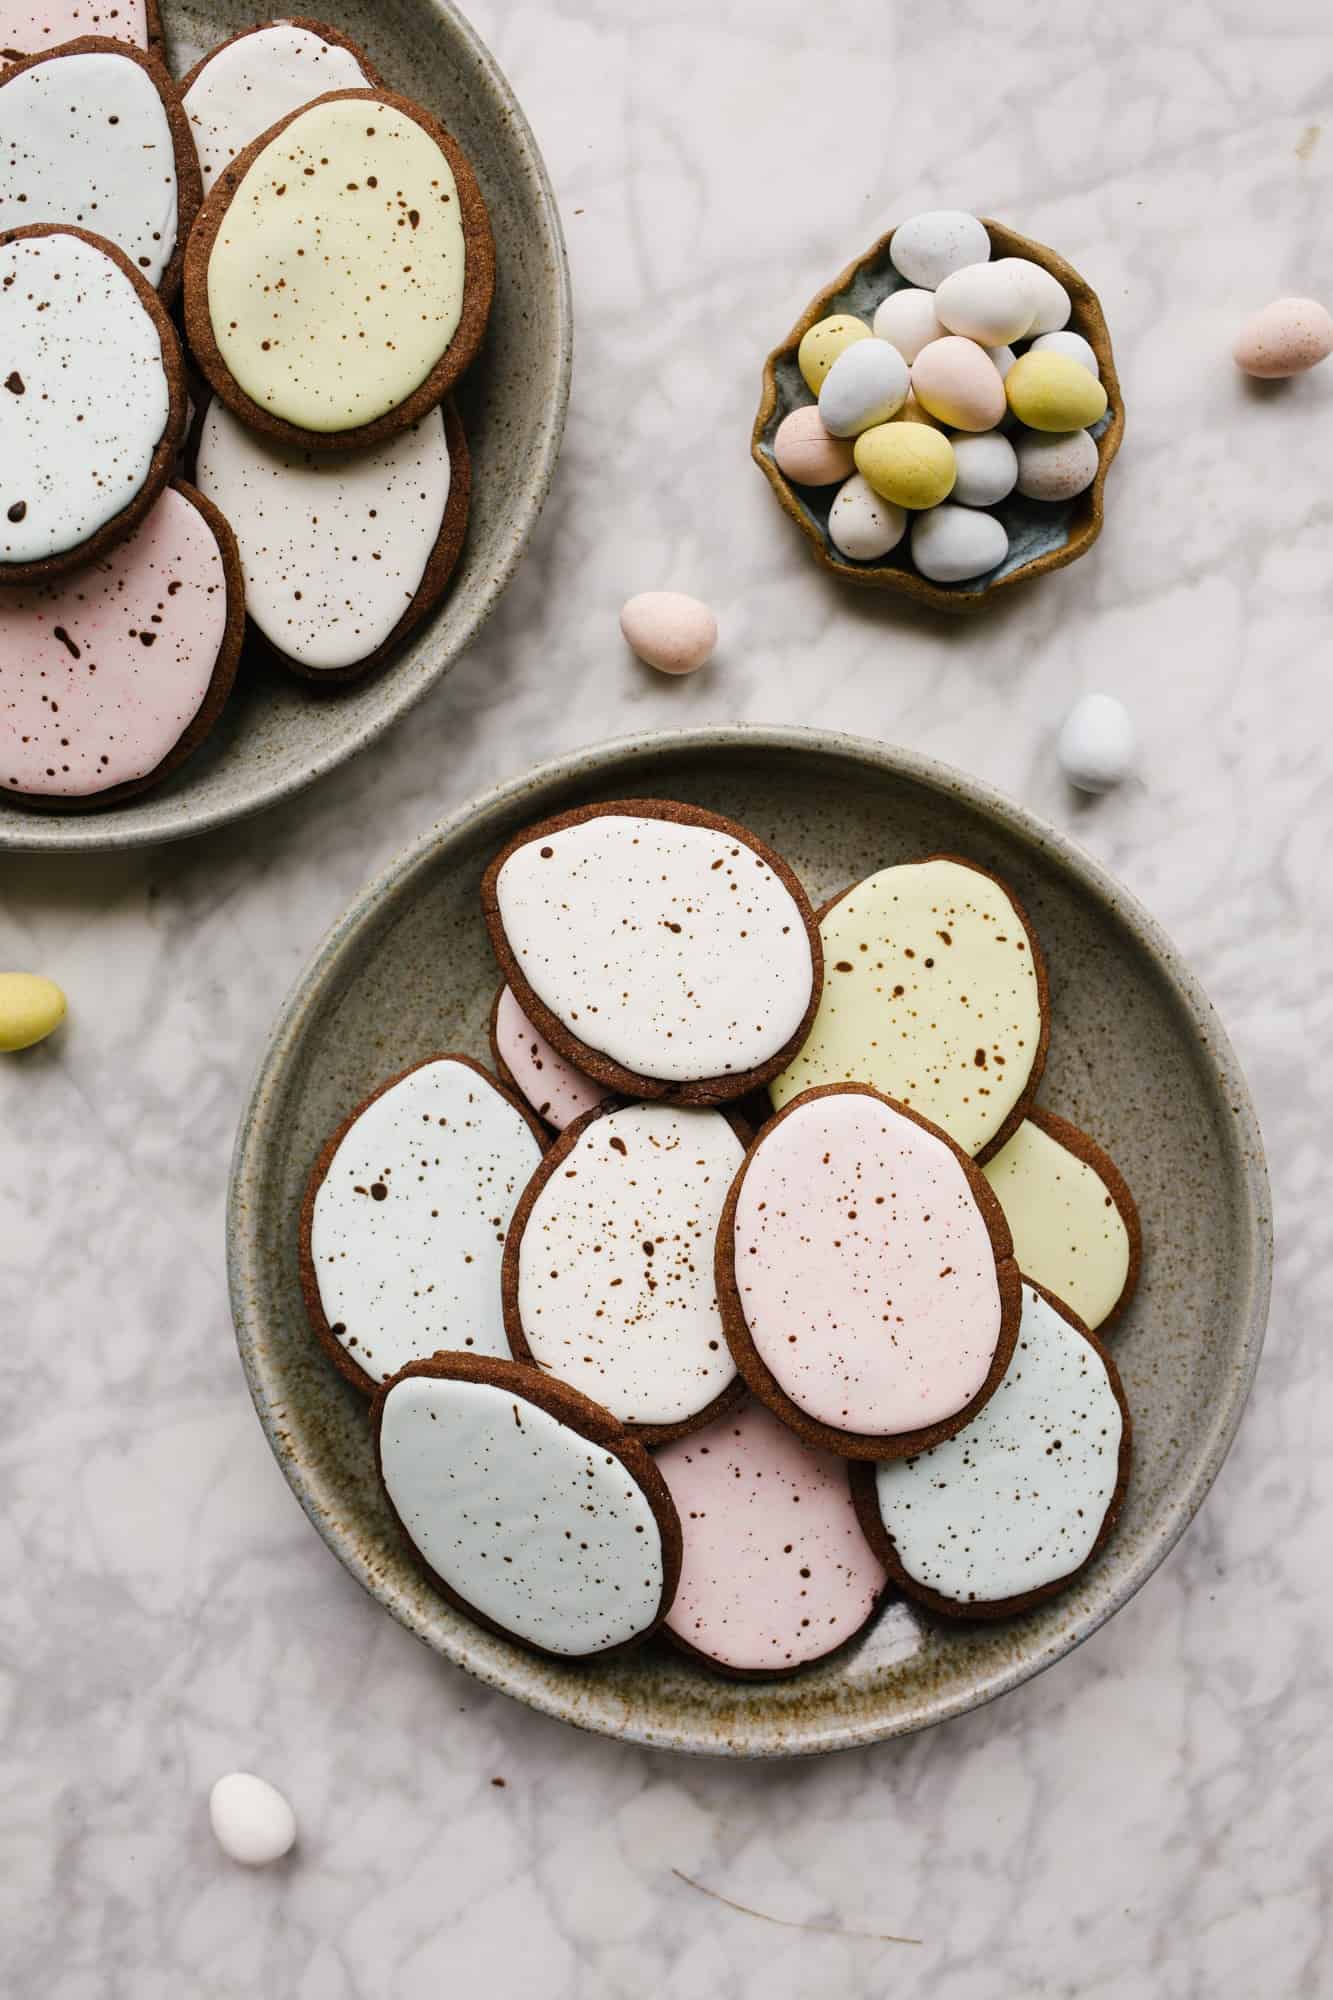
To make these chocolate cutout cookies, we start with a dough. Sugar and cold butter (yep, no softened butter needed here!) whips away in a stand mixer until the mixture comes together in a smooth consistency. Next comes eggs, vanilla, and the dry ingredients. Cocoa powder gives these chocolate cutout cookies their hint of flavor, which is overall not too rich and very kid-friendly. Roll out the dough on a lightly floured surface and trim out shapes using cookie cutters, biscuit cutters, whatever. I didn’t have an egg cookie cutter, but I did have one shaped like a balloon, so I just accommodated. Don’t feel like these must be perfectly egg-shaped- little circles are just as cute.

Frosting the Cookies
After baking the cookies, stir together the icing and add color to it. I use Americolor food gels, but whatever you have on hand would be okay. Frosting consistency is the single more important factor in making a really pretty cookie; be sure to pay close attention to the instructions there. My kids like to “paint” these cookies with some paintbrushes I have specifically for baking. If you don’t have any unused paintbrushes on hand, just squirt the icing in the center of the cookie. Then, spread it out with a small knife or spoon while it’s still wet. Get creative and know that it’s really okay if they’re not perfect.
For the splatter, stir cocoa powder and vanilla extract into a slurry. Fling at the cookie using a little pastry or basting brush. Pro tip: cover your work surface with wax or parchment paper before you do this. Otherwise, you’ll be scrubbing little specks of cocoa powder off of EVERYTHING. These chocolate cutout cookies are the happiest little treats for this time of year, and I really hope you’ll consider making them.
If you’re more interested in a traditional vanilla cookie, check out my favorite recipe here. Finally, on the off-chance that you’re reading about this recipe on the day I’m first sharing it, head over to my IG where I’ll be making them in my IG Stories. My friends at Winn-Dixie asked if I would show you all how to make them, so there’s going to be a little tutorial (kids included!) this afternoon. Happy baking and all my love to y’all. See you next week!

If you like these chocolate cutout cookies you should try:
Soft Frosted Sugar Cookies
Easter Cake
Painted Sugar Cookies
Marbled Sugar Cookies
Meringue Cookies
Chocolate Cutout Cookies (with Speckled Easter Egg Decorating Tutorial!)

These chocolate cutout cookies are soft and sweet and really simply to make at home. No royal icing required! Learn how to speckle the cookies like Easter eggs here too!
- Prep Time: 20
- Cook Time: 20
- Total Time: 120
- Yield: About 40 Small Cookies
- Category: Dessert
Ingredients
For the cookies:
- 2–1/2 (350 gm) cups all-purpose flour
- ¼ cup malt chocolate powder
- ¼ cup cocoa powder
- ¼ teaspoon salt
- 1 cup (230 gm) unsalted butter, cold and cut into small pieces.
- 1 cup (200 gm) sugar
- 1 large egg
- 2 teaspoons vanilla extract
For the icing
- 3 cups powdered sugar
- 3–6 tablespoons of whole milk or heavy cream
- 1 teaspoon vanilla extract
For the splatter:
- 1/2 tablespoon of cocoa powder
- 1–1/2 teaspoons of vanilla, plus more as needed
Instructions
To prepare the cookies:
- Preheat the oven to 350 degrees.
- Combine the dry ingredients and set aside.
- In the bowl of a stand mixer, cream the butter and sugar until smooth and well combined, about 2-3 minutes. Scrape the sides of the bowl as needed. Add the egg and extract and cream until combined. Add the dry ingredients and stir on low just until combined.
- Dump the dough crumbles out on to a lightly floured surface and work together into one ball with your hands. Using a rolling pin, roll the dough to just over 1/4″ thicken and use a medium sized cookie cutter to cut shapes. If the dough ever gets too soft, refrigerate briefly.
- Place shapes on a baking sheet and freeze briefly for about 5 minutes.
- Once chilled, bake in the preheated oven for 10-11 minutes, or until the edges are set, and cool on a cooling rack. Allow cookies to cool completely prior to icing.
For the icing:
- Sift or whisk powdered sugar to remove lumps.
- Add 3 tablespoons of the milk and the extract, whisking until combined. Continue to add milk until it is the right viscosity. You will want thicker frosting for piping. To test viscosity, run your whisk or a knife through the bowl of frosting- your frosting should slowly move back together until you can’t see any trace of the whisk any longer. This process should take about 10 seconds. If the frosting is too thick, it will not pool back together, and if it is too thin, it will pool back together too quickly. The ten second test doesn’t lie. Add more milk for a thinner icing and more powdered sugar if your icing becomes too thin.
- Cover tightly in a tupperware or with a wet paper towel if you are not using it immediately, as frosting will dry out and become clumpy. Whisk occasionally and add more milk if it becomes too thick.
- Fill piping bag halfway with sugar cookie frosting. Pipe borders around cookies, being careful to not get too close to the edge. Using a paint brush, “paint” frosting into the center of the cookie, filling in to the outside border. (For a good tutorial on this method, check out the Ina Garten video here) I typically will border and fill 4-5 cookies at a time. Continue this process until all the cookies are iced. Set aside for 3 hours, or until icing is set and dry. If you’re in a humid climate, you can use a small fan pointed at the cookies to help expedite this process.
To splatter your cookies:
- In a small bowl, mix together 1 tablespoon of the cocoa powder and the vanilla extract until a thin, watery slurry comes together.
- Hold your paint brush or natural bristle pastry brush at the base of the bristles. Squeeze, applying a small amount of pressure with your fingers to fan the brush slightly. Dip the tips of the brush in the cocoa/vanilla “paint” and find a spare corner of your covered work space to practice your splatter. While continuing to fan your brush with one hand, use the fingers of your other hand to lightly pull back the bristles and release. This will be a slingshot type of movement and will result in a splatter effect on your work surface. Once you’re confident with your speckling skills, move on to the cookies! Splatter away and allow to dry before storing.


4 thoughts on “Chocolate Cutout Cookies (with Speckled Easter Egg Decorating Tutorial!)”
These are absolutely beautiful! Love the colors!
thank you!!!!!
Hi Katie,
Can I sub extra cocoa powder for the malt chocolate powder if I don’t have any?
you sure can!