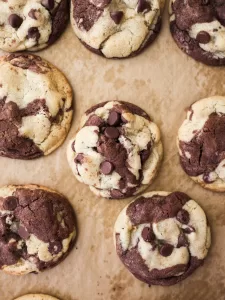
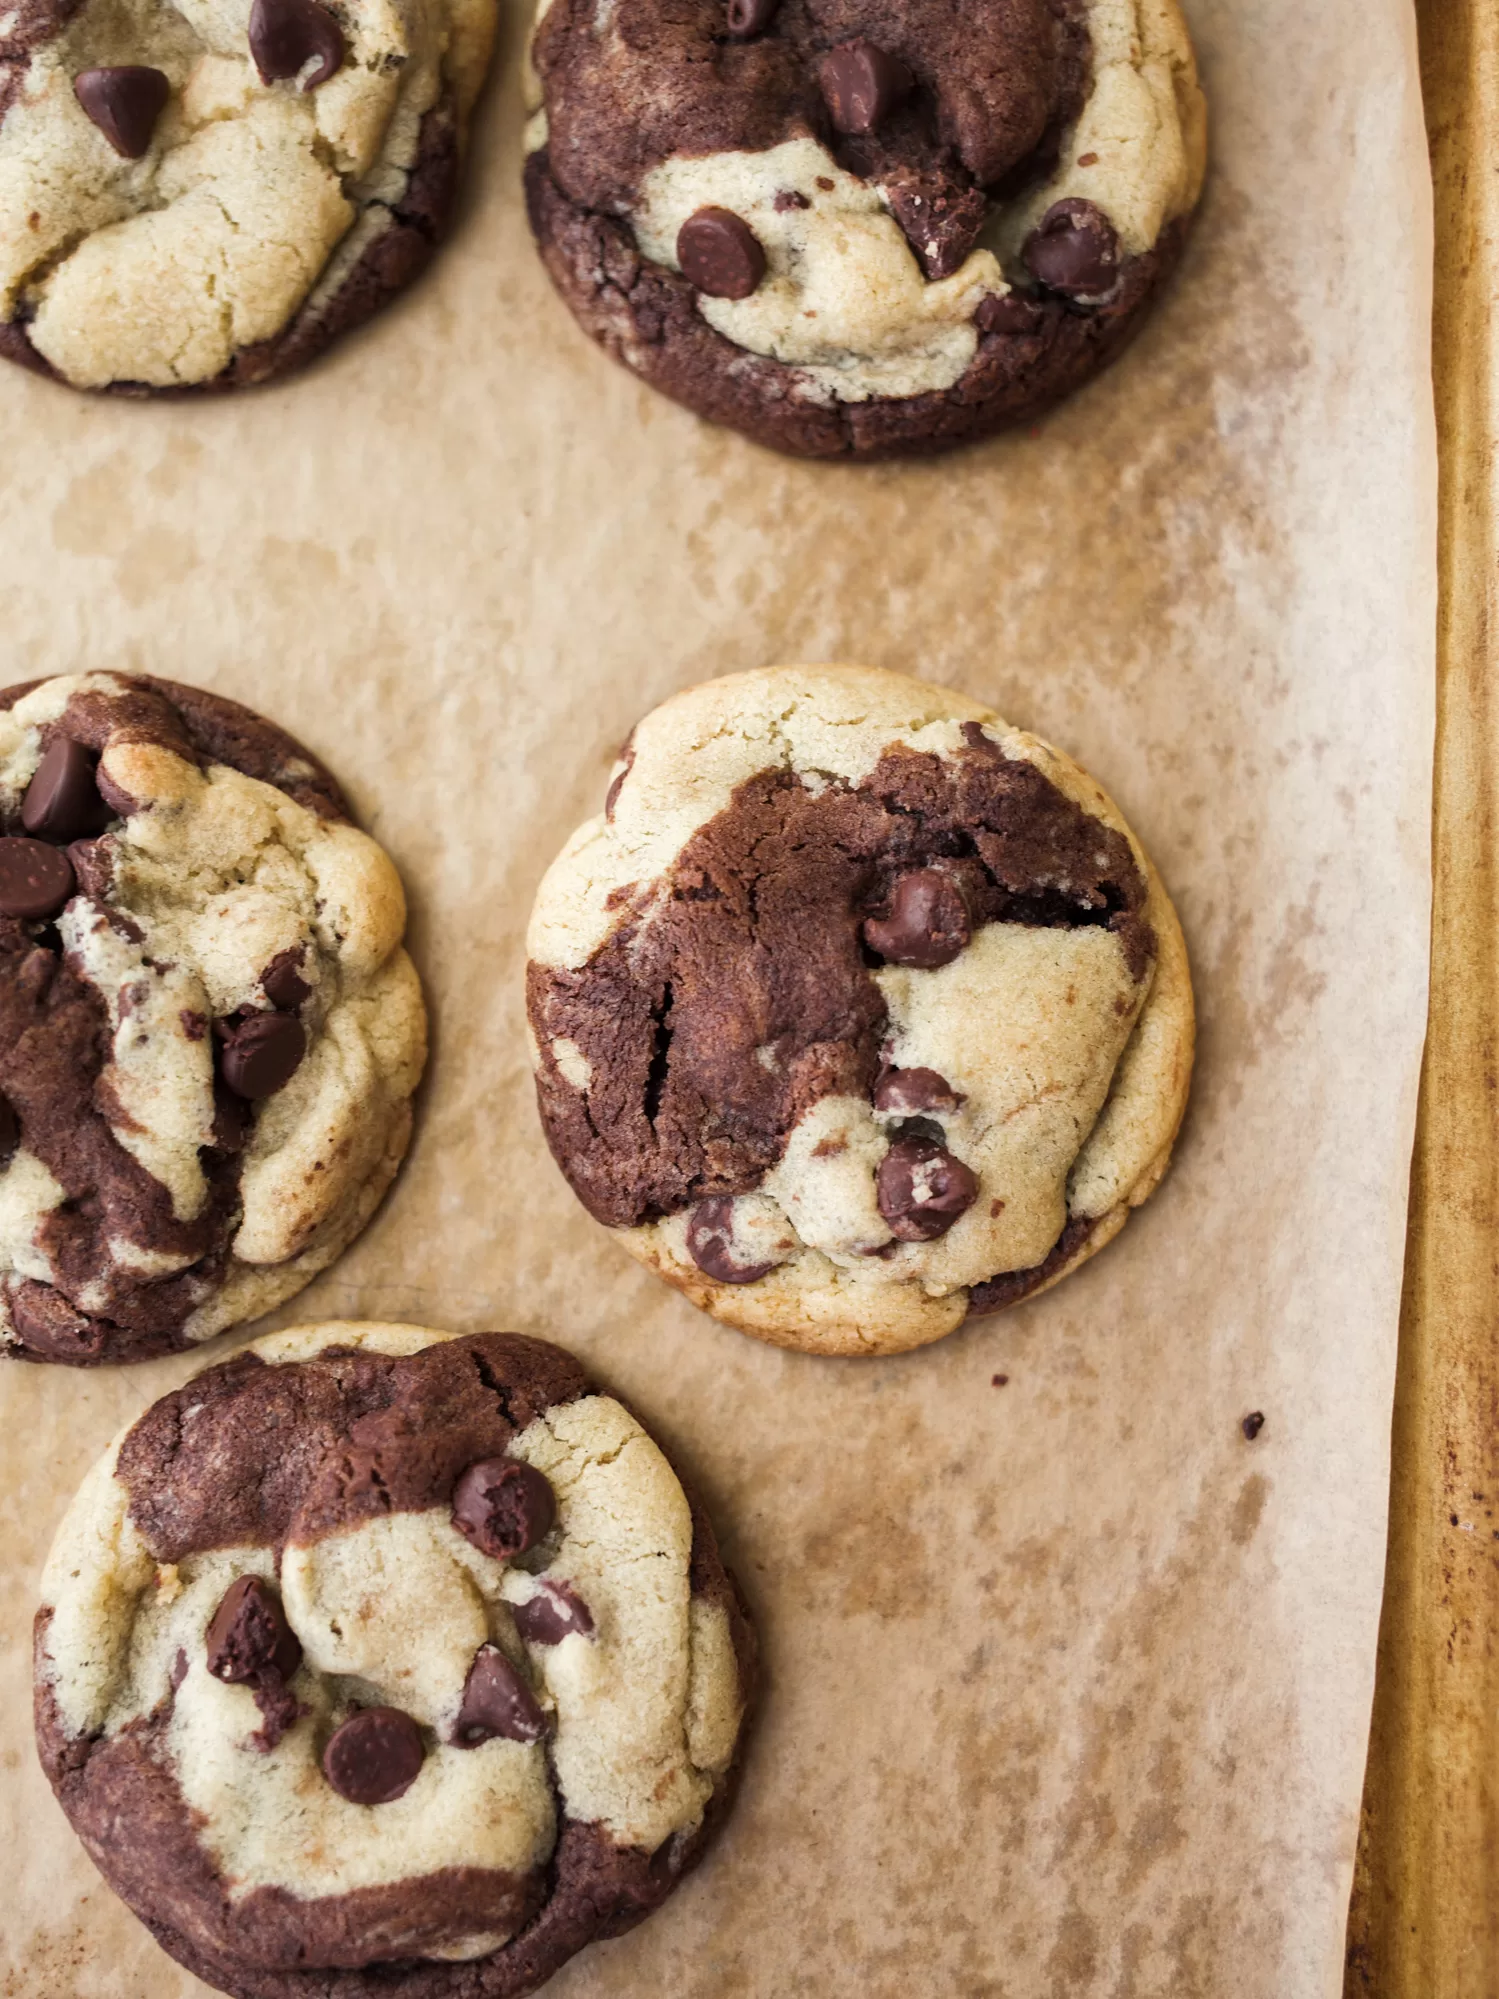
Inside-Out Peanut Butter Blossoms
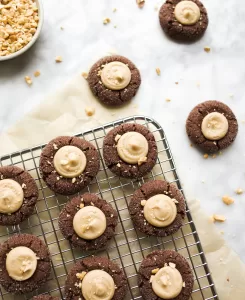
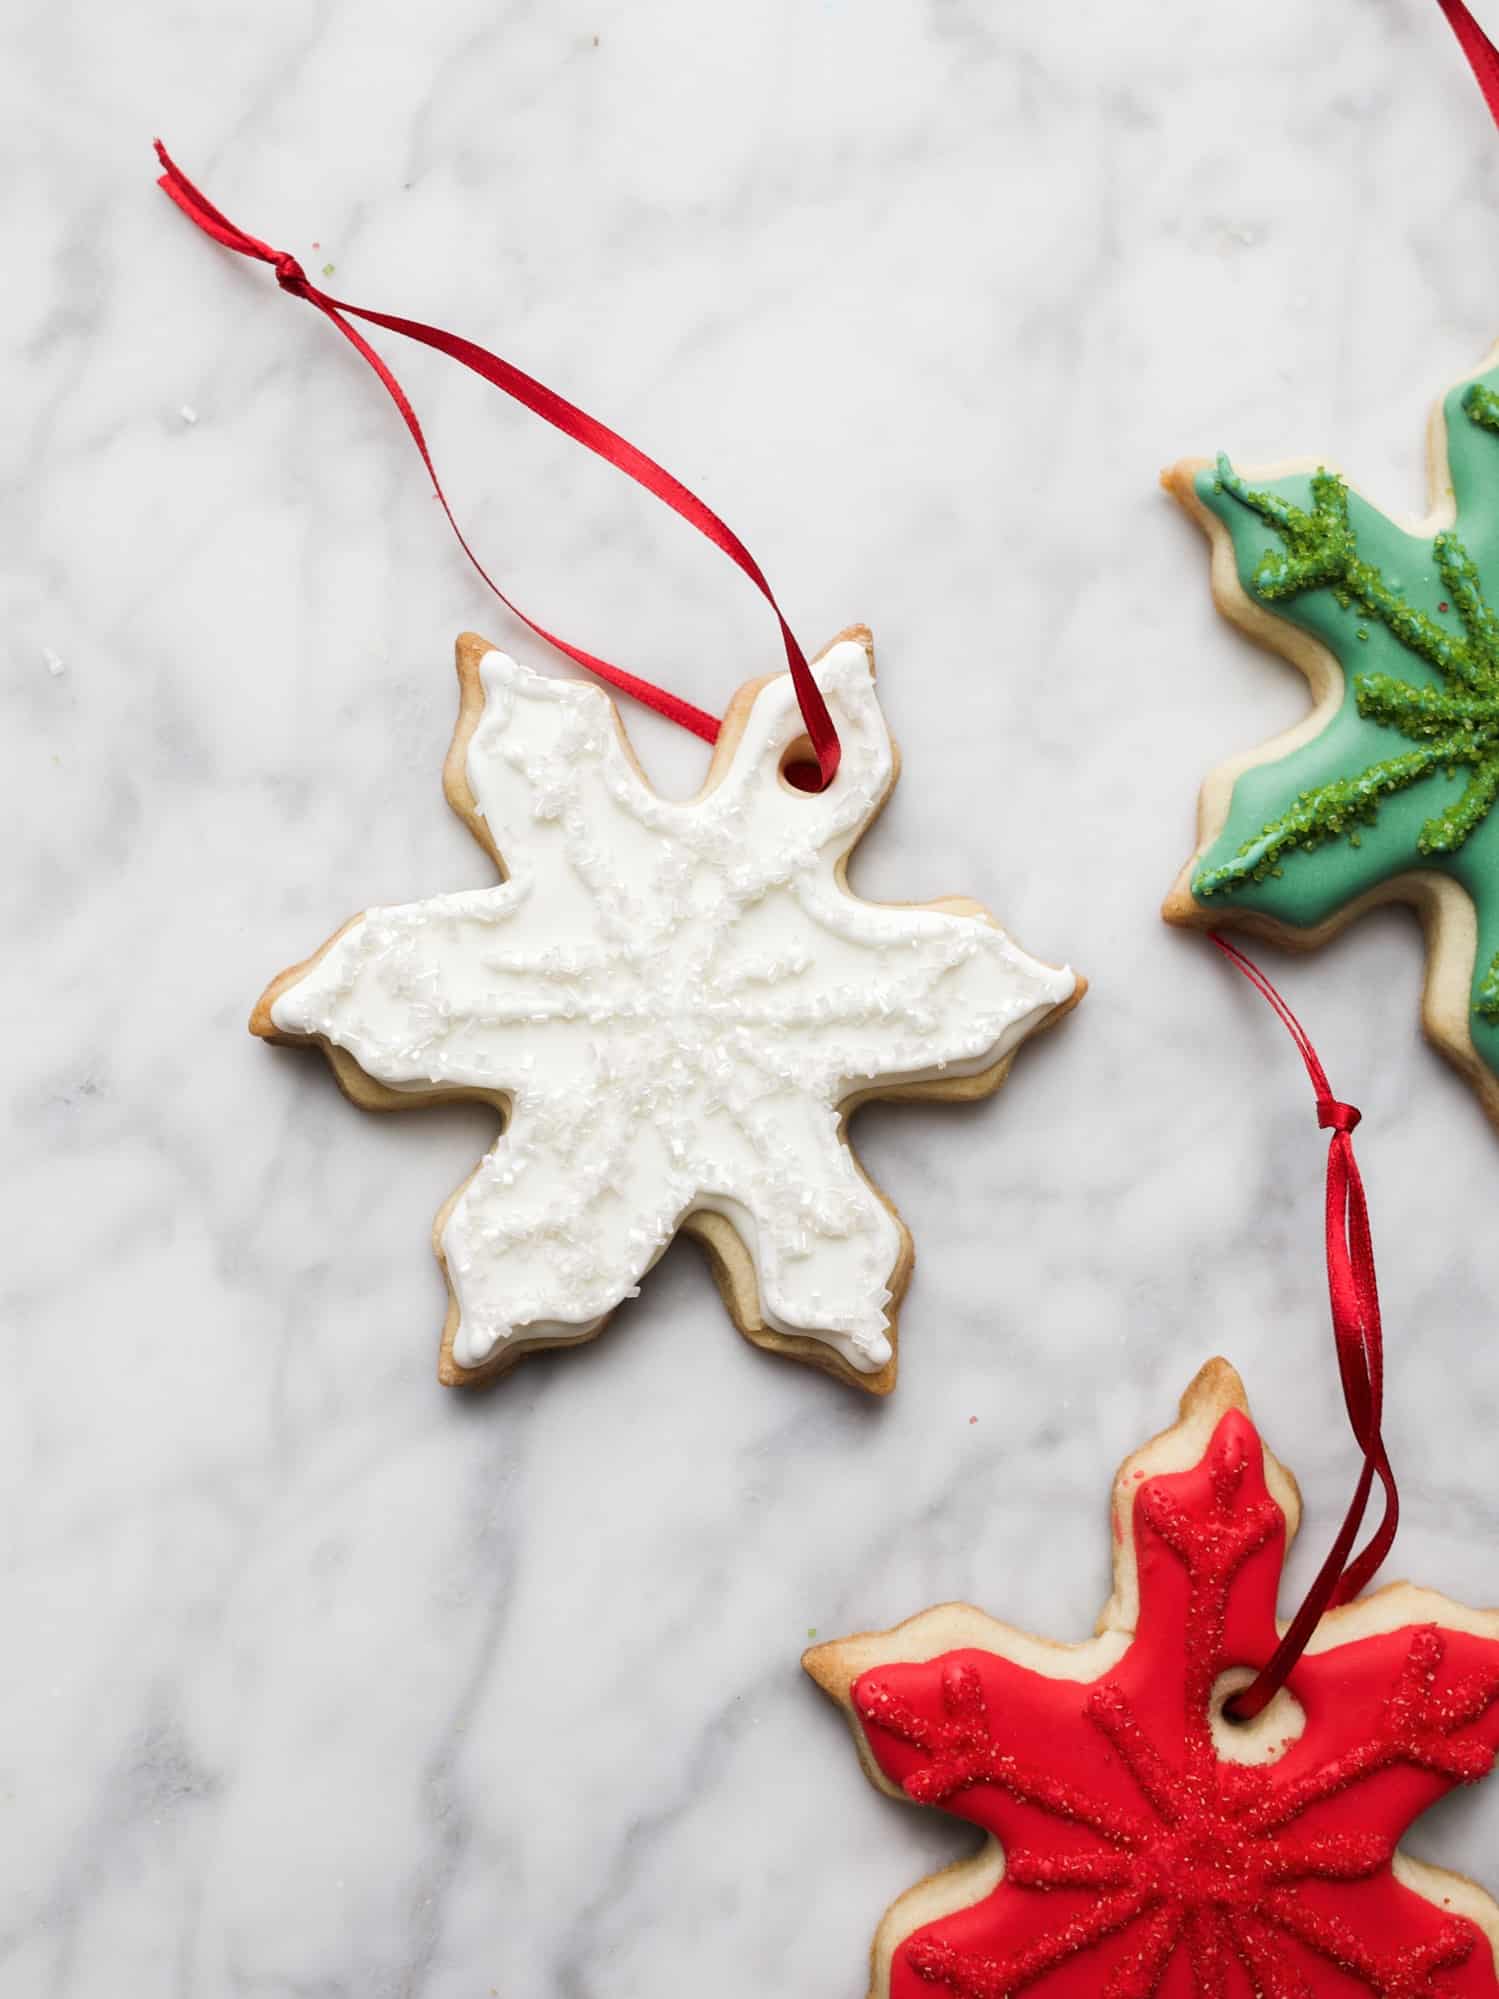
Can’t stop, won’t stop making Christmas cookies! Today’s recipe, these inside-out peanut butter blossoms, take me back to some of my earliest Christmas cookie memories. Remember the old-fashioned peanut butter blossoms with the Hershey’s Kisses on top? Well, these are the flip-flopped version featuring a chewy chocolate thumbprint cookie and a peanut butter cup filling. So peanut butter lovers- REJOICE! Today is your time to shine.
Inside-Out Peanut Butter Blossoms
There are lots of reasons why thumbprint cookies are so popular at Christmas, but if I had to land on just one, I’d say it’s because kids LOVE to show off their thumbprints. What better way to get kiddos in the kitchen at Christmas than by offering their bitty fingers for cookie indentations?! My kids LOVE making thumbprint cookies (remember these from last year!?!), and this mom loves to EAT them. I call that a win-win.

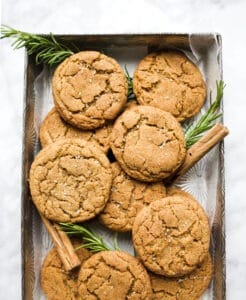
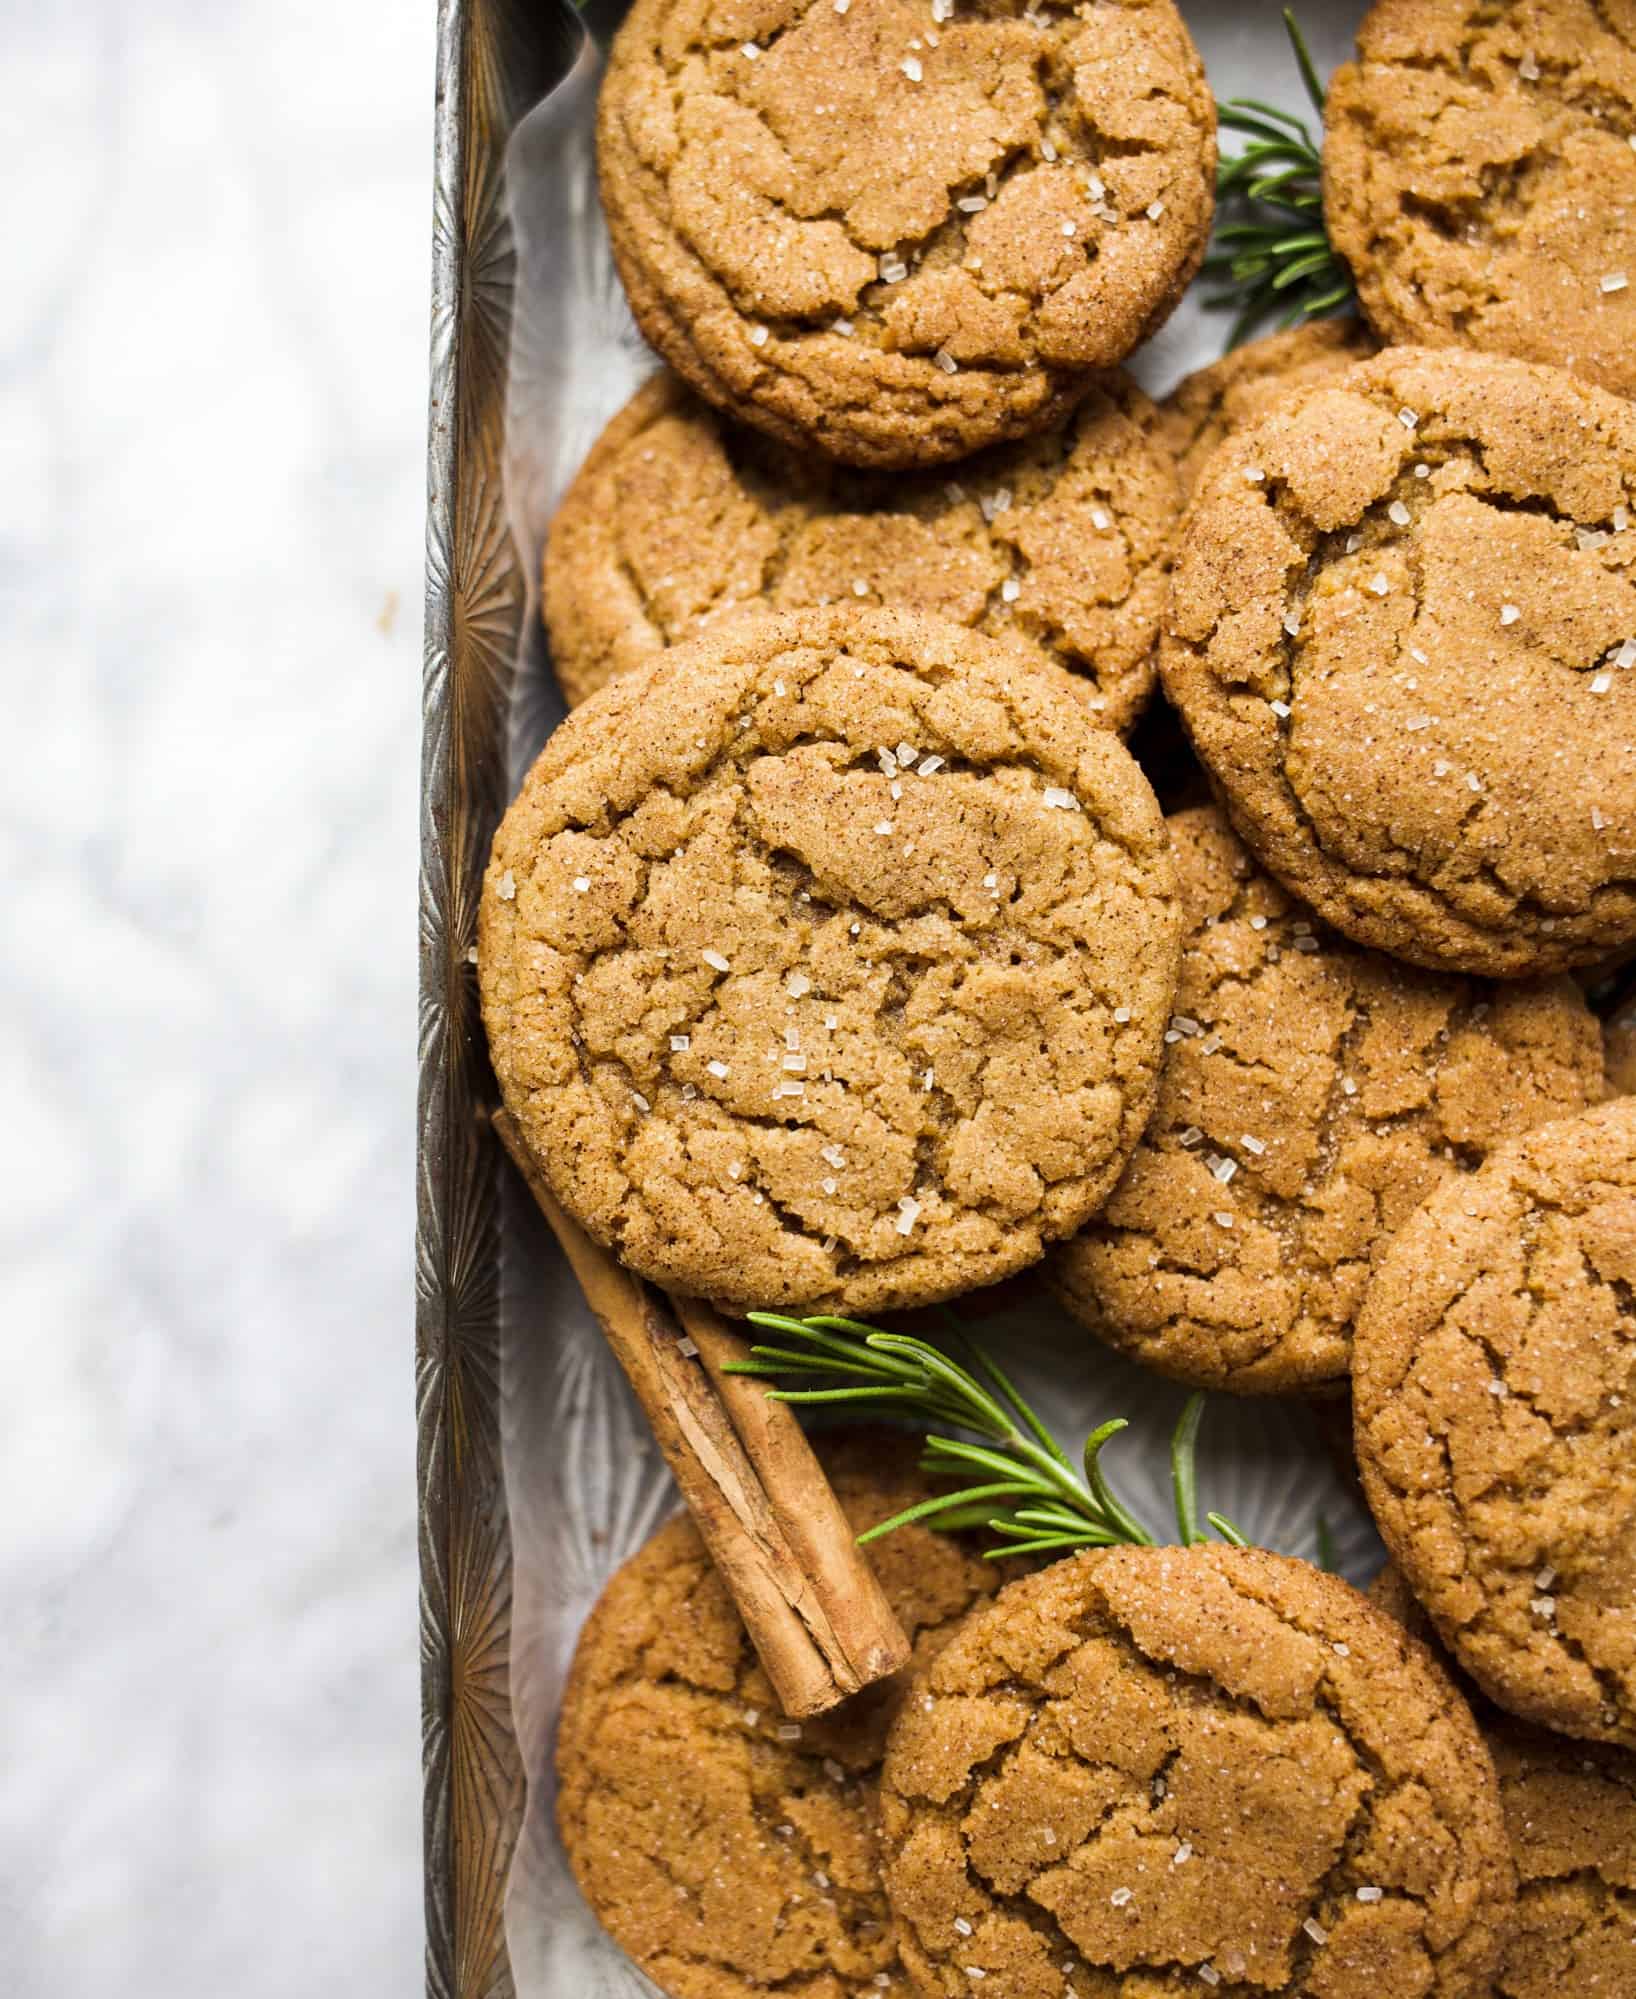
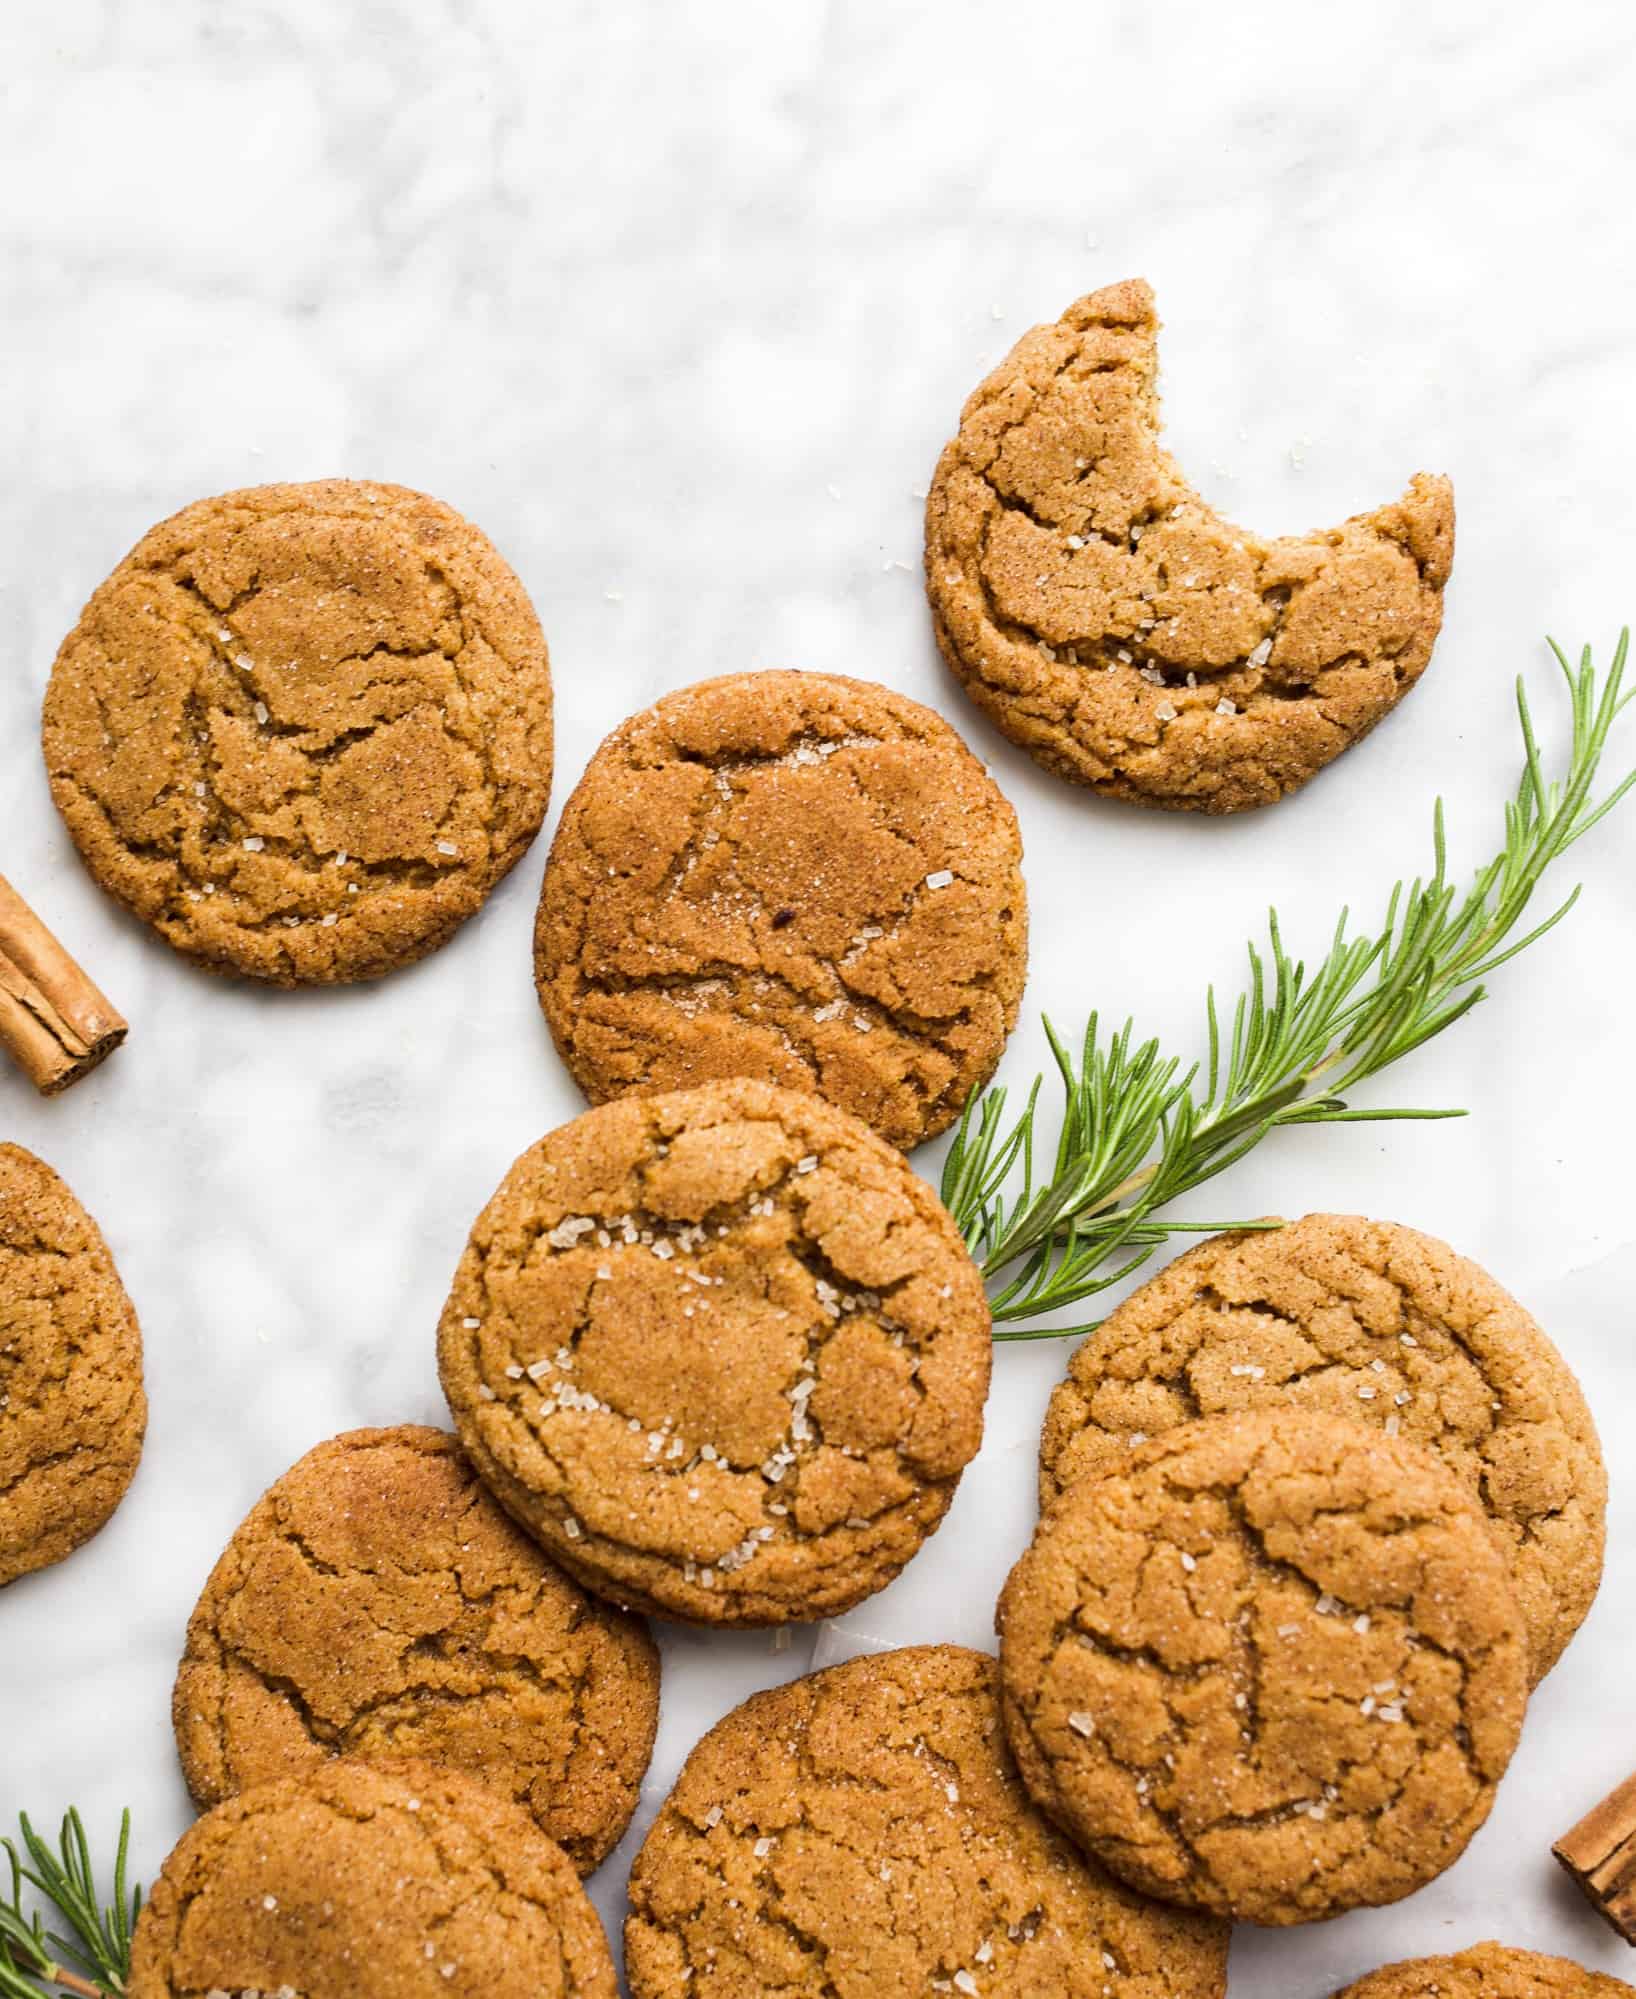
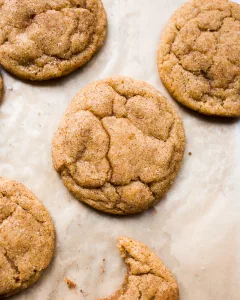
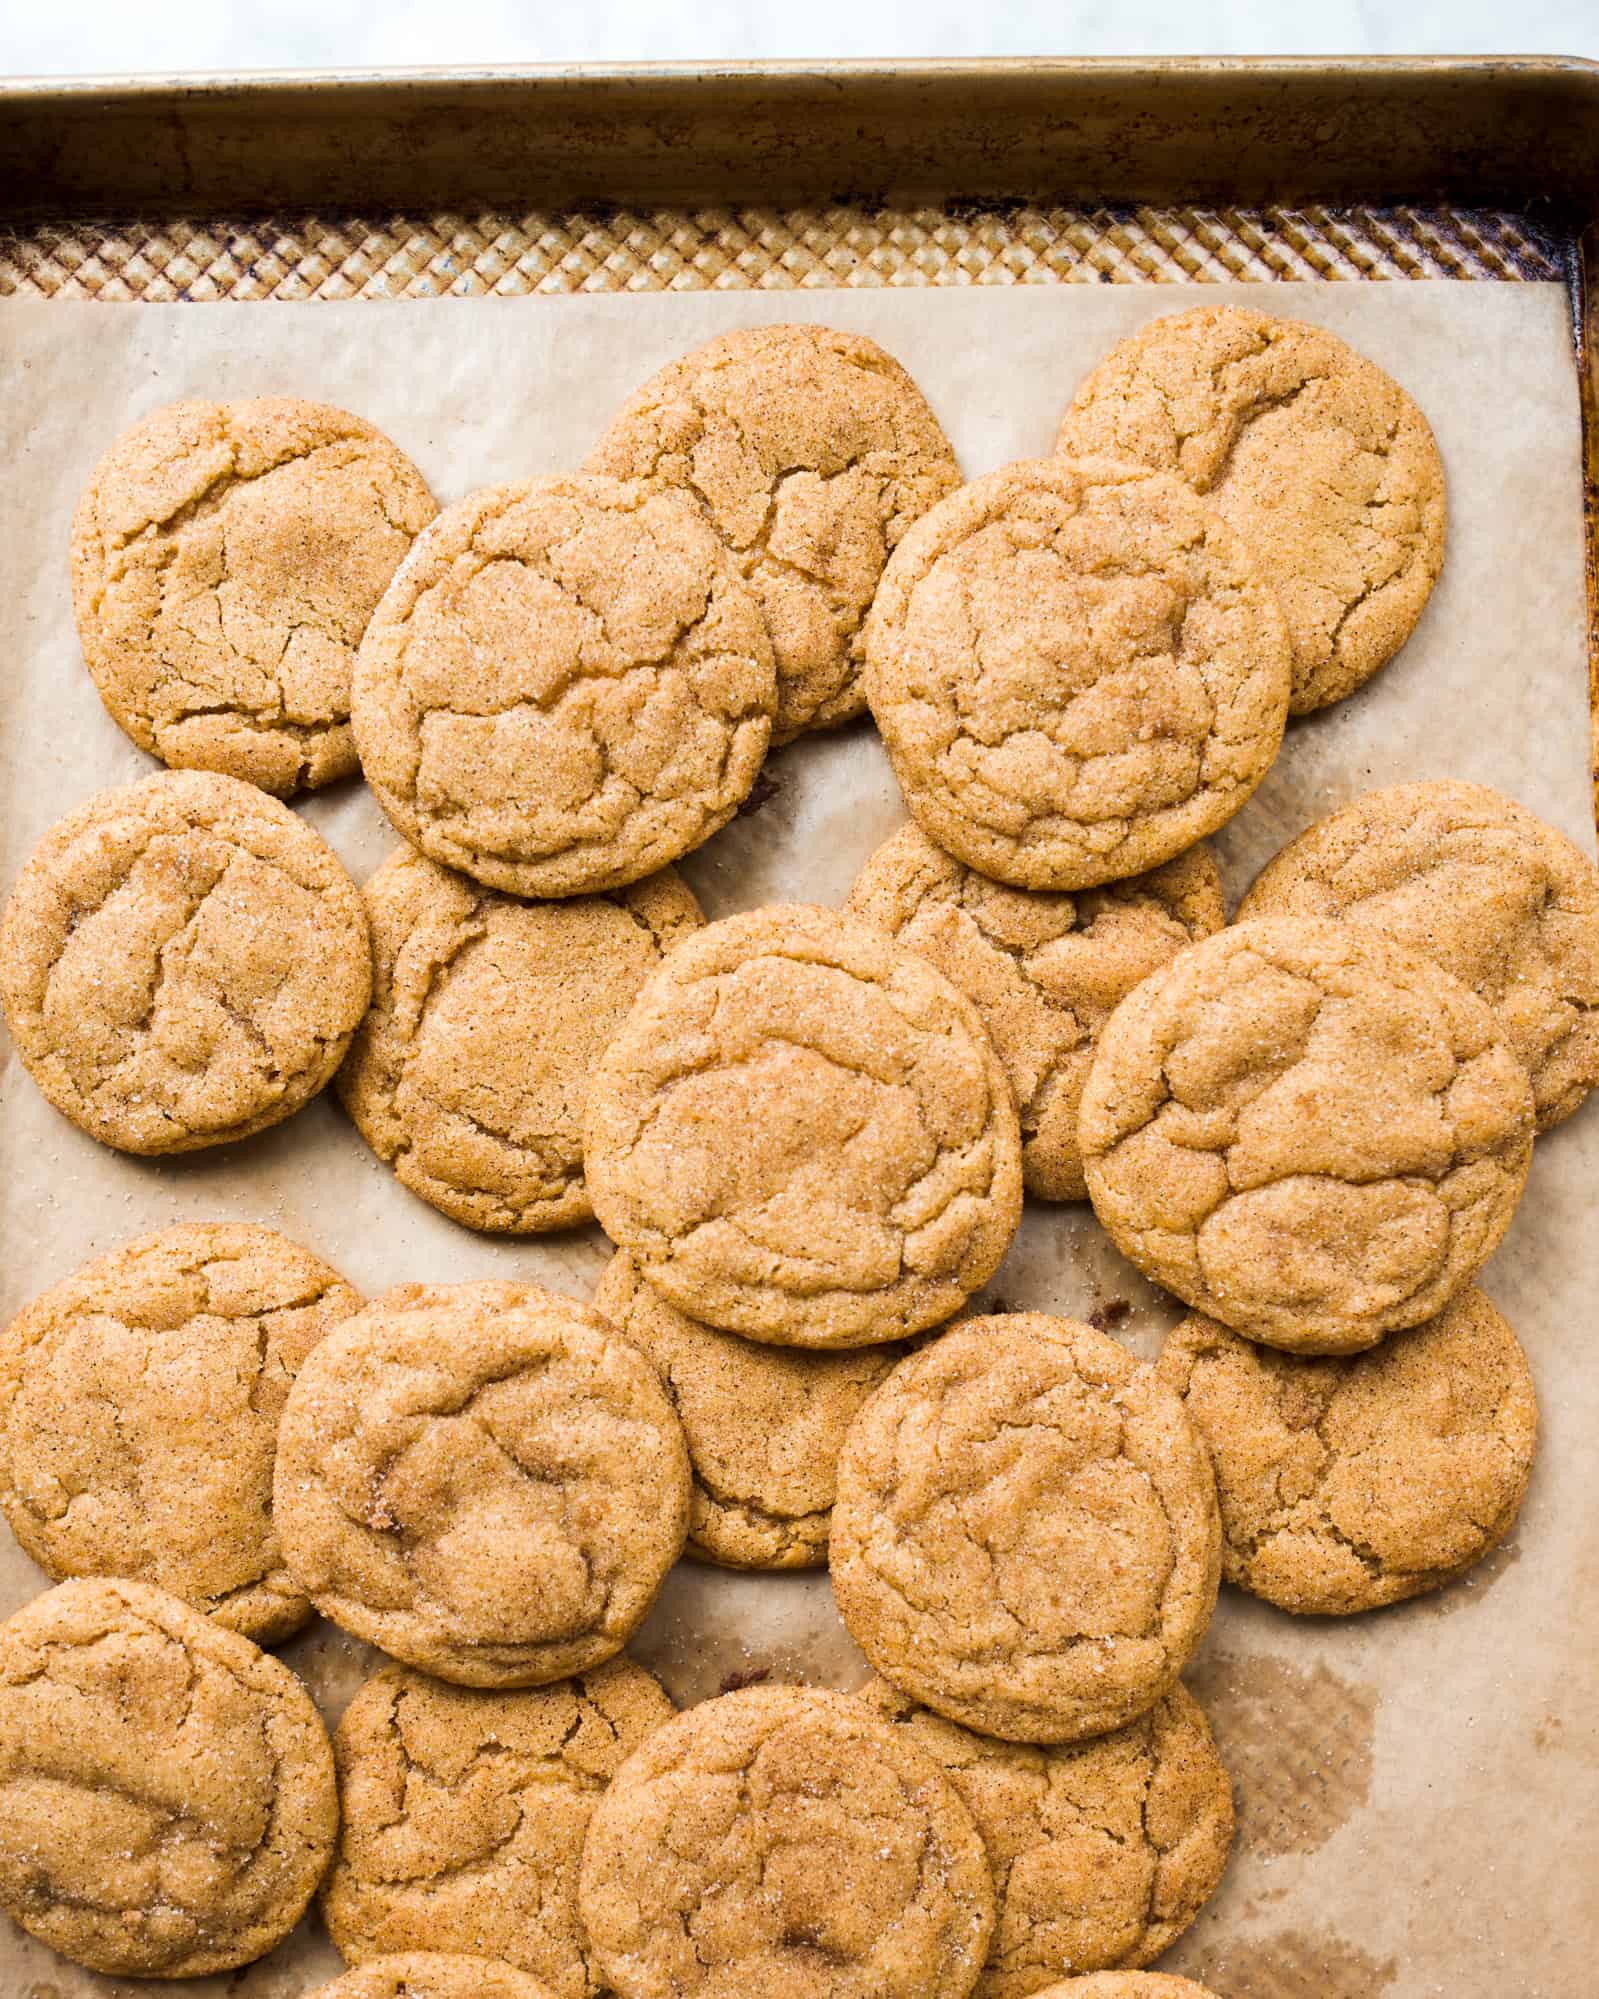
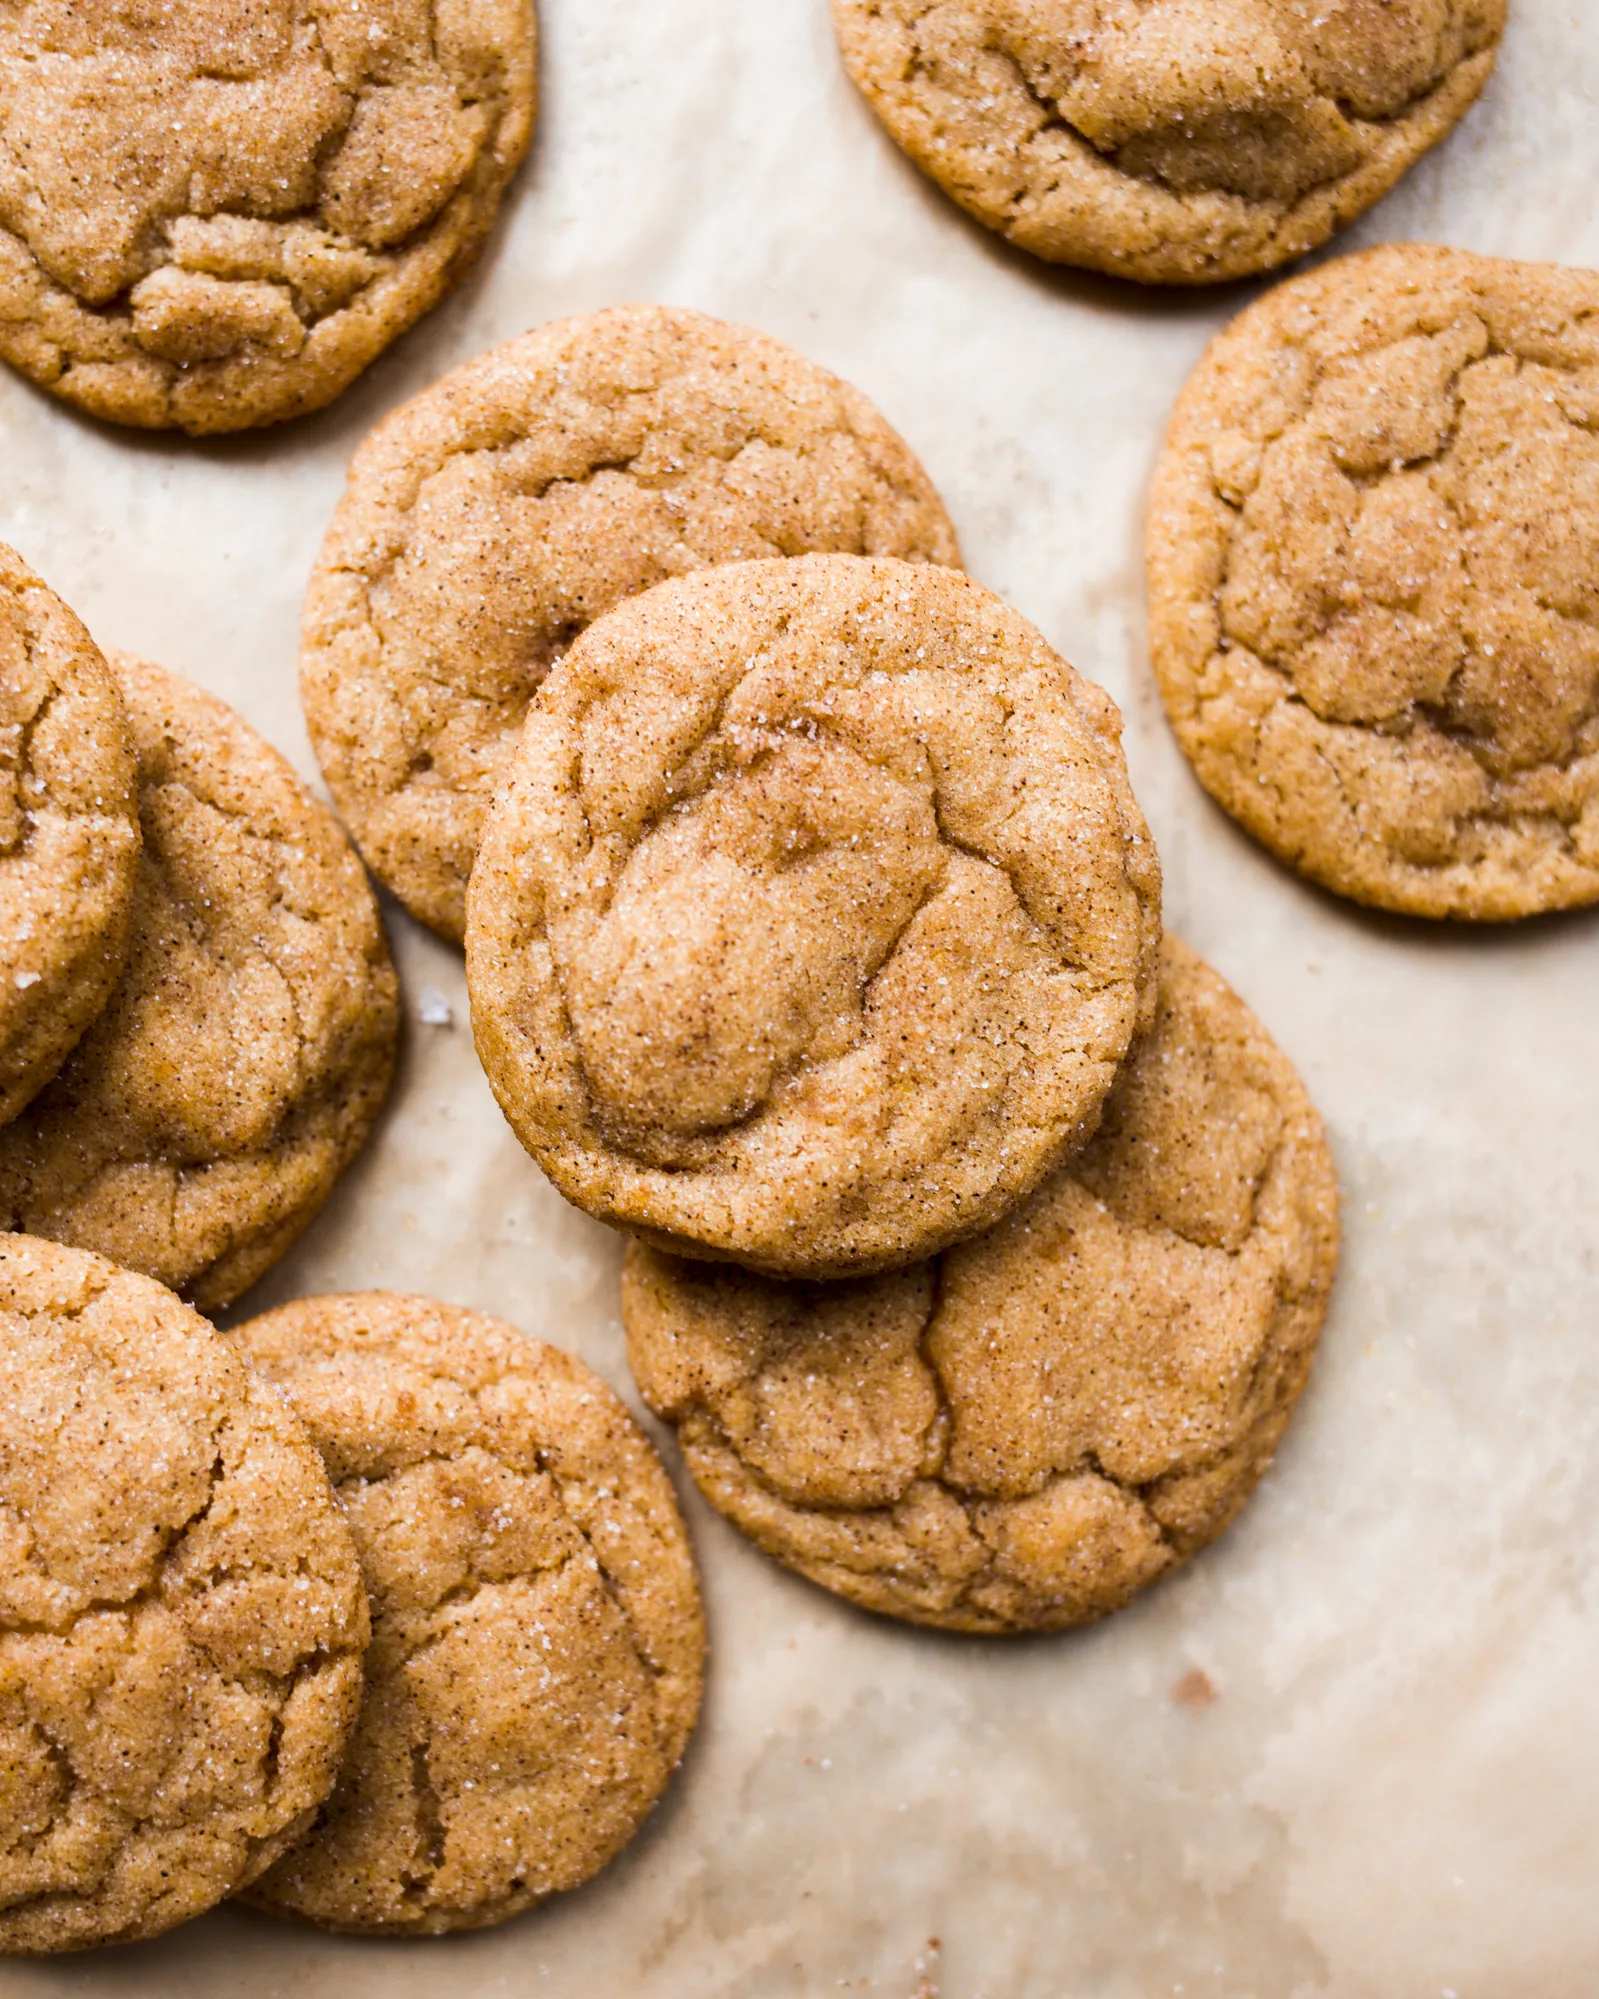
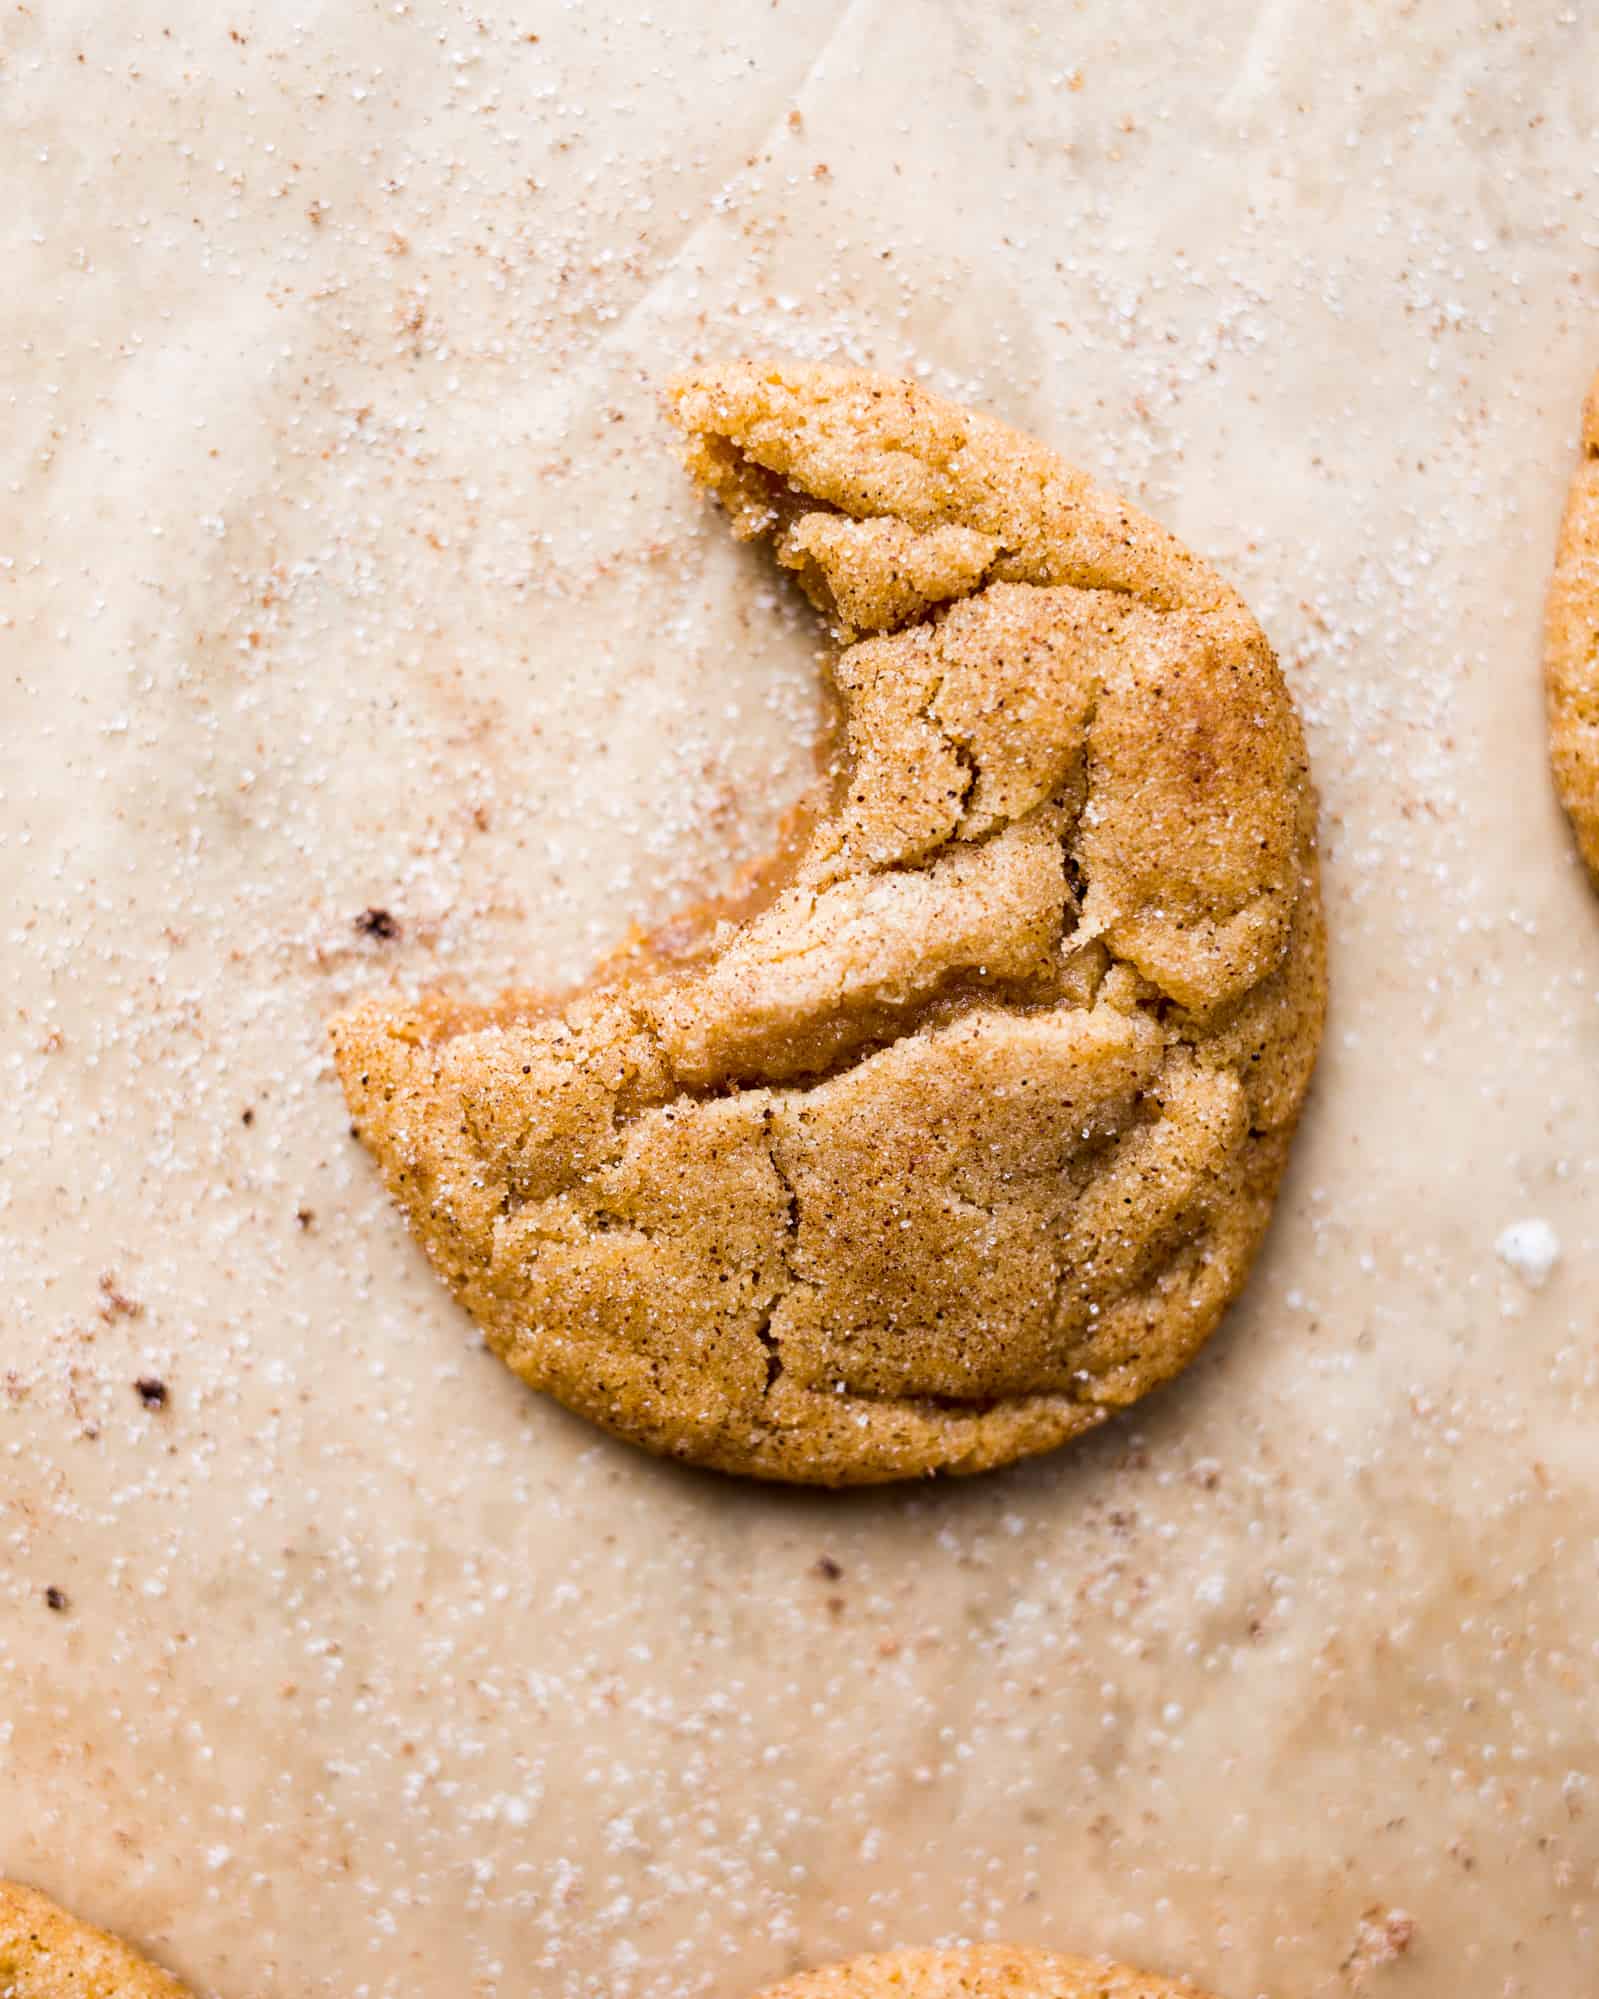
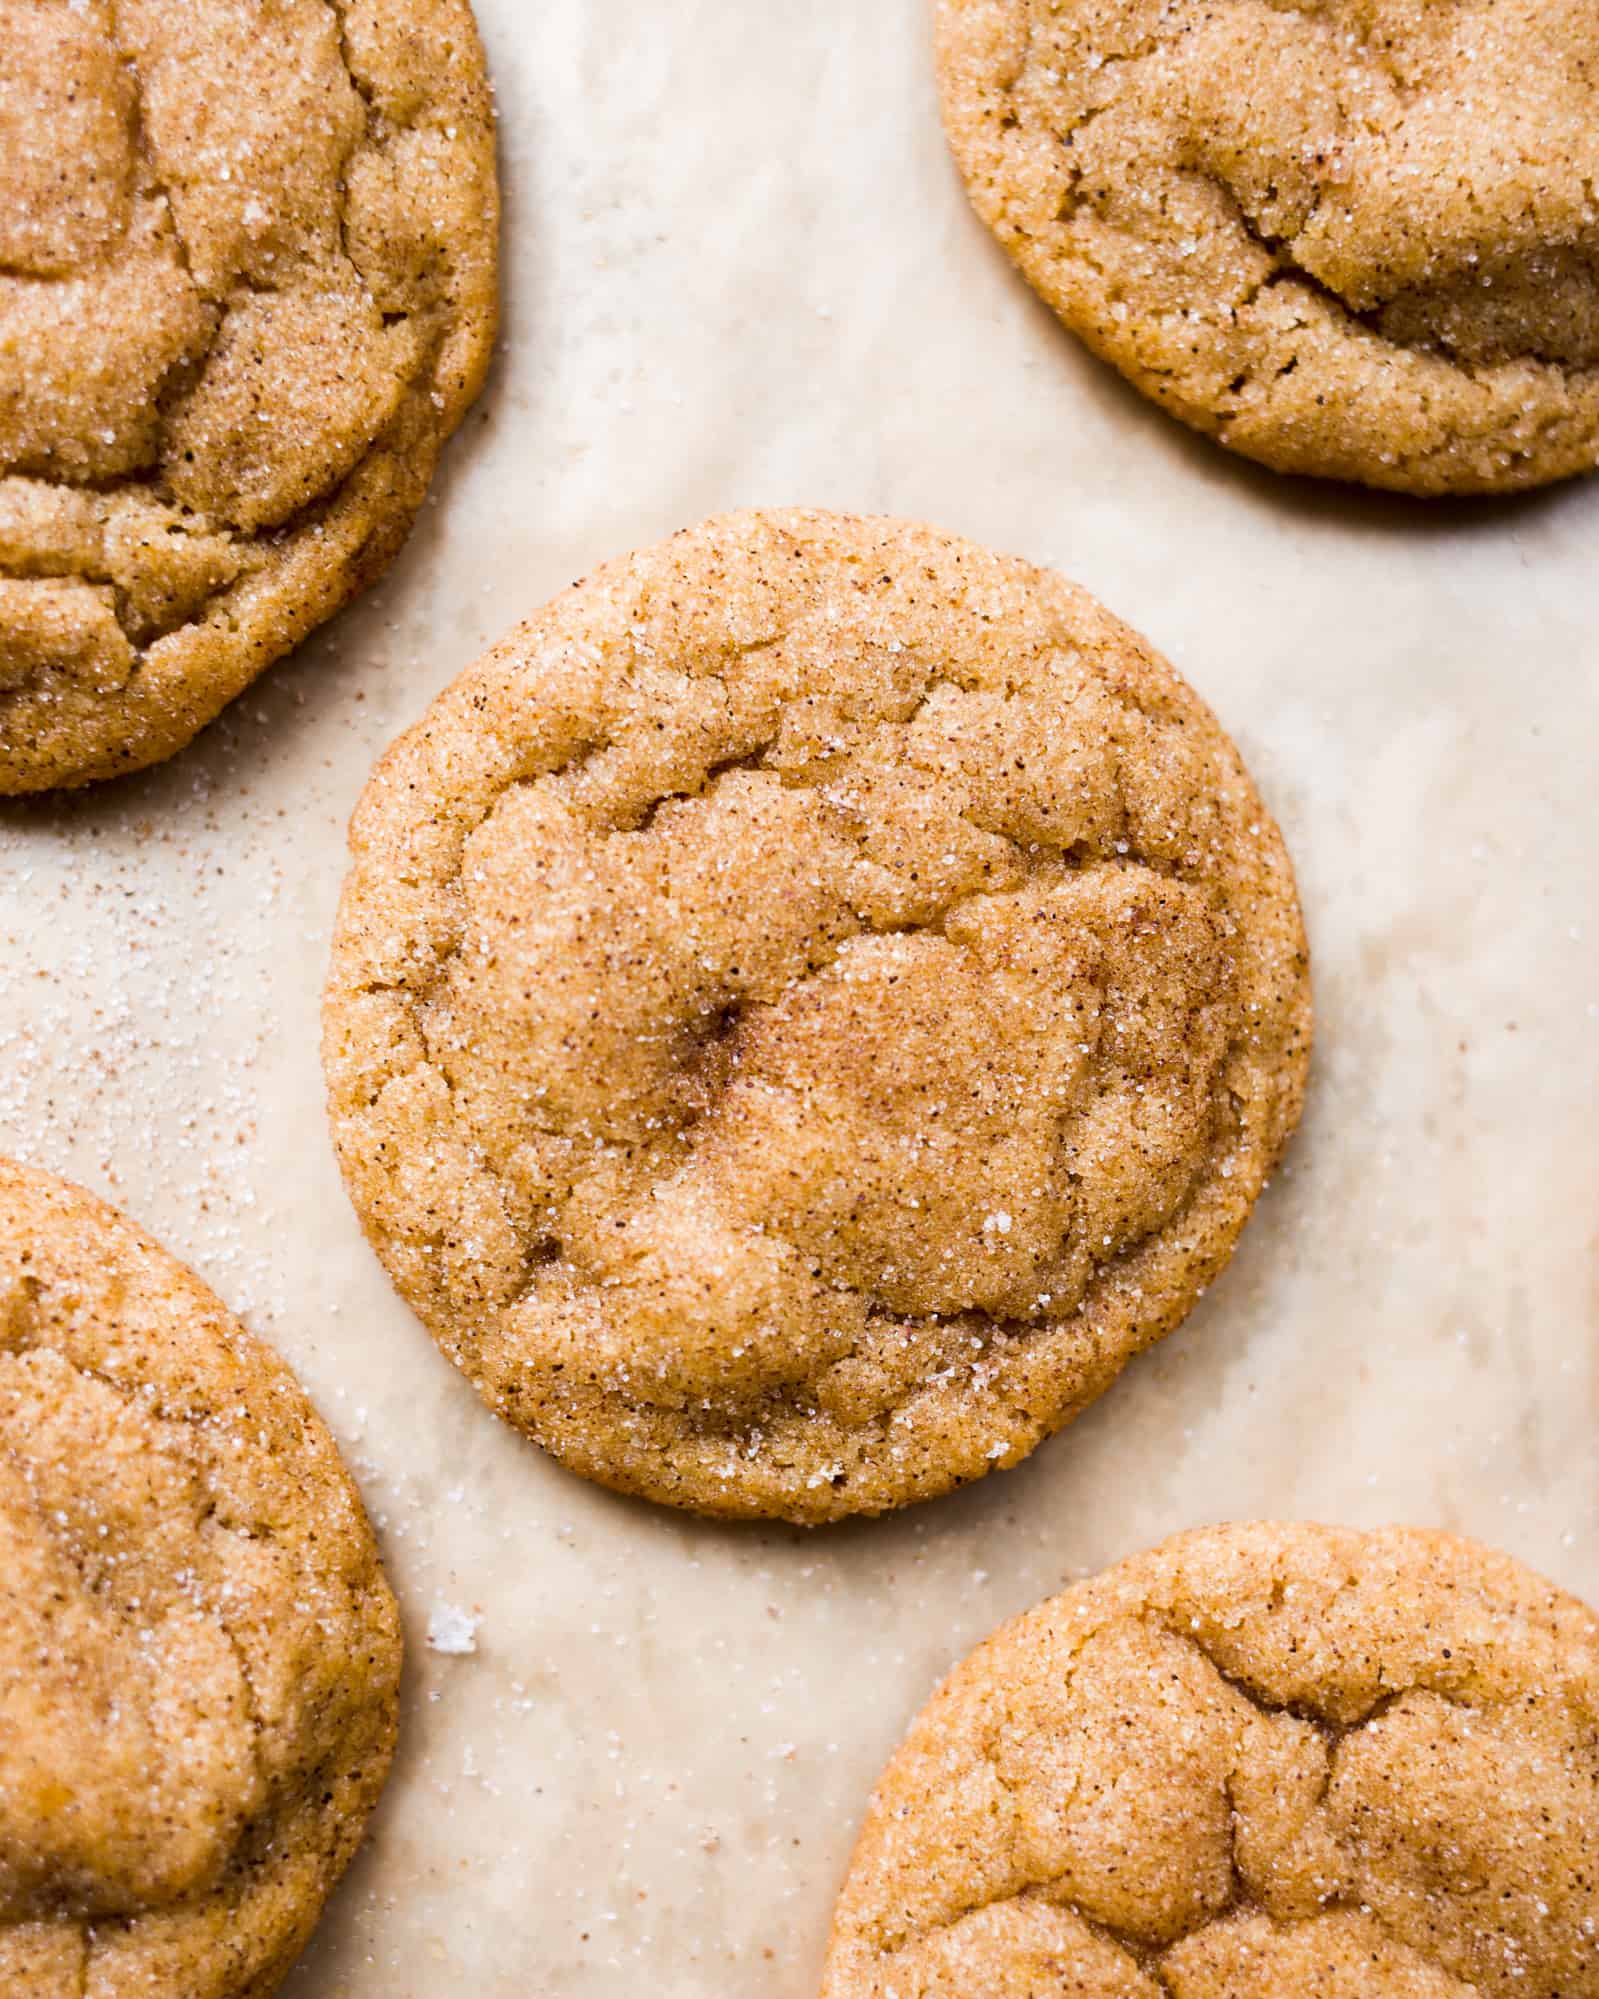
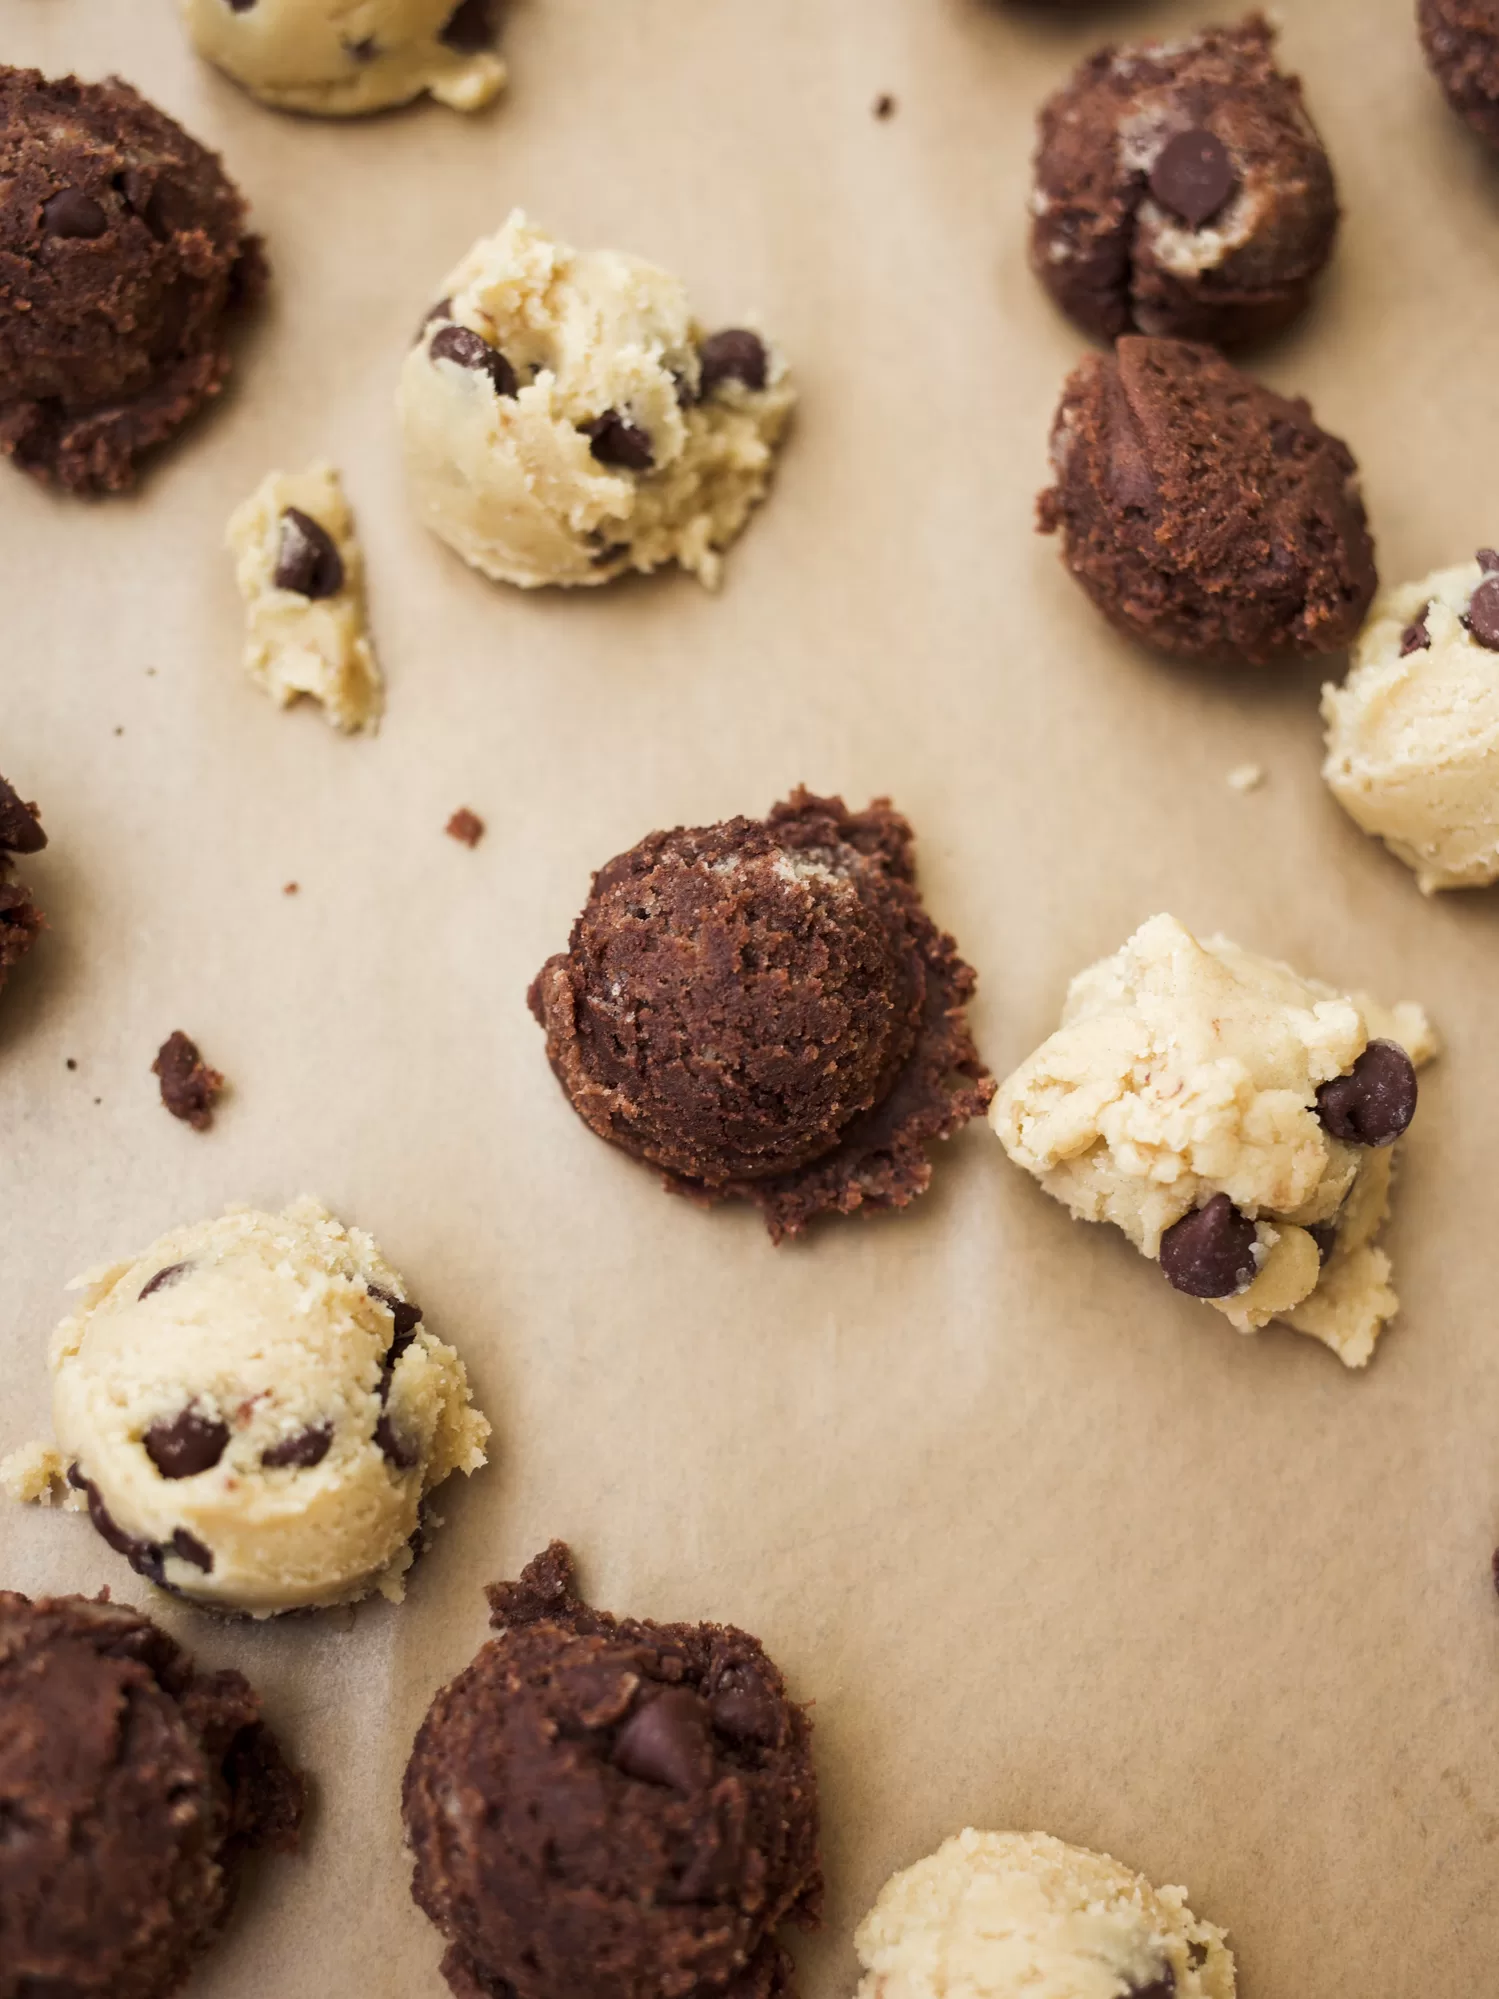
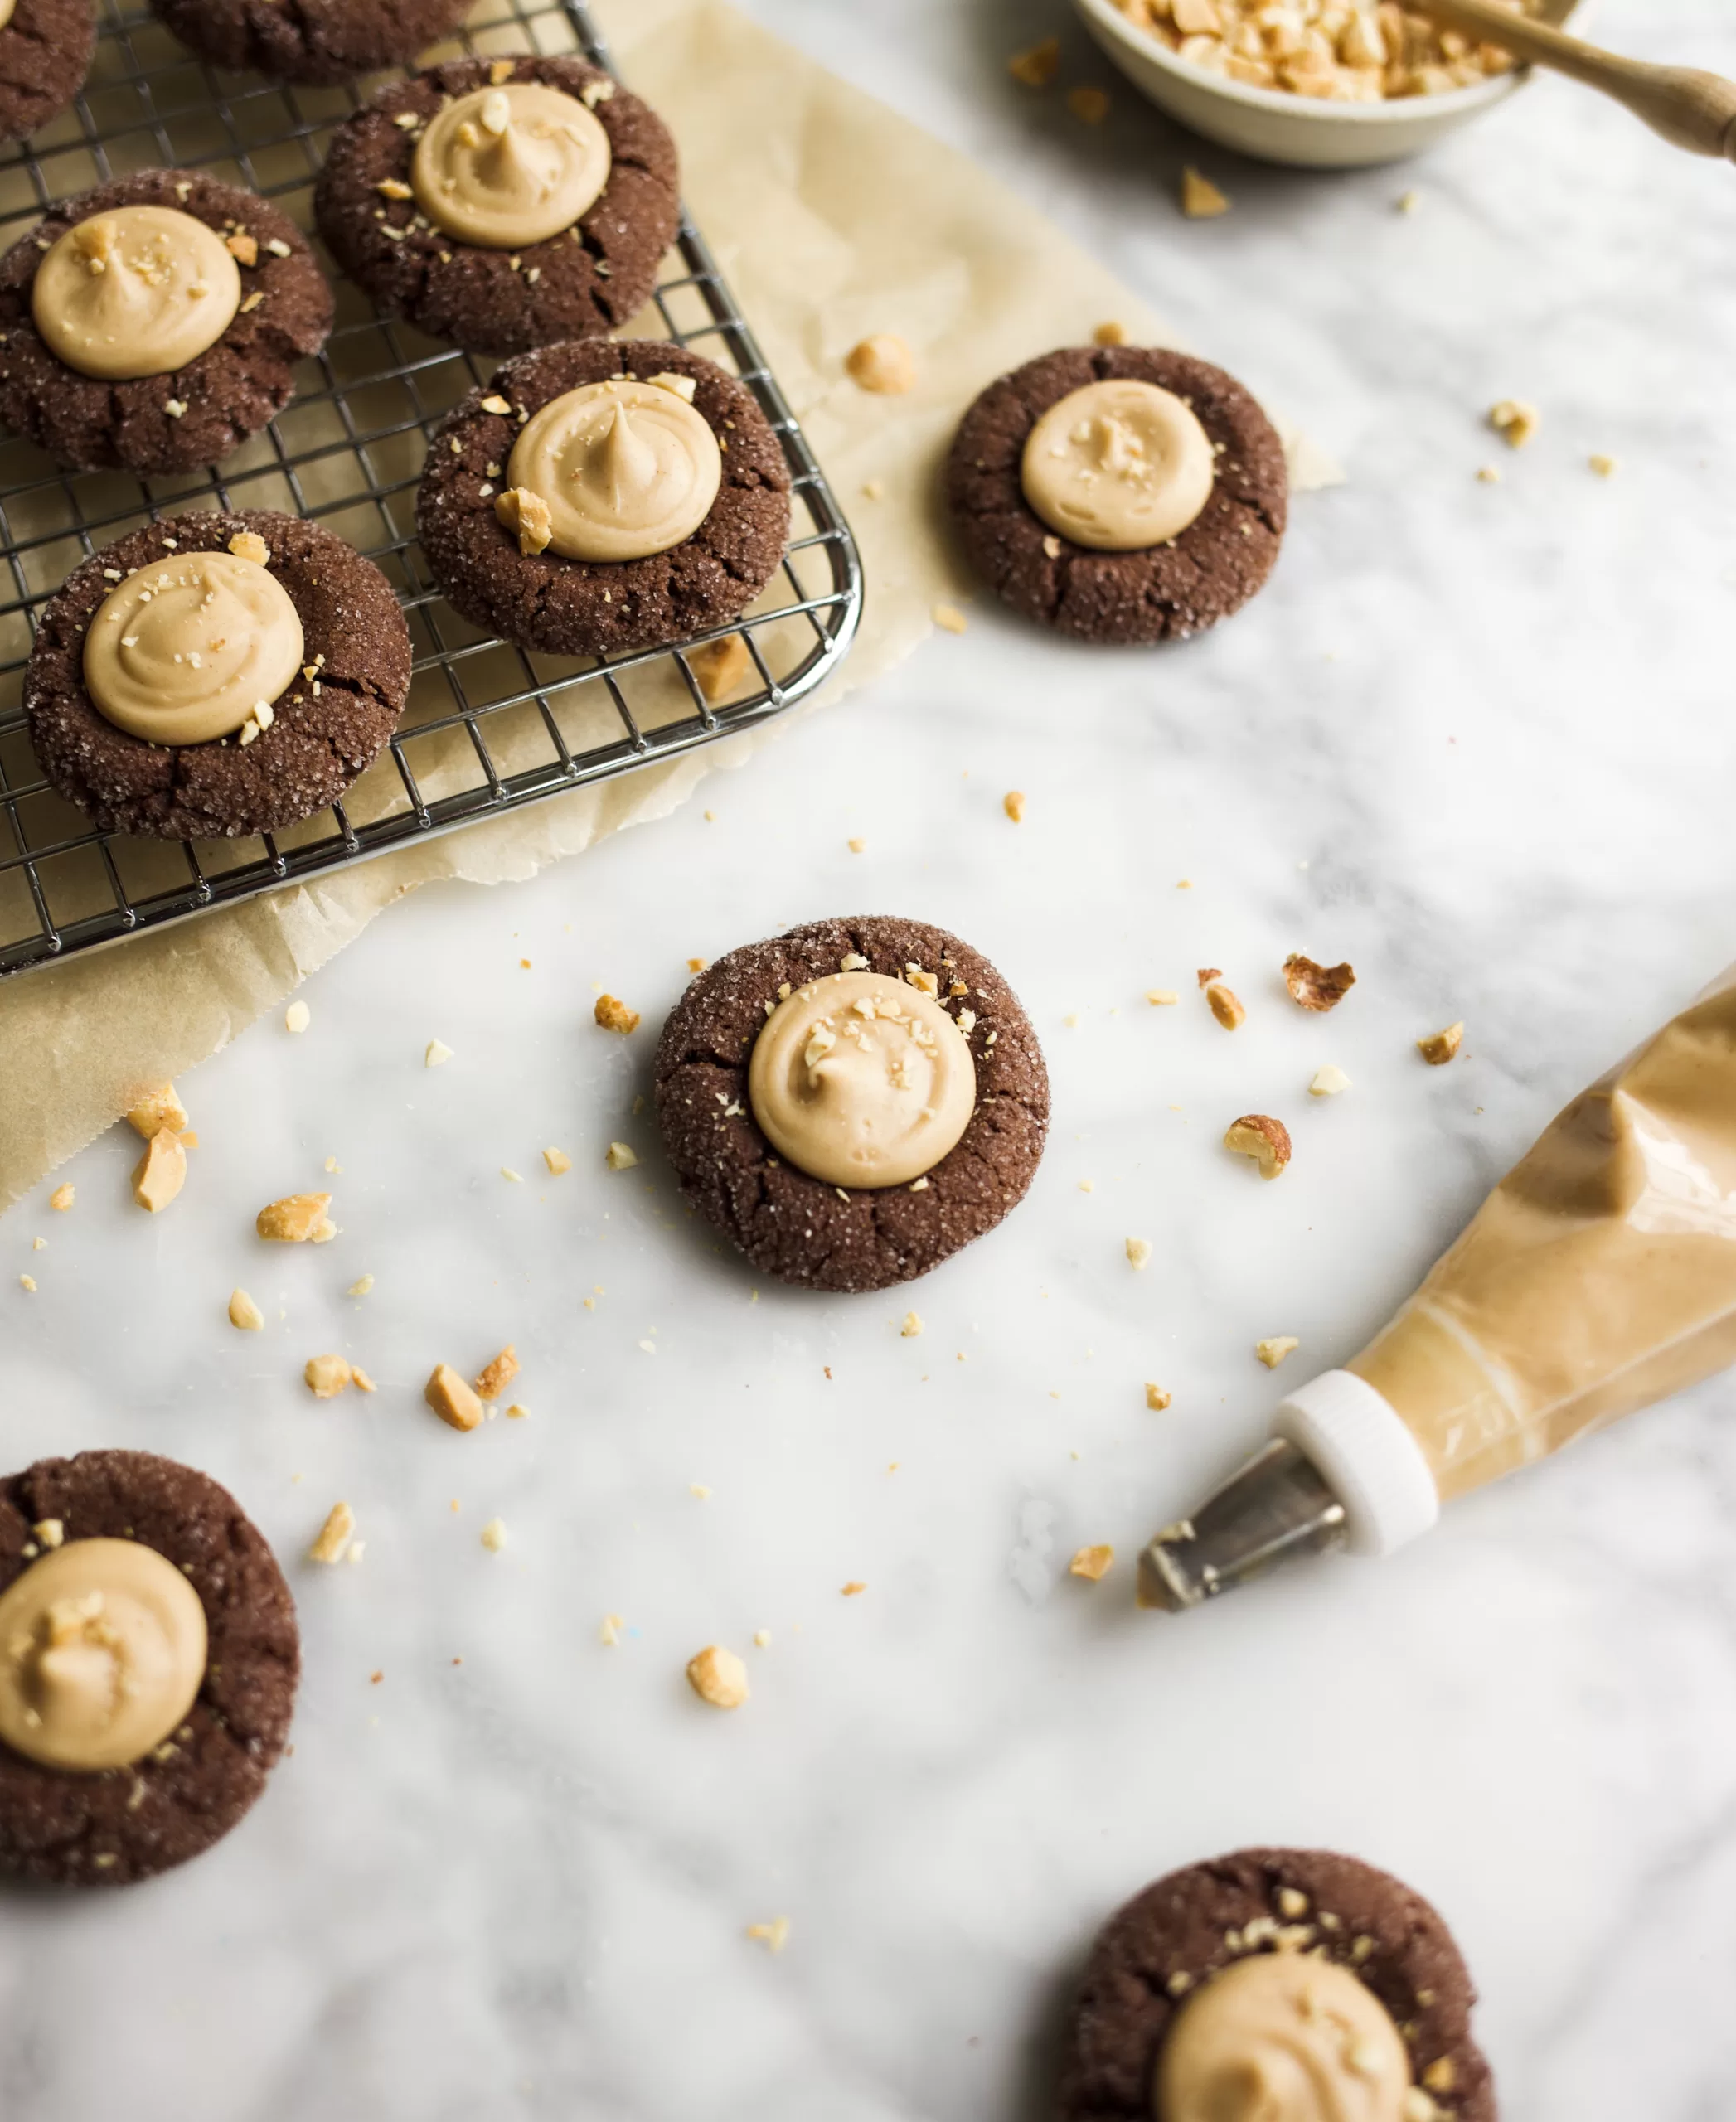
These peanut butter cookies are ones that grown ups and kids alike can enjoy. The cookies are balanced in flavor and texture, with enough added sweetness that the kids will ask for seconds. I love to roll the cookie dough balls in a bit of sugar just after rolling for added holiday sparkle. For even more texture, these cookies love the addition of finely chopped peanuts which not only taste great but also offer some visual pizazz too.
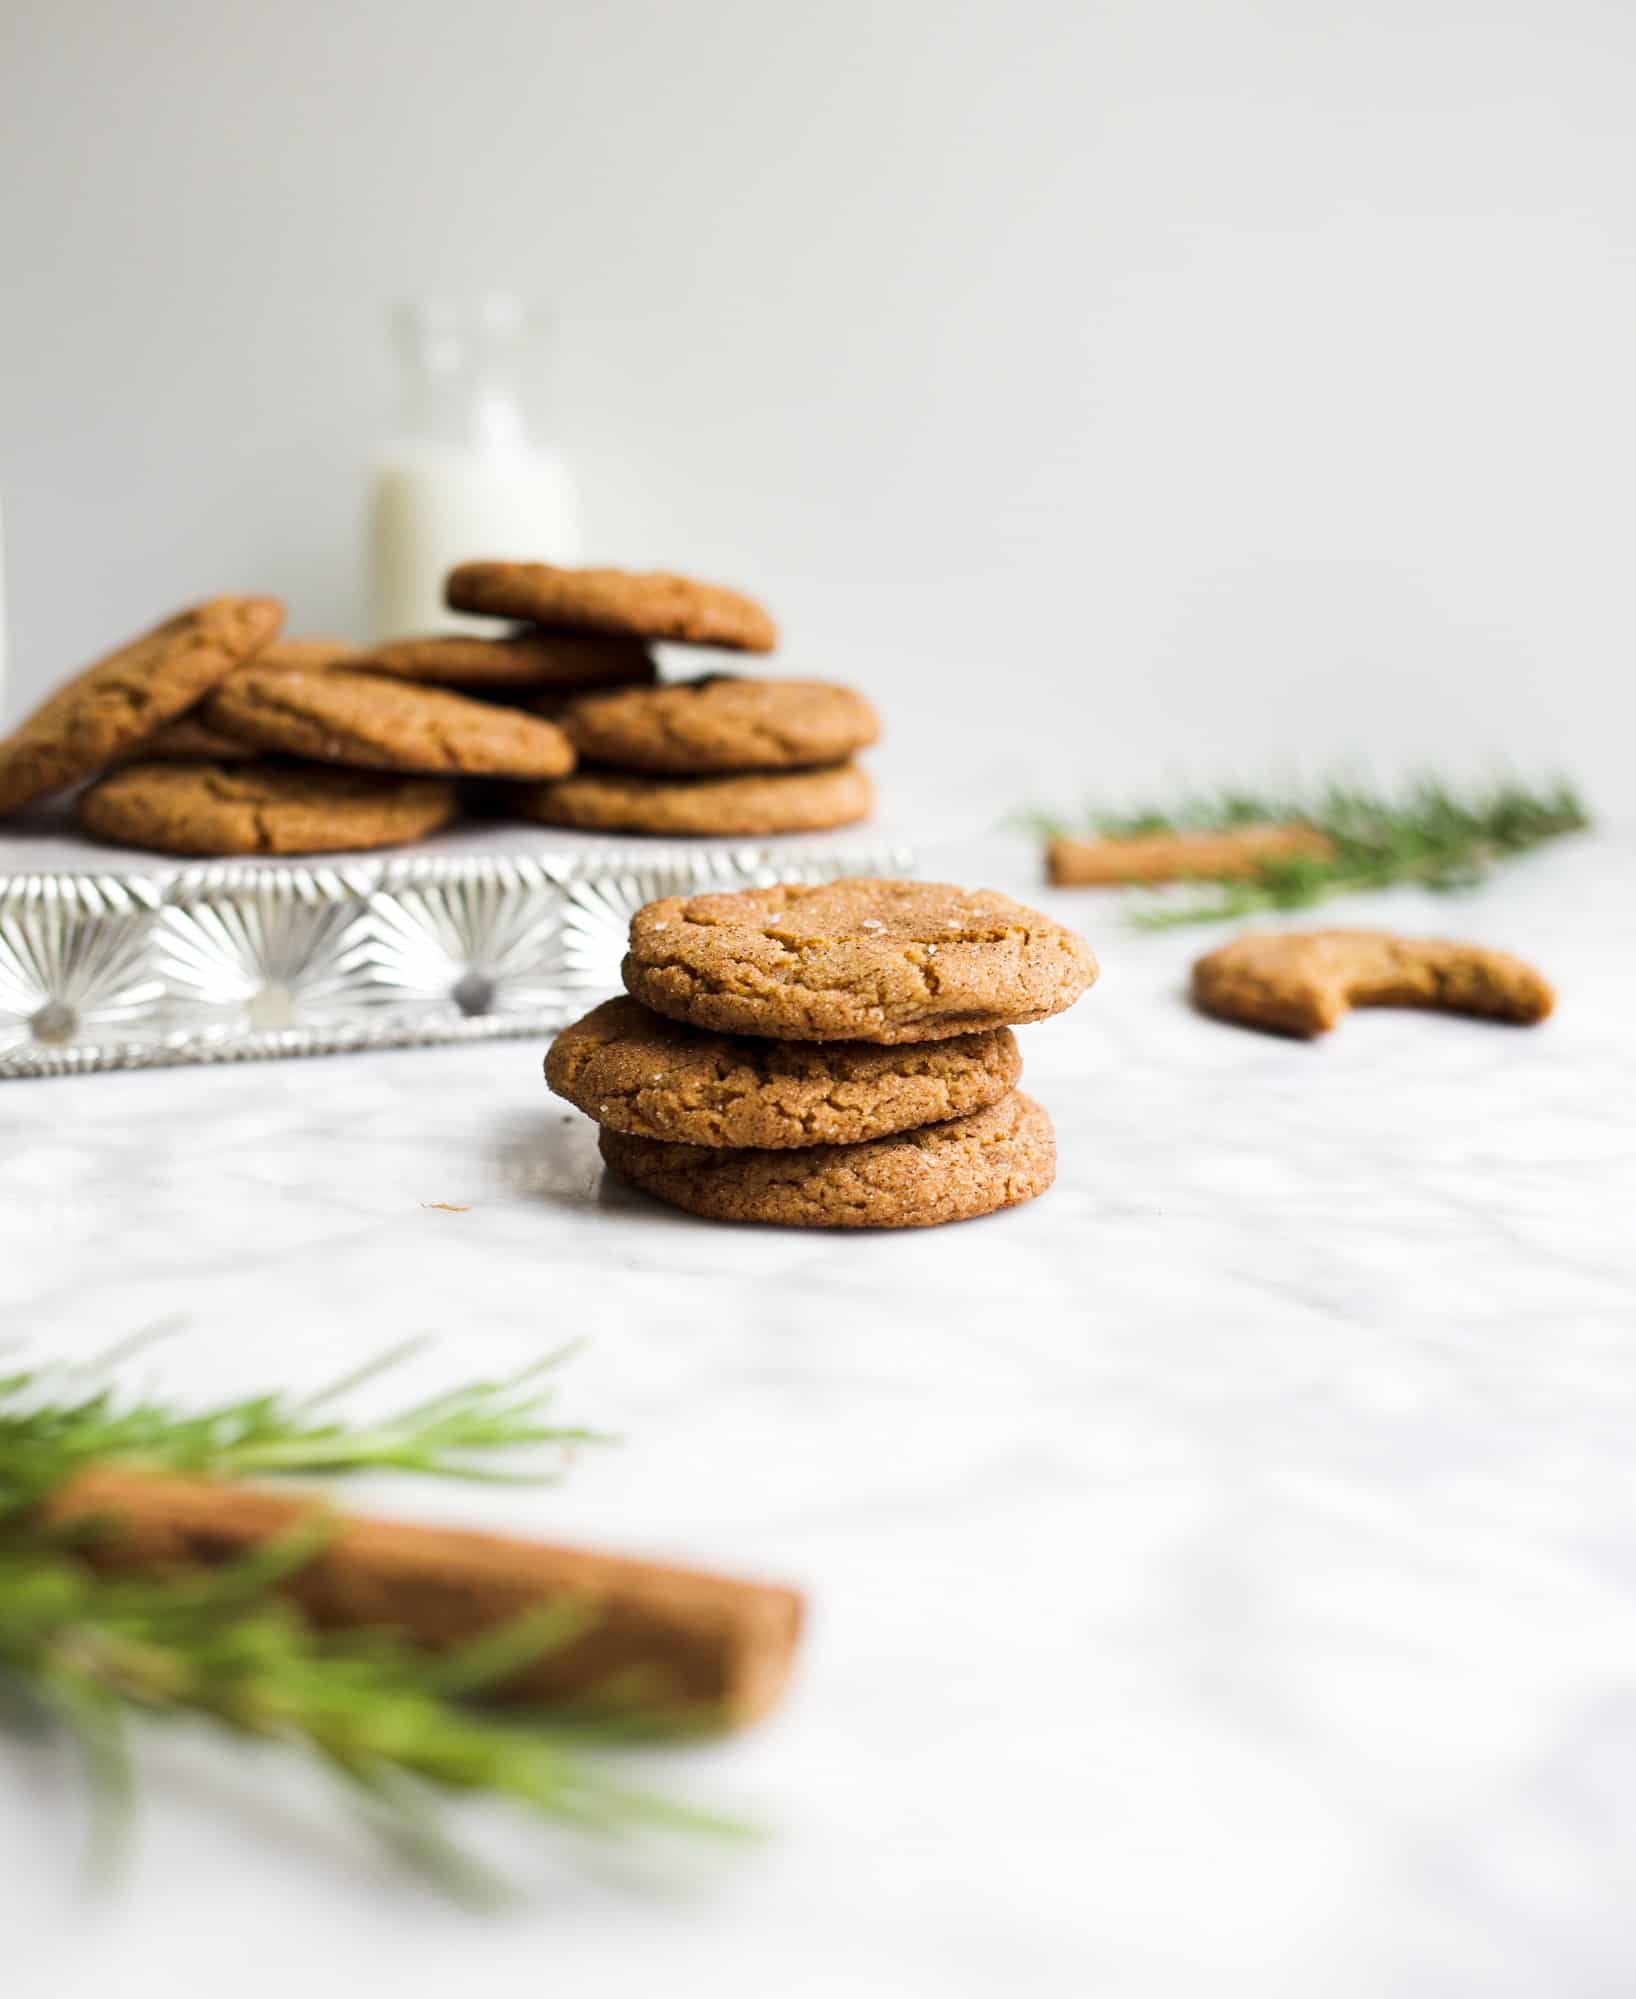
If you’re prepping for Christmas, feel free to make these goodies in advance and freeze in an air-tight container. Simply thaw to room temp prior to enjoying. What could be better than a simple, kid-friendly, make-ahead treat!?! I hope you all are enjoying your holiday season. Hugs and cookies to all!
If you like these inside-out peanut butter blossoms, you should try:
Holiday Sugar Cookie Blossoms
Espresso Caramel Thumbprint Cookies
Chewy Peanut Butter Oreo Cookies
Vegan Peanut Butter Oatmeal Chocolate Chunk Cookies
Peanut Butter Chocolate Chunk Cookies
Peanut Brittle Cookies
Inside-Out Peanut Butter Blossoms

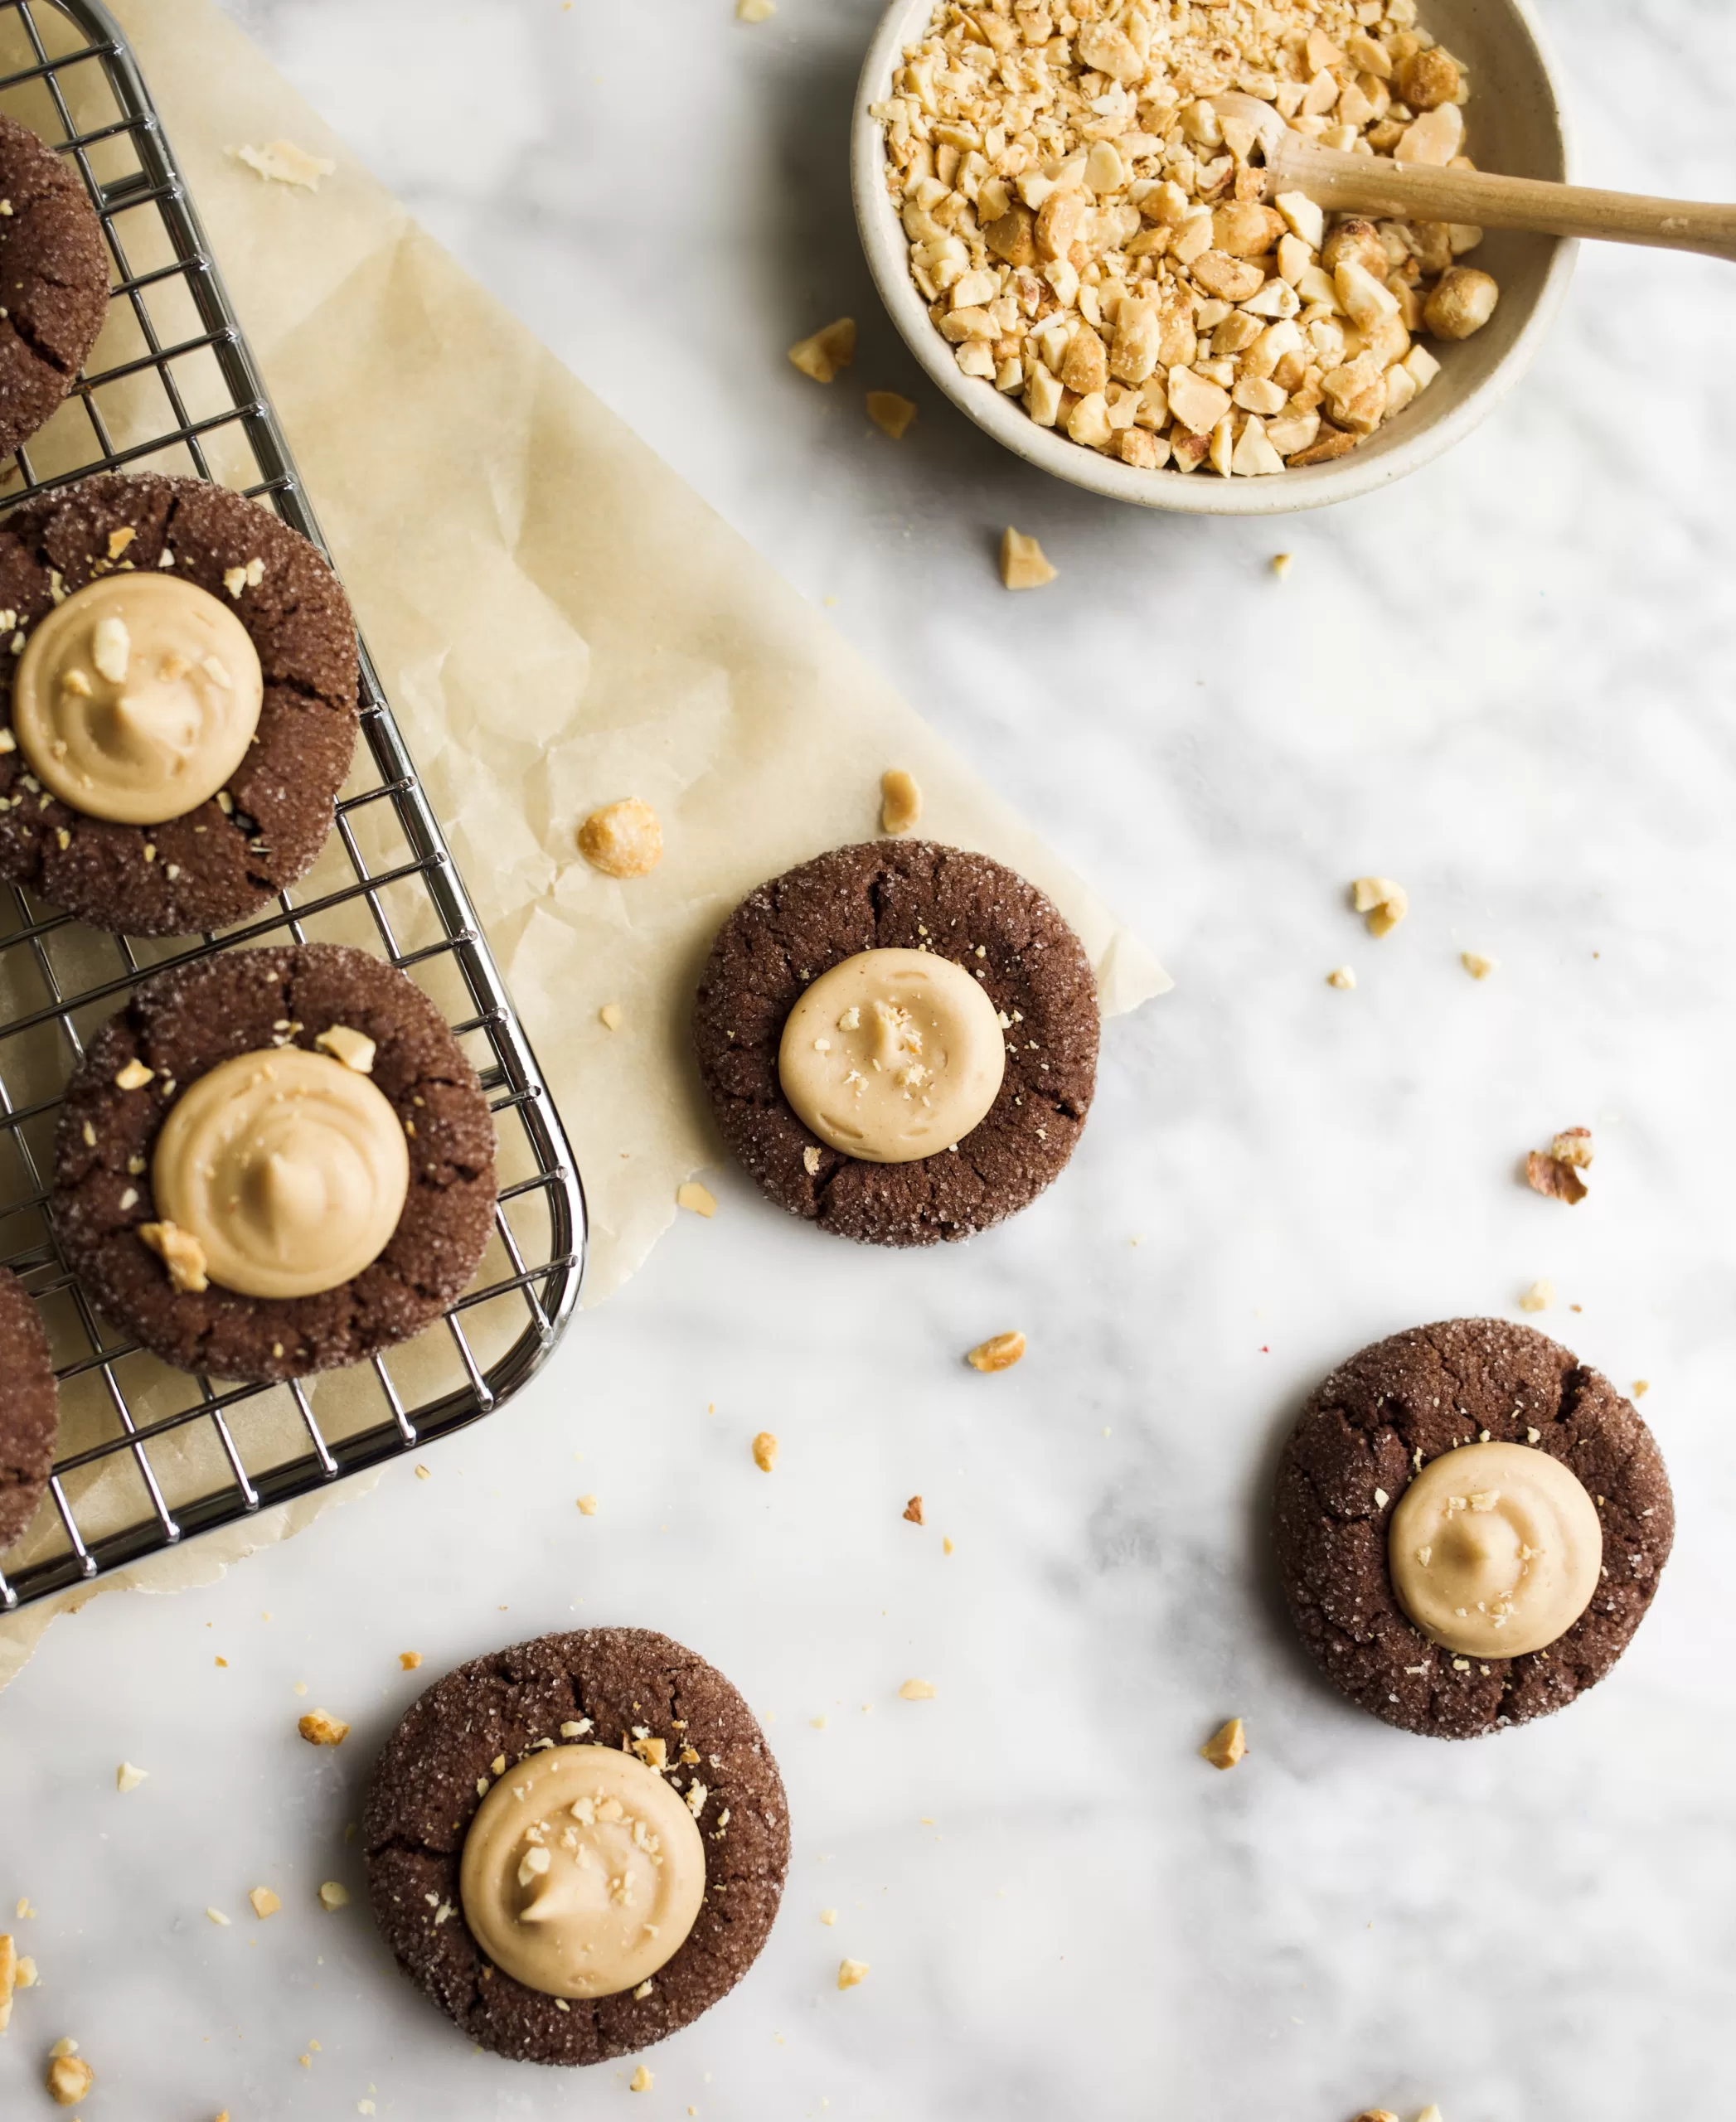
These inside-out peanut butter blossoms feature a chewy chocolate cookie with a creamy peanut butter cup filling!
- Prep Time: 45 minutes
- Cook Time: 10
- Total Time: 55 minutes
- Yield: 36 Cookies
- Category: Dessert
Ingredients
For the cookies:
- 1 1/3 cup (167 grams) all-purpose flour
- ½ cup (43 grams) unsweetened cocoa powder
- ¼ teaspoon table salt
- ¼ teaspoon baking soda
- ½ cup (113 grams) unsalted butter, softened to room temperature
- 1 cup (200 grams) granulated sugar, divided
- 1/3 cup (73 grams) packed light brown sugar
- 1 large (50 grams) egg
- 1 teaspoon (4 grams) pure vanilla extract
- Peanut Butter Cup Filling (recipe follows)
- Garnish: 2 tablespoons (14 grams) finely chopped honey roasted peanuts
For the filling:
- ¼ cup (64 grams) creamy peanut butter
- 1 ½ cups (180 grams) confectioner’s sugar
- 3 ½ tablespoons (53 grams) milk
Instructions
To make the cookies:
- In a medium-sized bowl, whisk together the flour, cocoa powder, salt, and baking soda. Set aside.
- In the bowl of a stand mixer fitted with a paddle attachment, cream together the butter, 2/3 cup (133 grams) granulated sugar, and light brown sugar on medium speed until well combined, about 1 minute. Scrape the sides of the bowl and add the egg and vanilla extract, stirring on medium speed just until combined. Add the mixed bowl of dry ingredients and stir on low speed, scraping the bowl as needed, just until the dough comes together. Fold in any unincorporated flour and set aside.
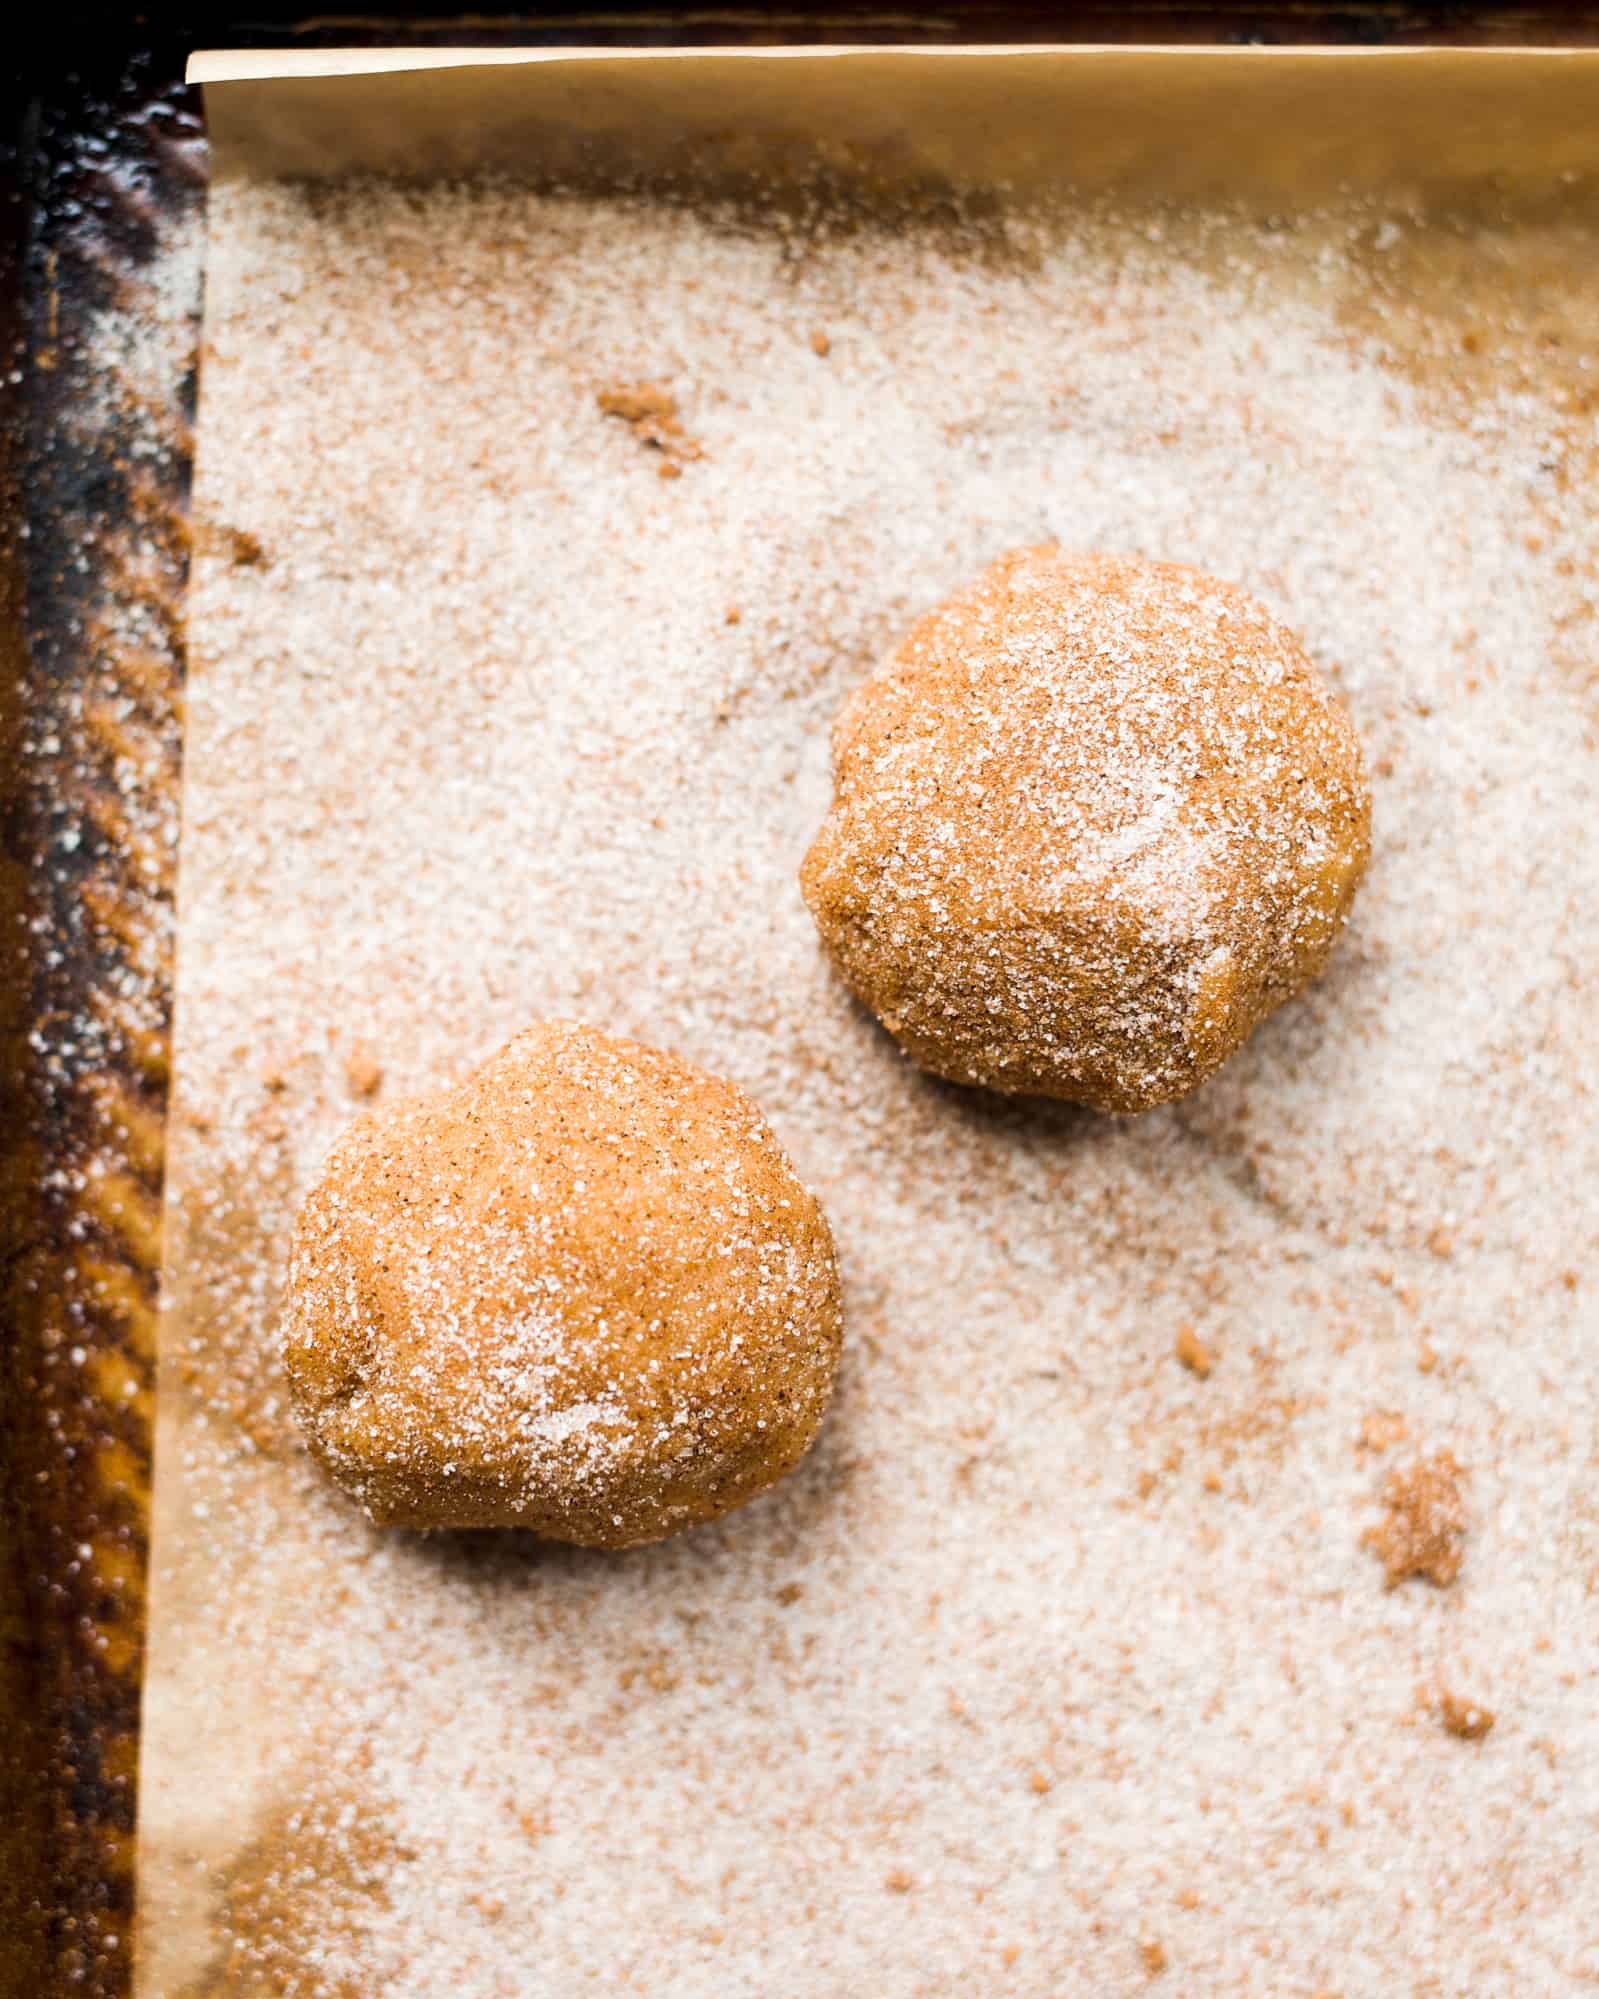
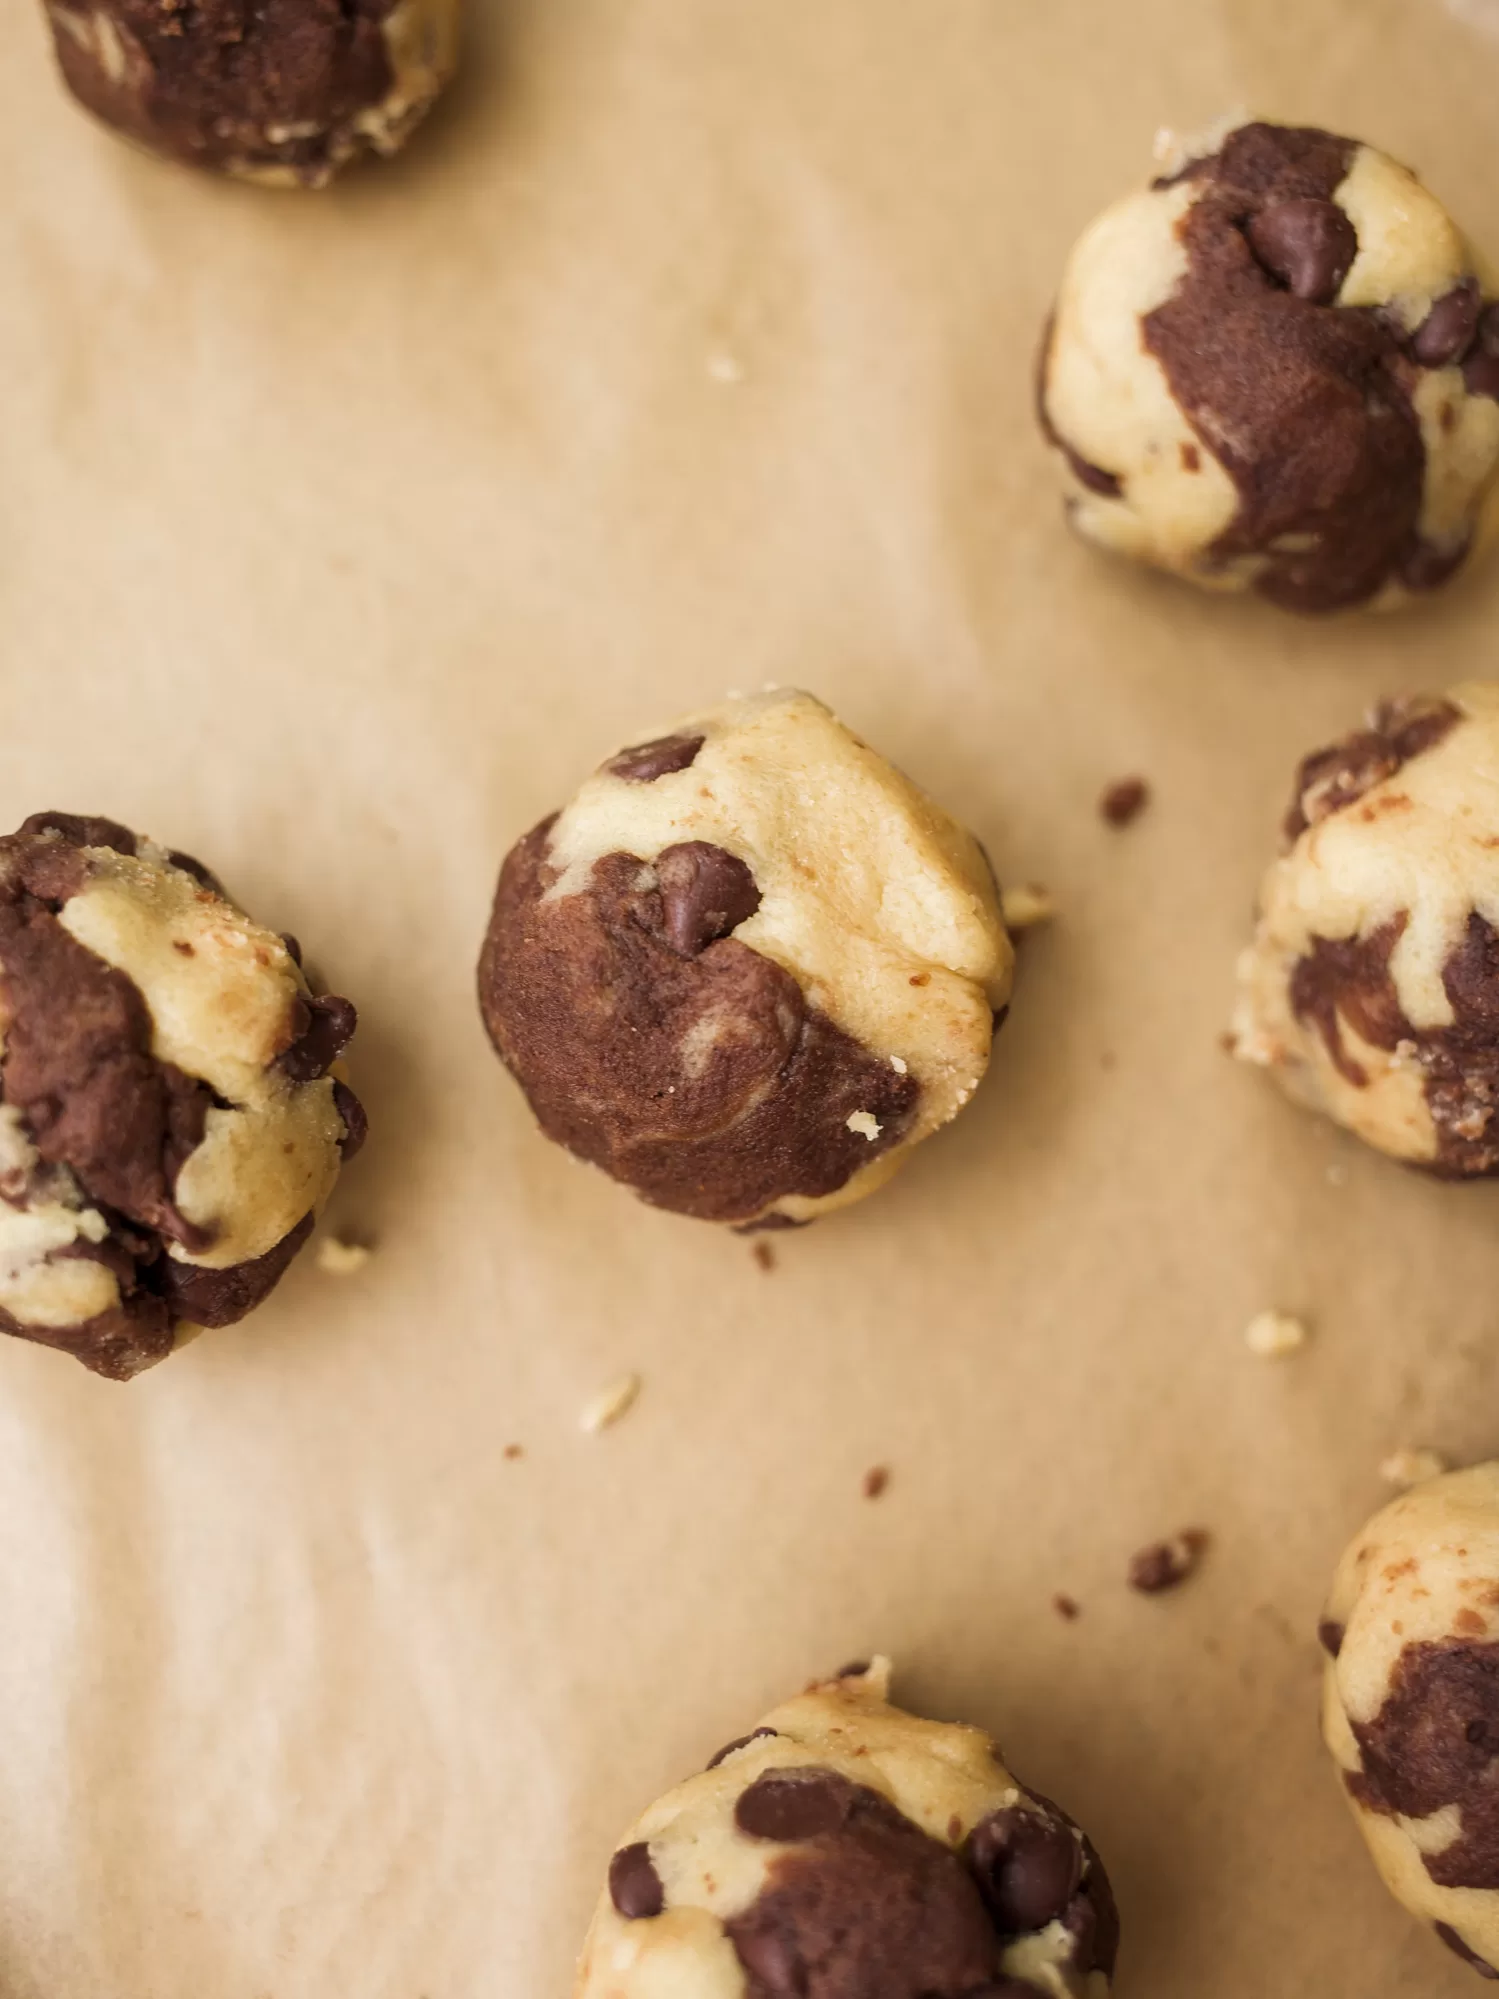
- Line 2 heavy-bottomed baking sheets with a piece of parchment paper and pour the remaining 1/3 cup (67 grams) granulated sugar in a small mixing bowl. Use a small (2-teaspoon) spring-loaded scoop with portion out rounds of dough. Briefly roll each piece in your hands to smooth and toss each one in the remaining sugar to coat. Use your thumb or the back of a rounded ½ teaspoon measure to indent a thumbprint into each cookie. Space them 2” apart on the prepared pans and cover each with plastic wrap, refrigerating until firm, about 30 minutes.
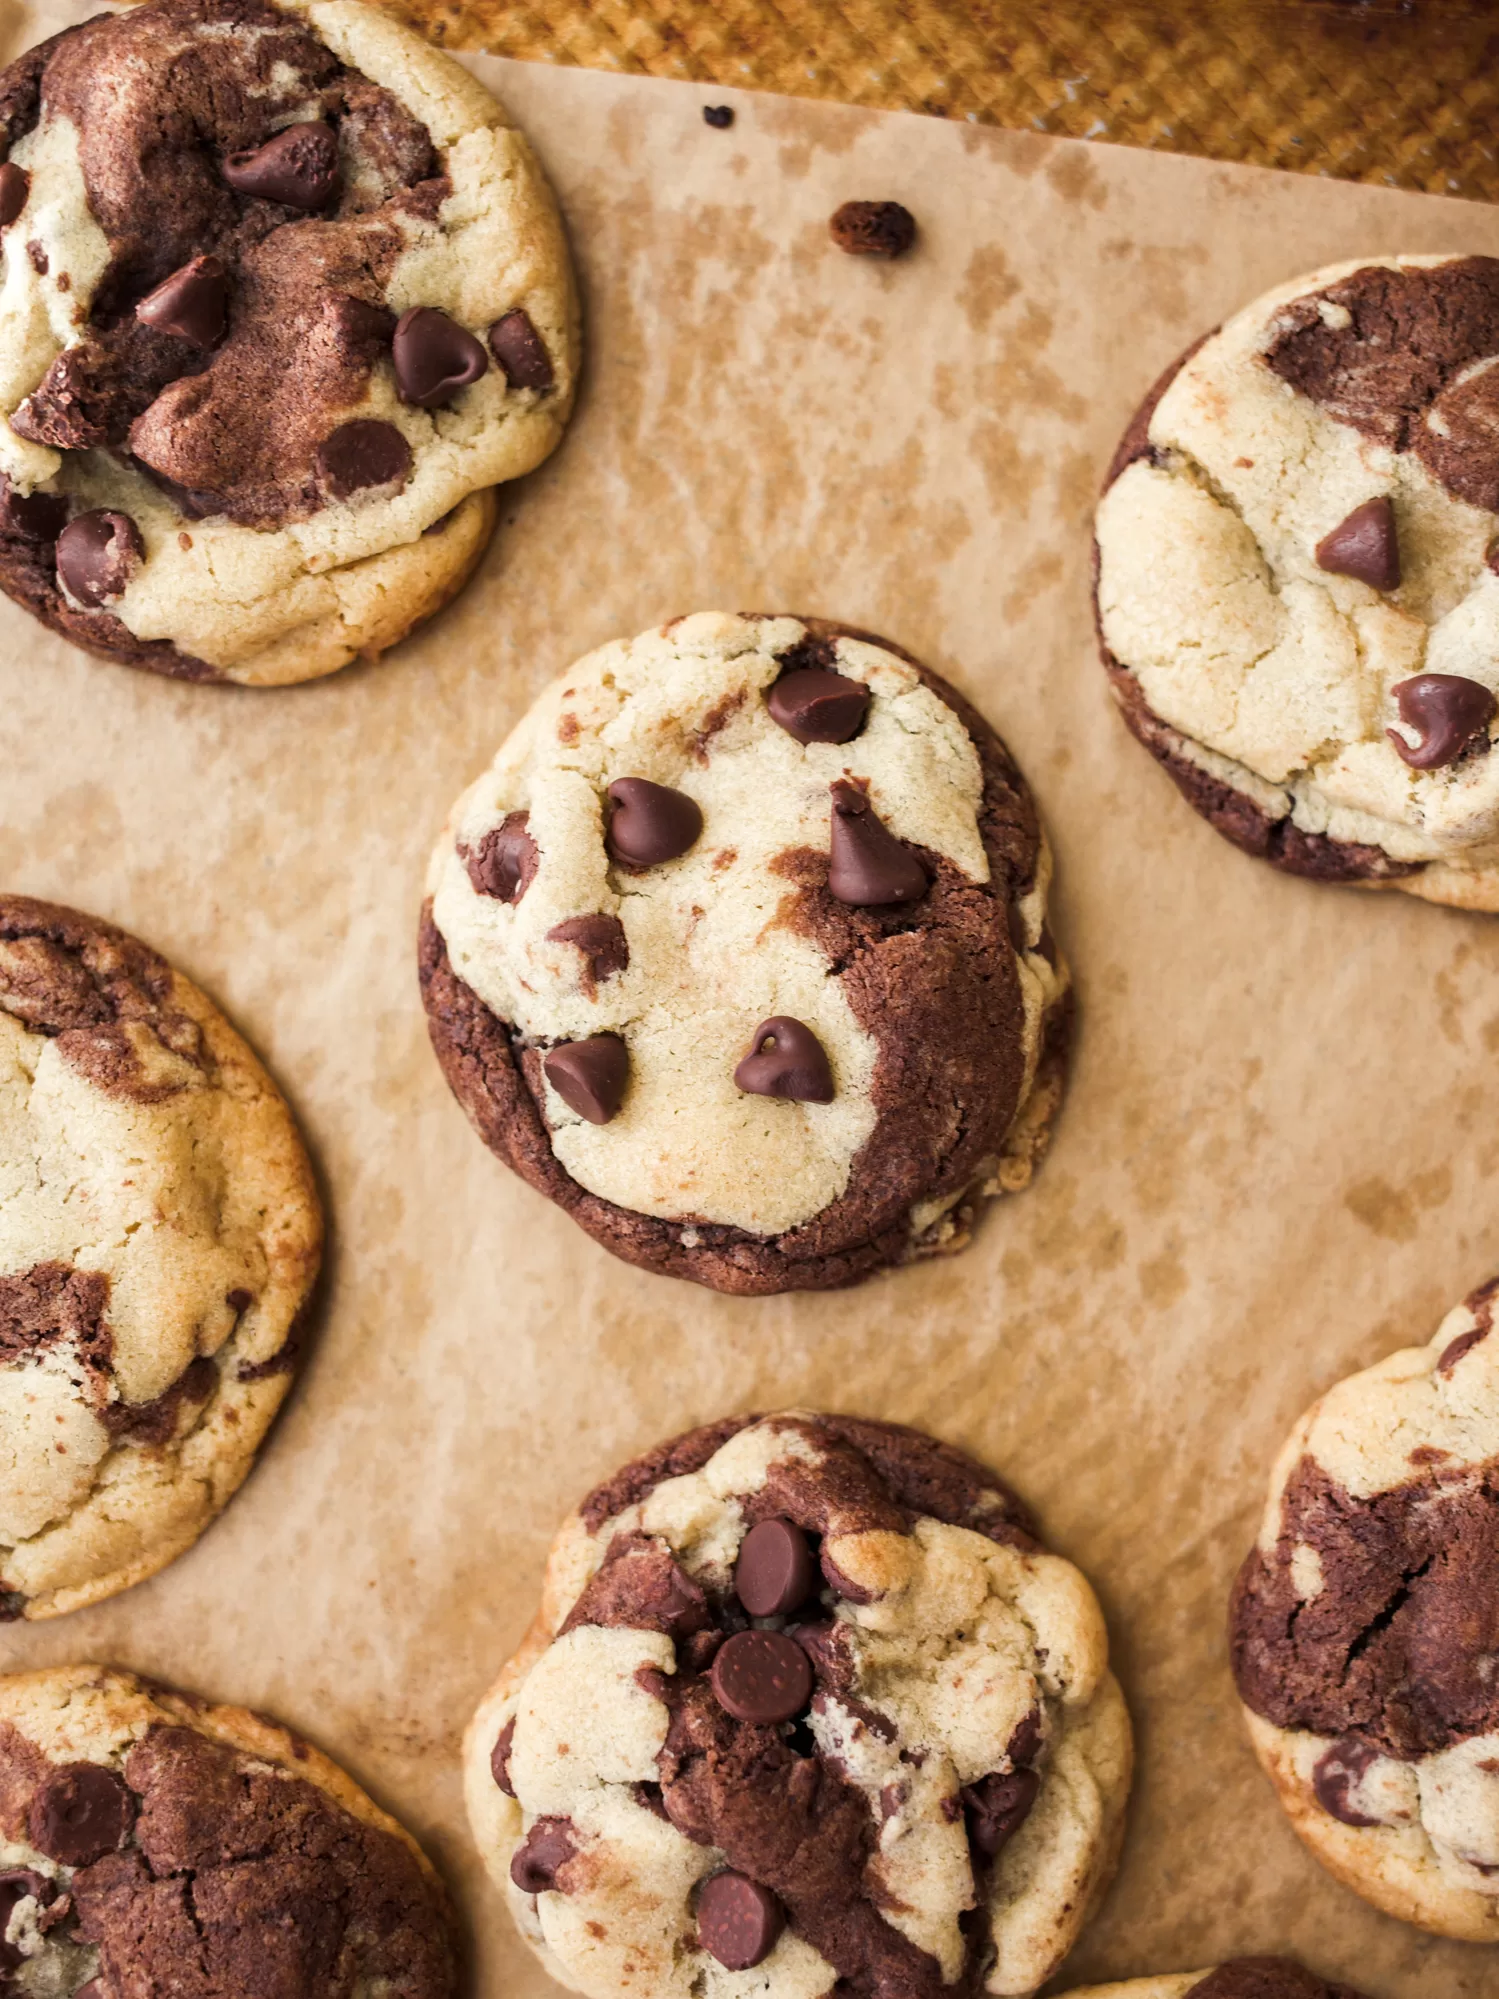
- About 15 minutes prior to baking, preheat the oven to 350 °F (180 °C). Bake the cookies one at a time in the preheated oven just until the edges of the cookies are set, about 10 minutes. The centers of the cookies will likely have puffed some while baking, so immediately after removing the pans from the oven, use the back of the ½ teaspoon measure to re-create a thumbprint in the center of the cookie again. Allow the cookies to cool completely.
- Fill a piping bag fitted with a round tip with the peanut butter cup filling. Pipe teaspoon-sized swirls of filling into the center of each cooled cookie. Sprinkle cookies with finely chopped honey roasted peanuts if desired. Allow to set up slightly prior to enjoying. Cookies can be stored at room temperature in an airtight container and are best eaten within 3 days.
To make the filling:
- In a medium-sized mixing bowl, use a hand mixer to combine the peanut butter, confectioner’s sugar, and milk on low speed. Stir until smooth.