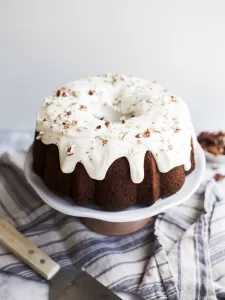
Hummingbird Bundt Cake
With Easter just a hot minute away, I want to share a recipe that is perfect for the upcoming celebrations: hummingbird bundt cake. If you don’t know what a hummingbird cake is (I’m looking at you, Northerners!), no worries; just a few short years ago, I was completely in the dark too. We’ll get all up in it today.
At the end of this month, on April 27th, Brett and I will celebrate our 10-year anniversary. The whole idea of 10 years spent with someone not only makes me feel super old, but also kind of amazes me. Somehow, in just a matter of years, our little town of Selma, AL has come to feel a lot like home. Despite having lived most of my life in parts of the US that are decidedly NOT southern, I’ve grown to love small town southern life. It feels like home.
One of the earliest things I noticed about living in the South is that the food here is entirely different. It took no time for me to be introduced to sweet tea, fried pork chops, and smokey greens, but what I really came to love was the desserts. Where would I be without chess pies and banana pudding? Where would this website be without the influence of bourbon and old-fashioned cakes like today’s hummingbird bundt cake? Selma, AL has given me a whole lot more than a few new recipes, but I’m happy to celebrate at least a small slice of that goodness here today.
Hummingbird Bundt Cake
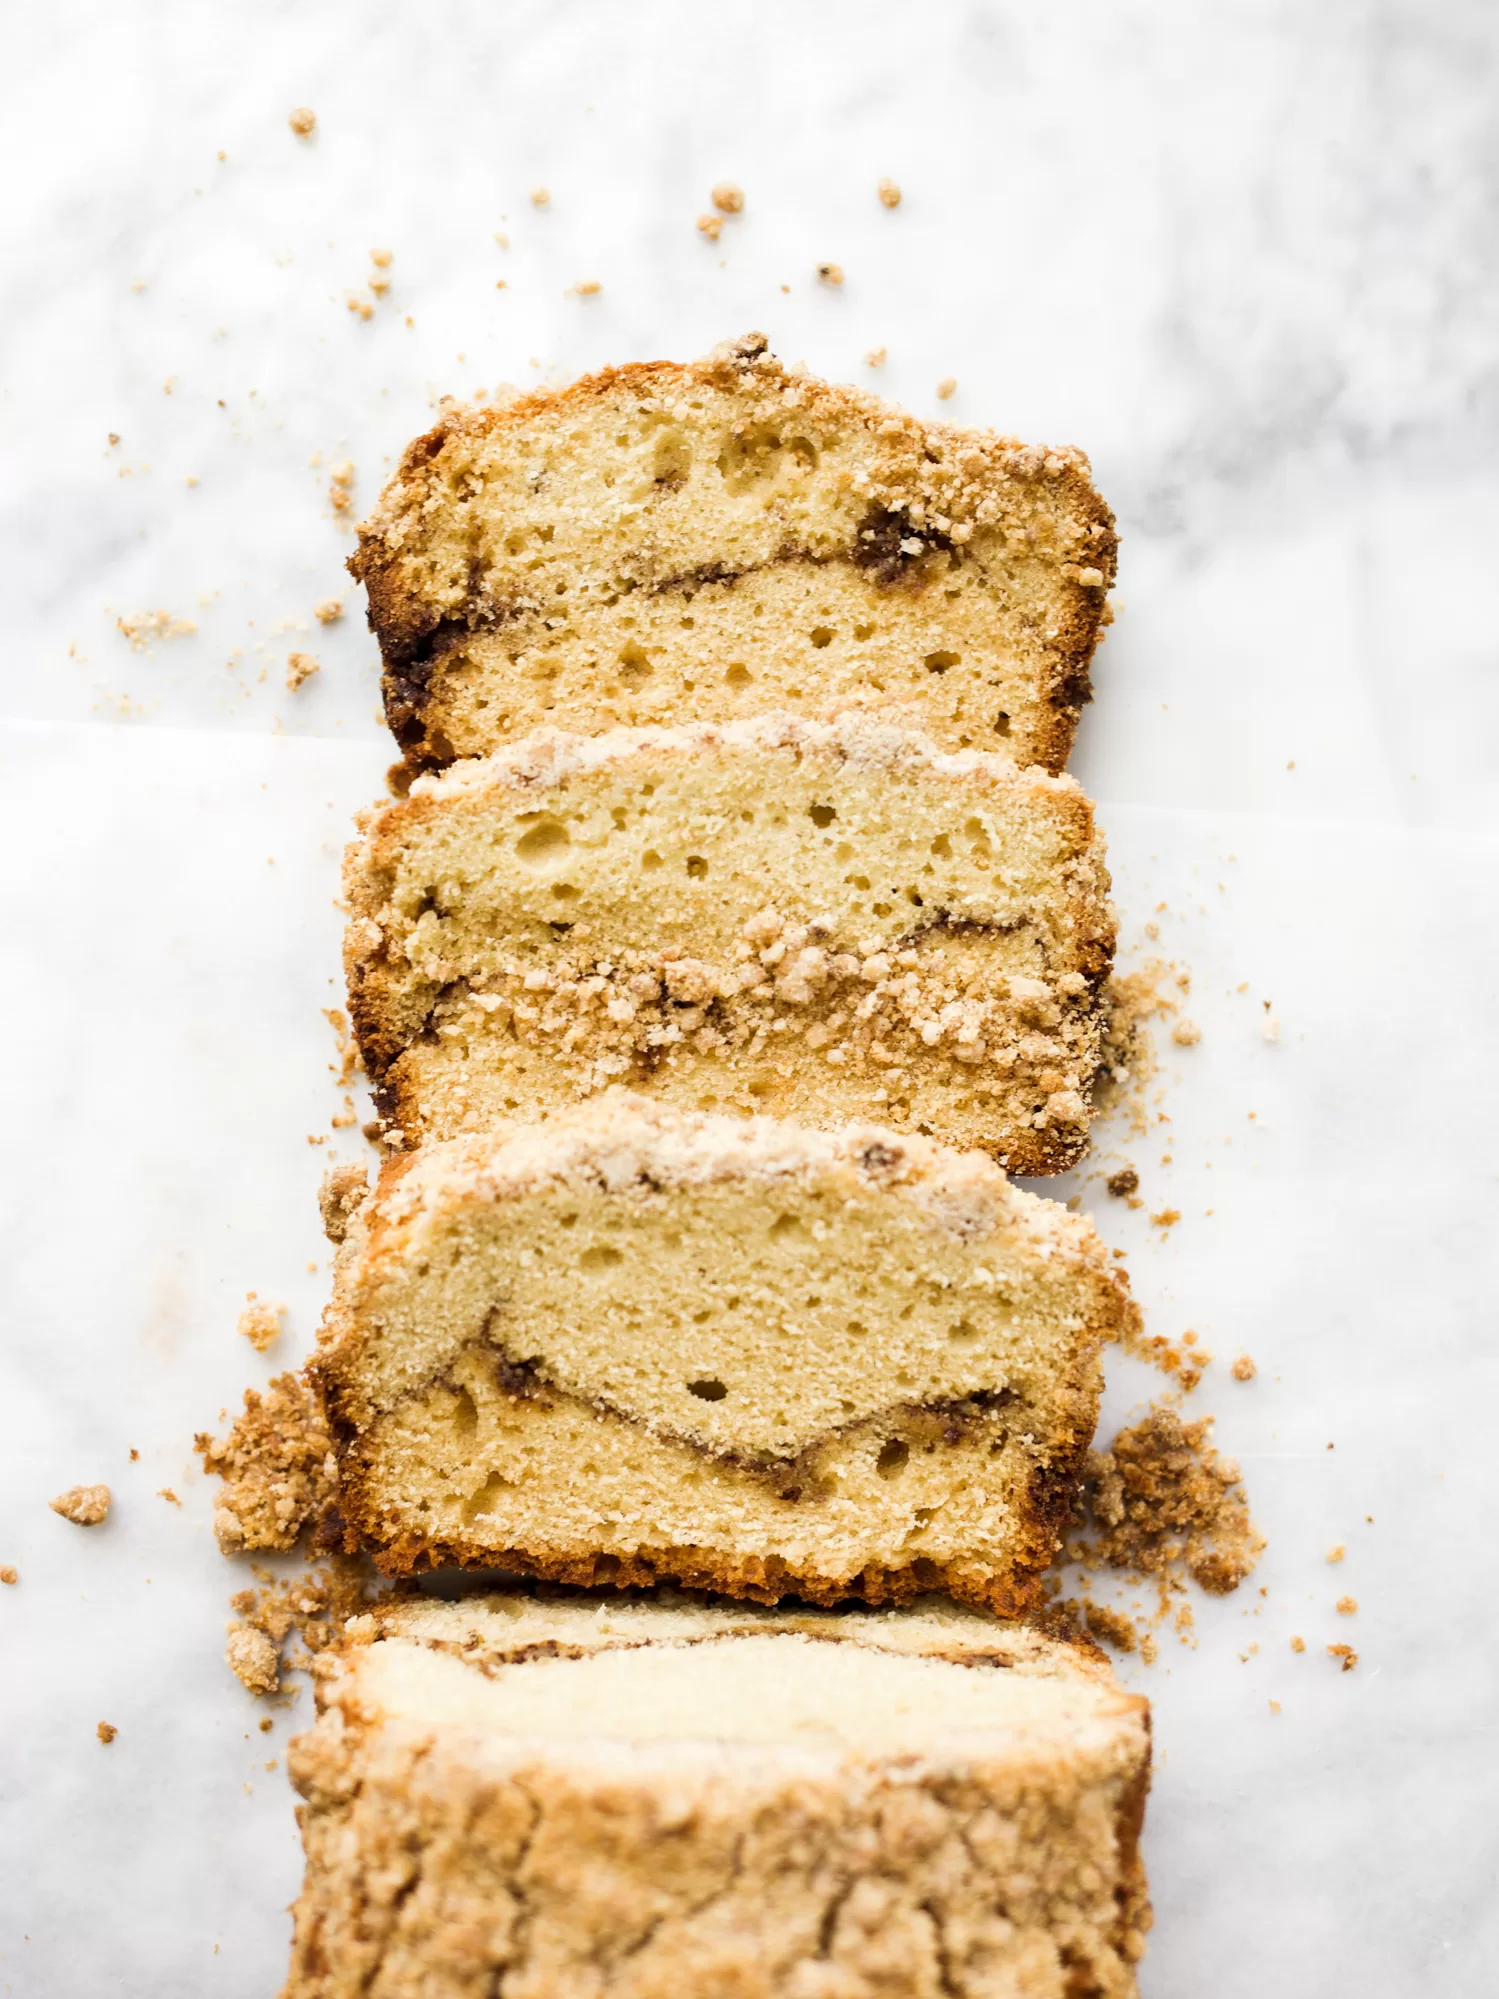
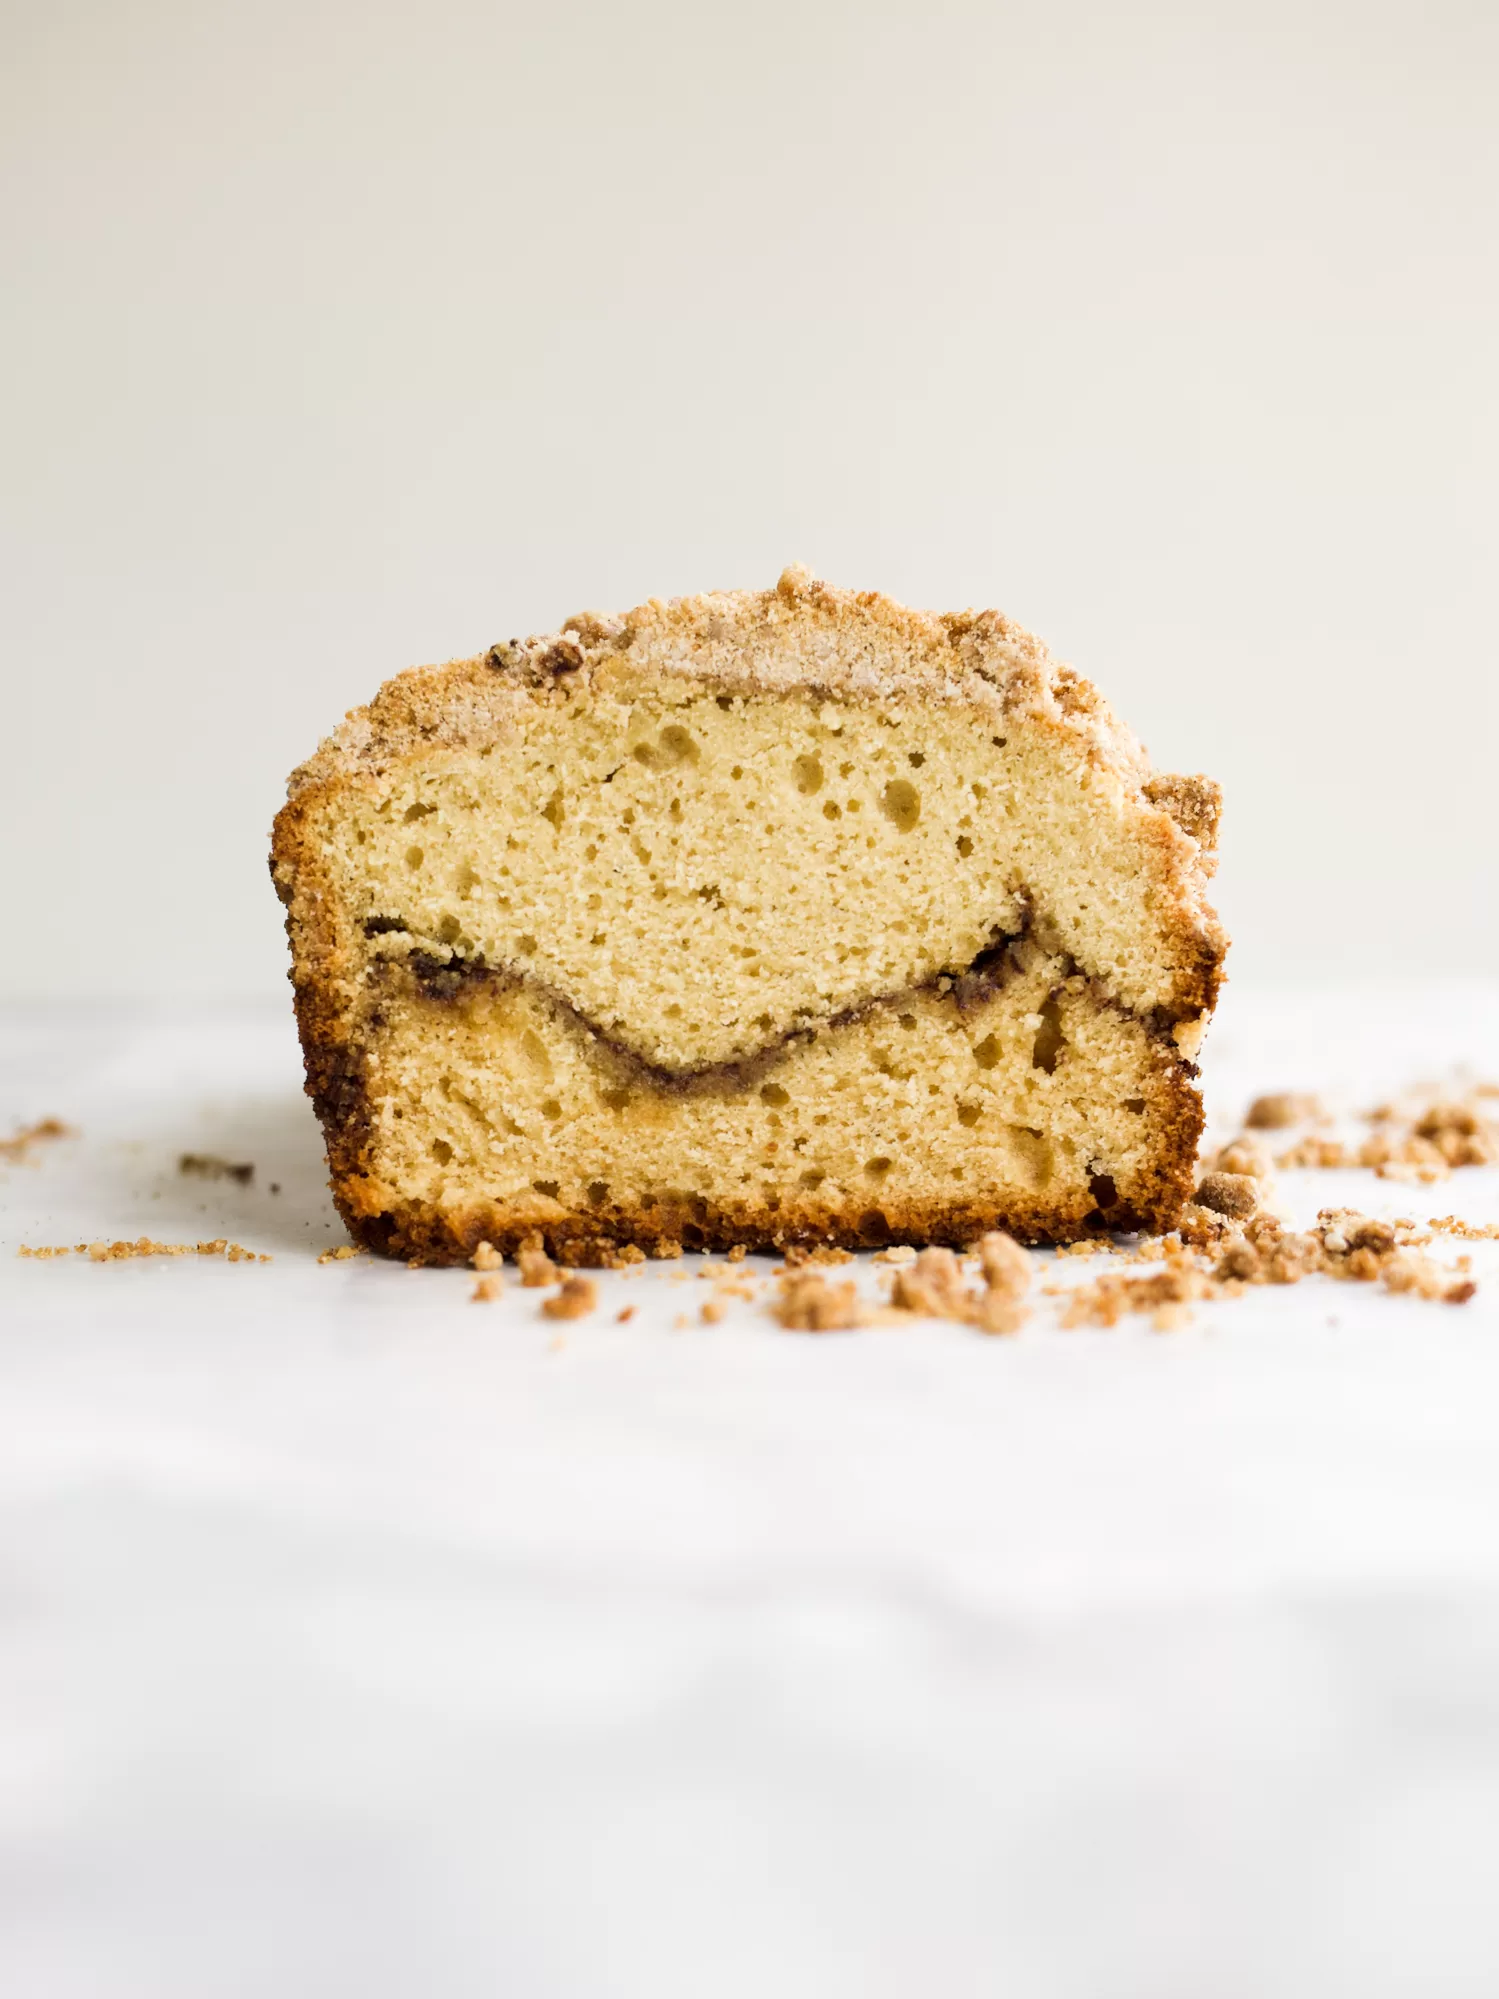
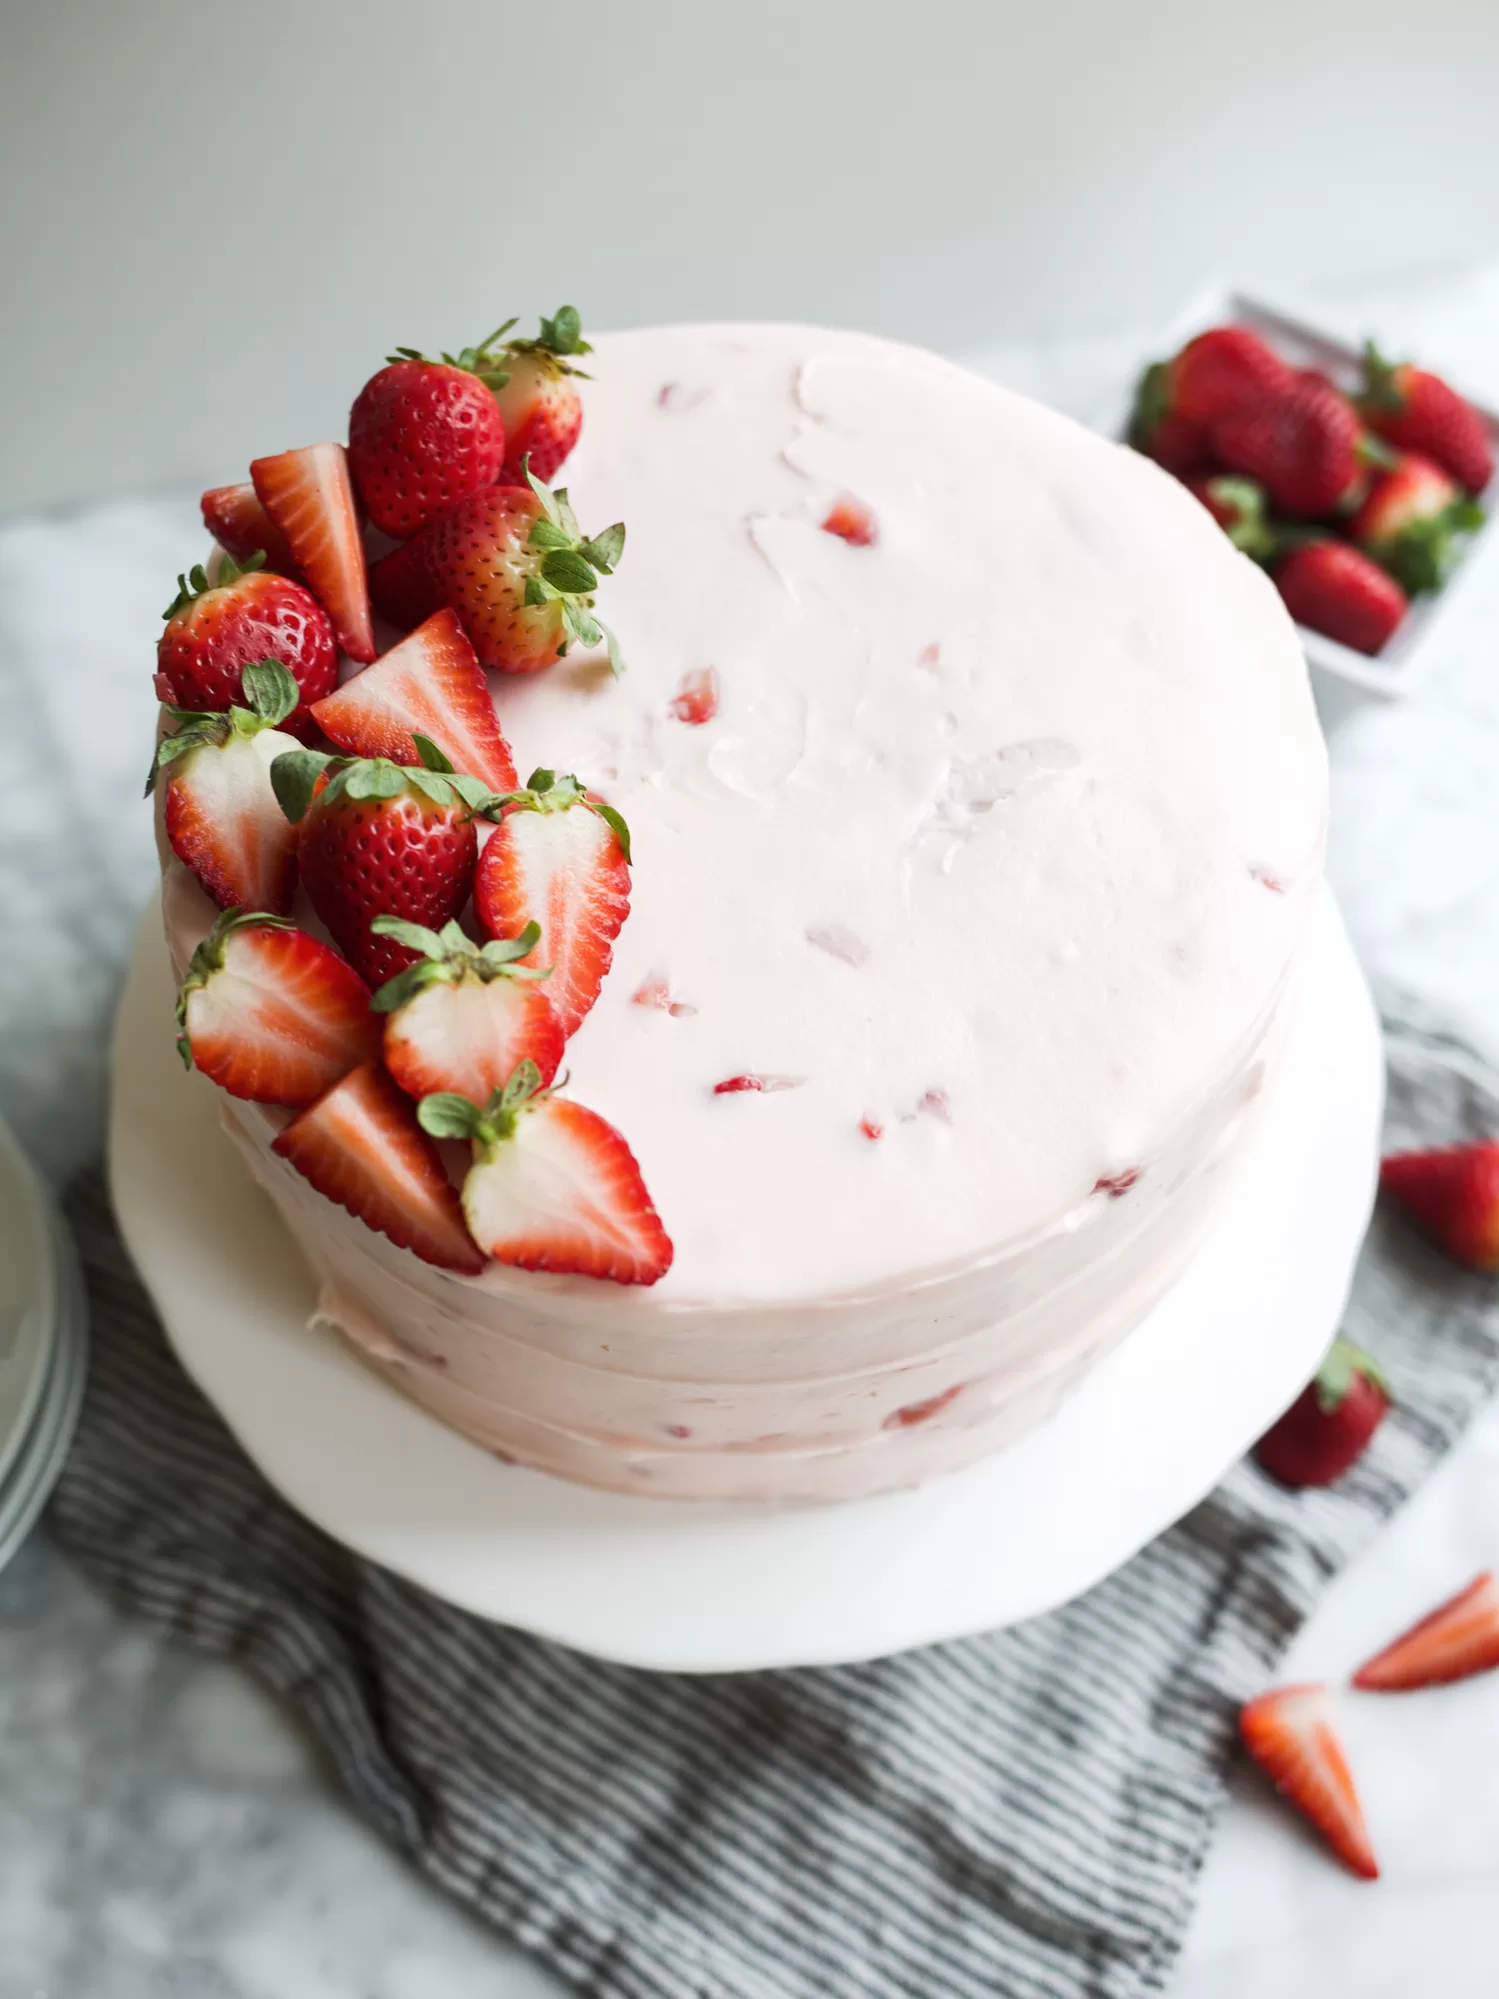
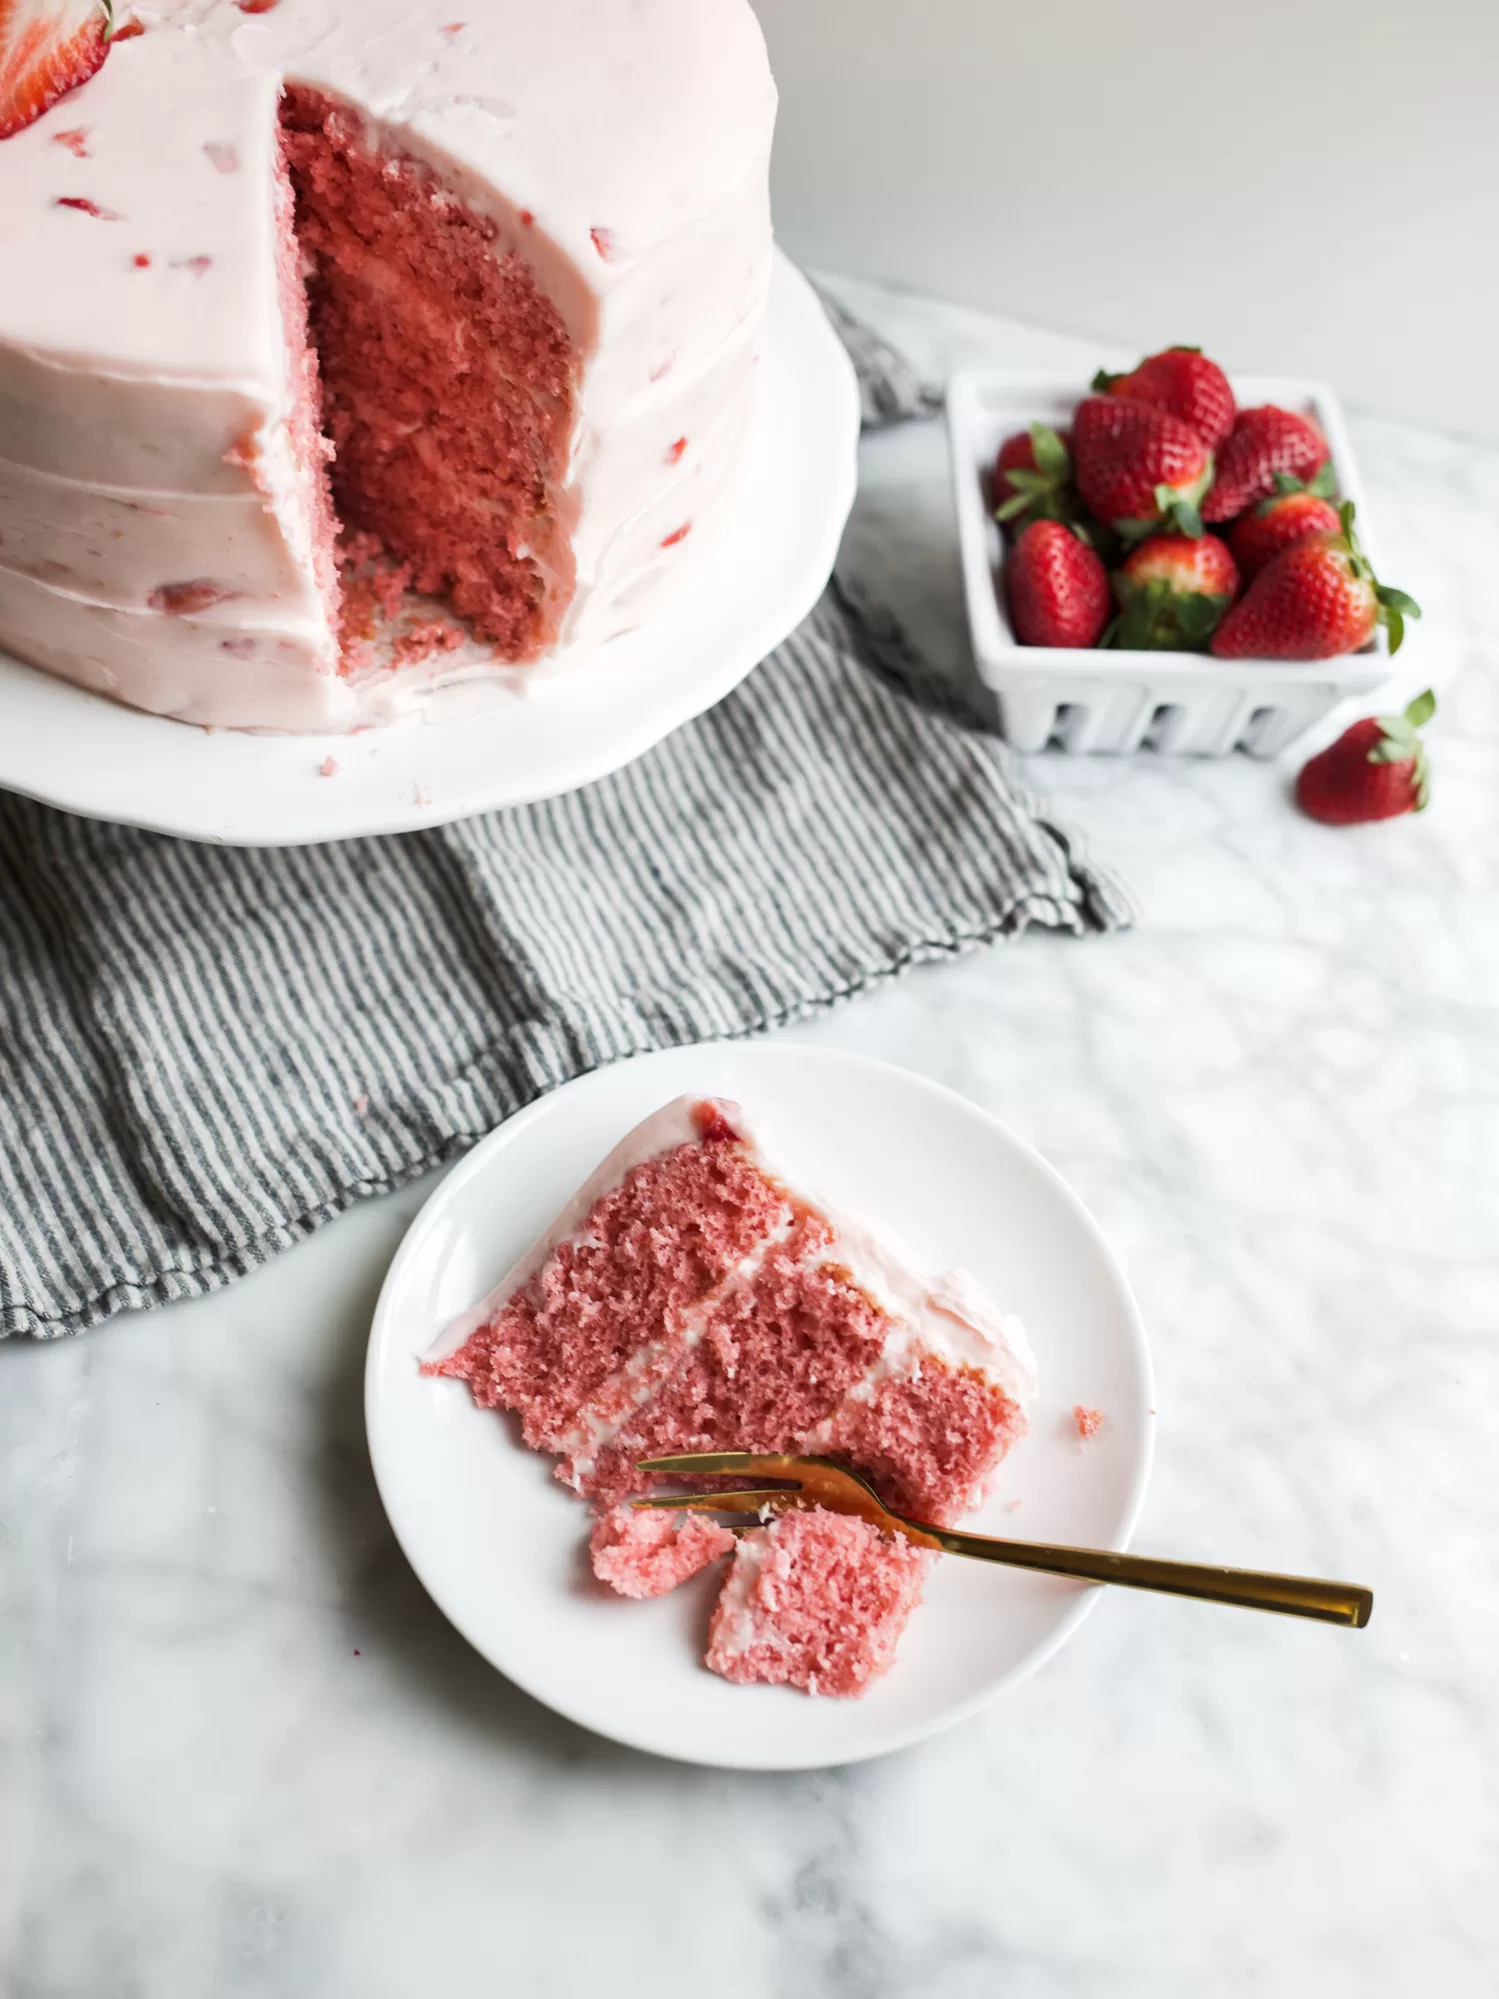
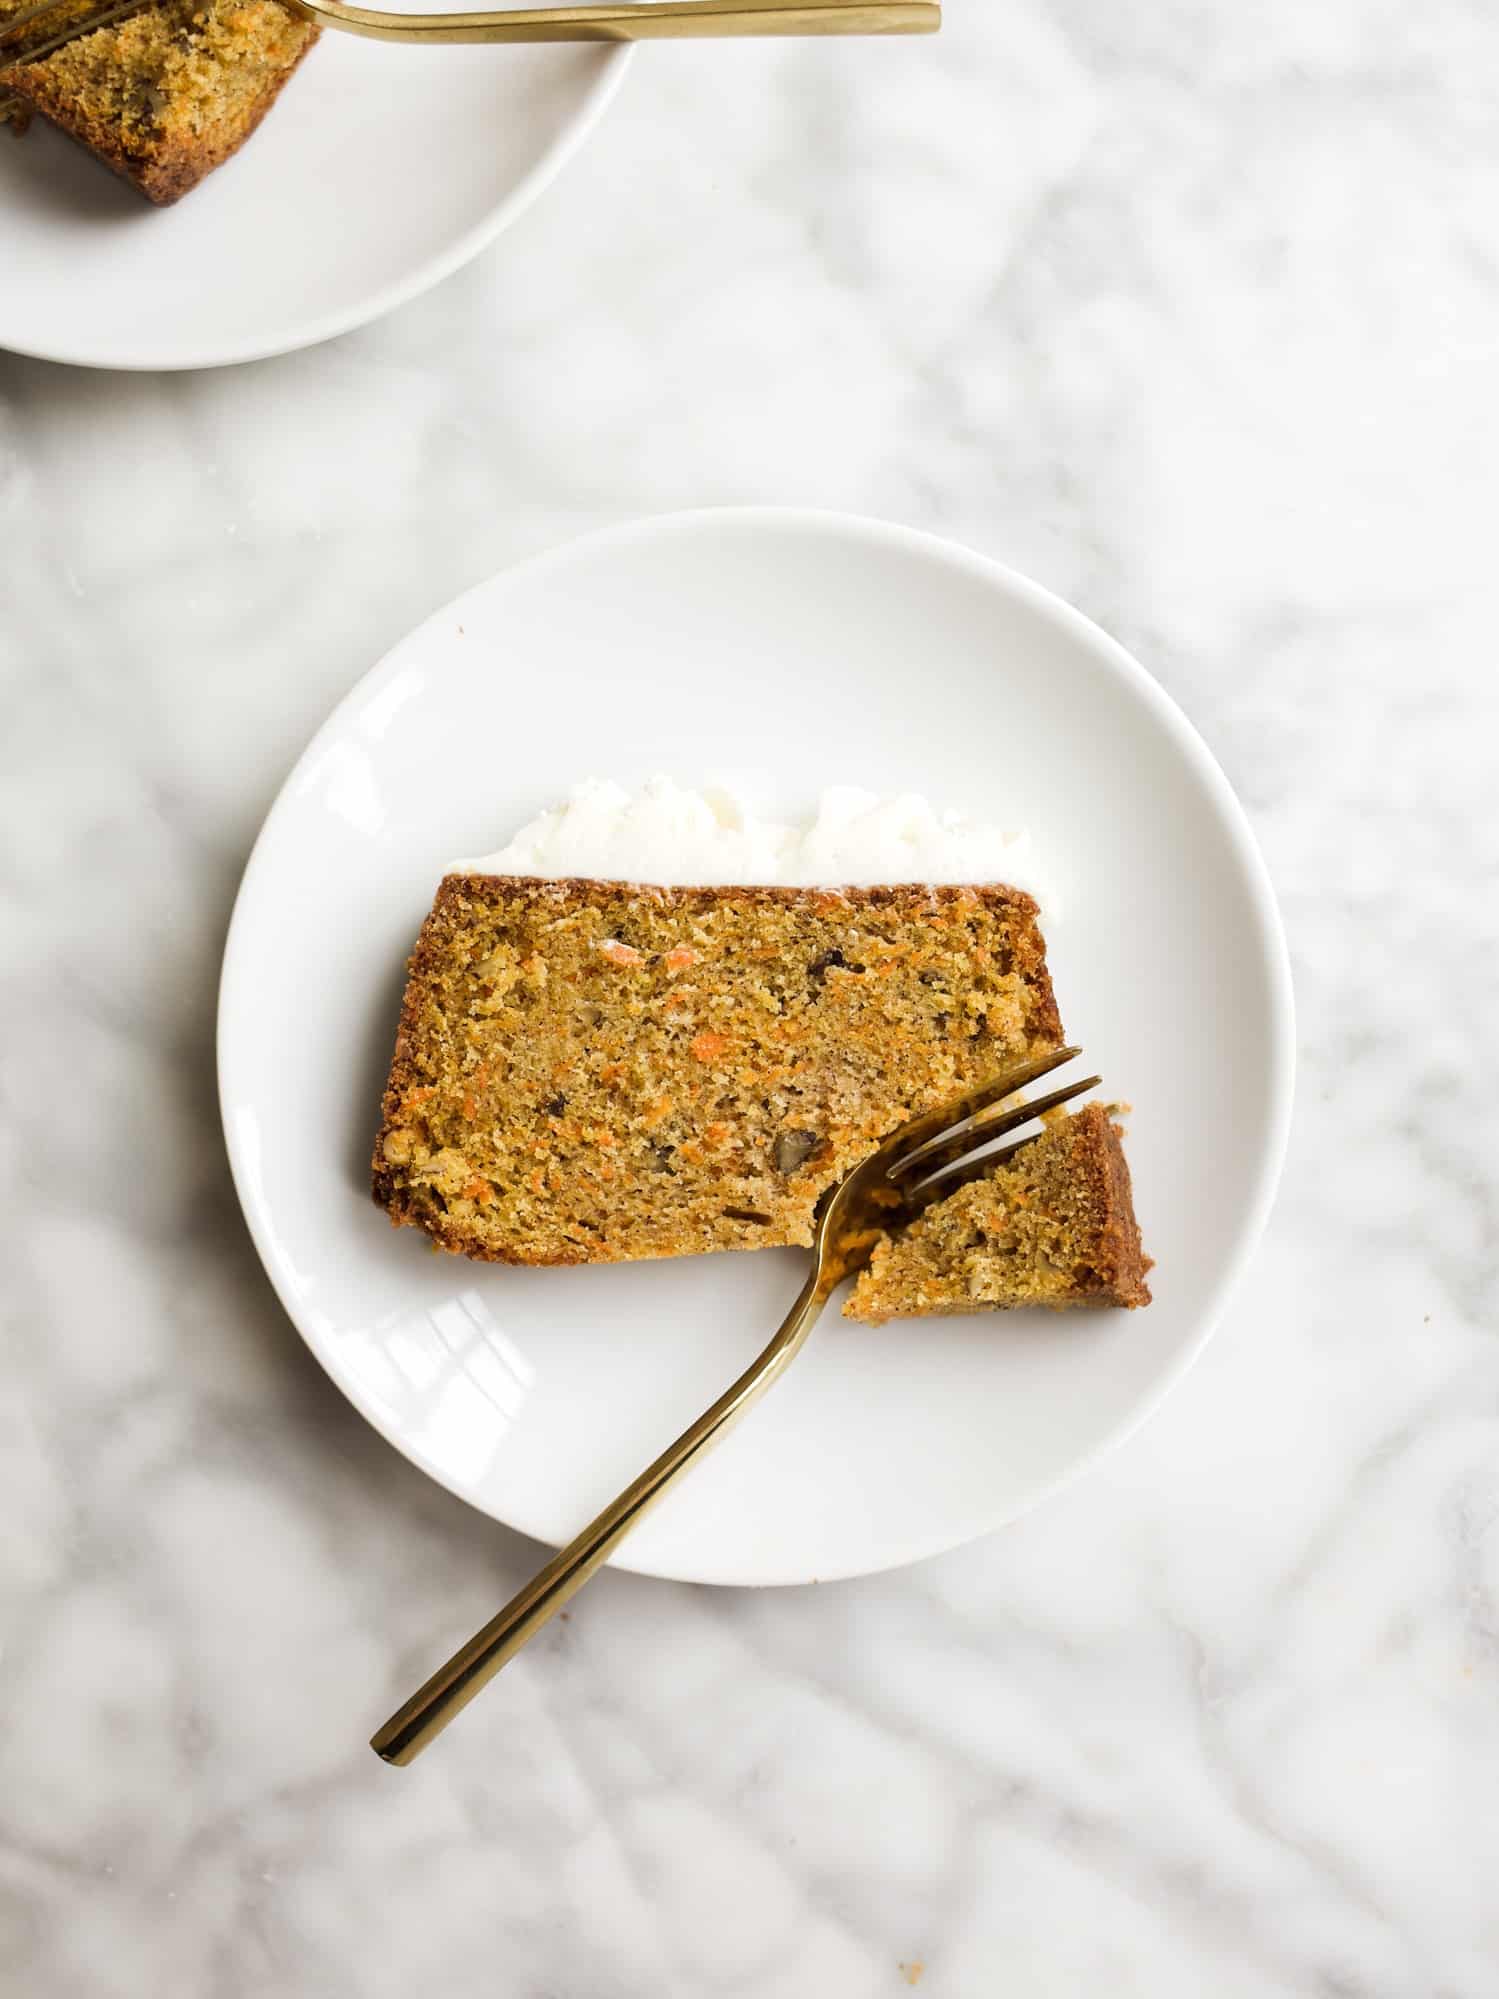
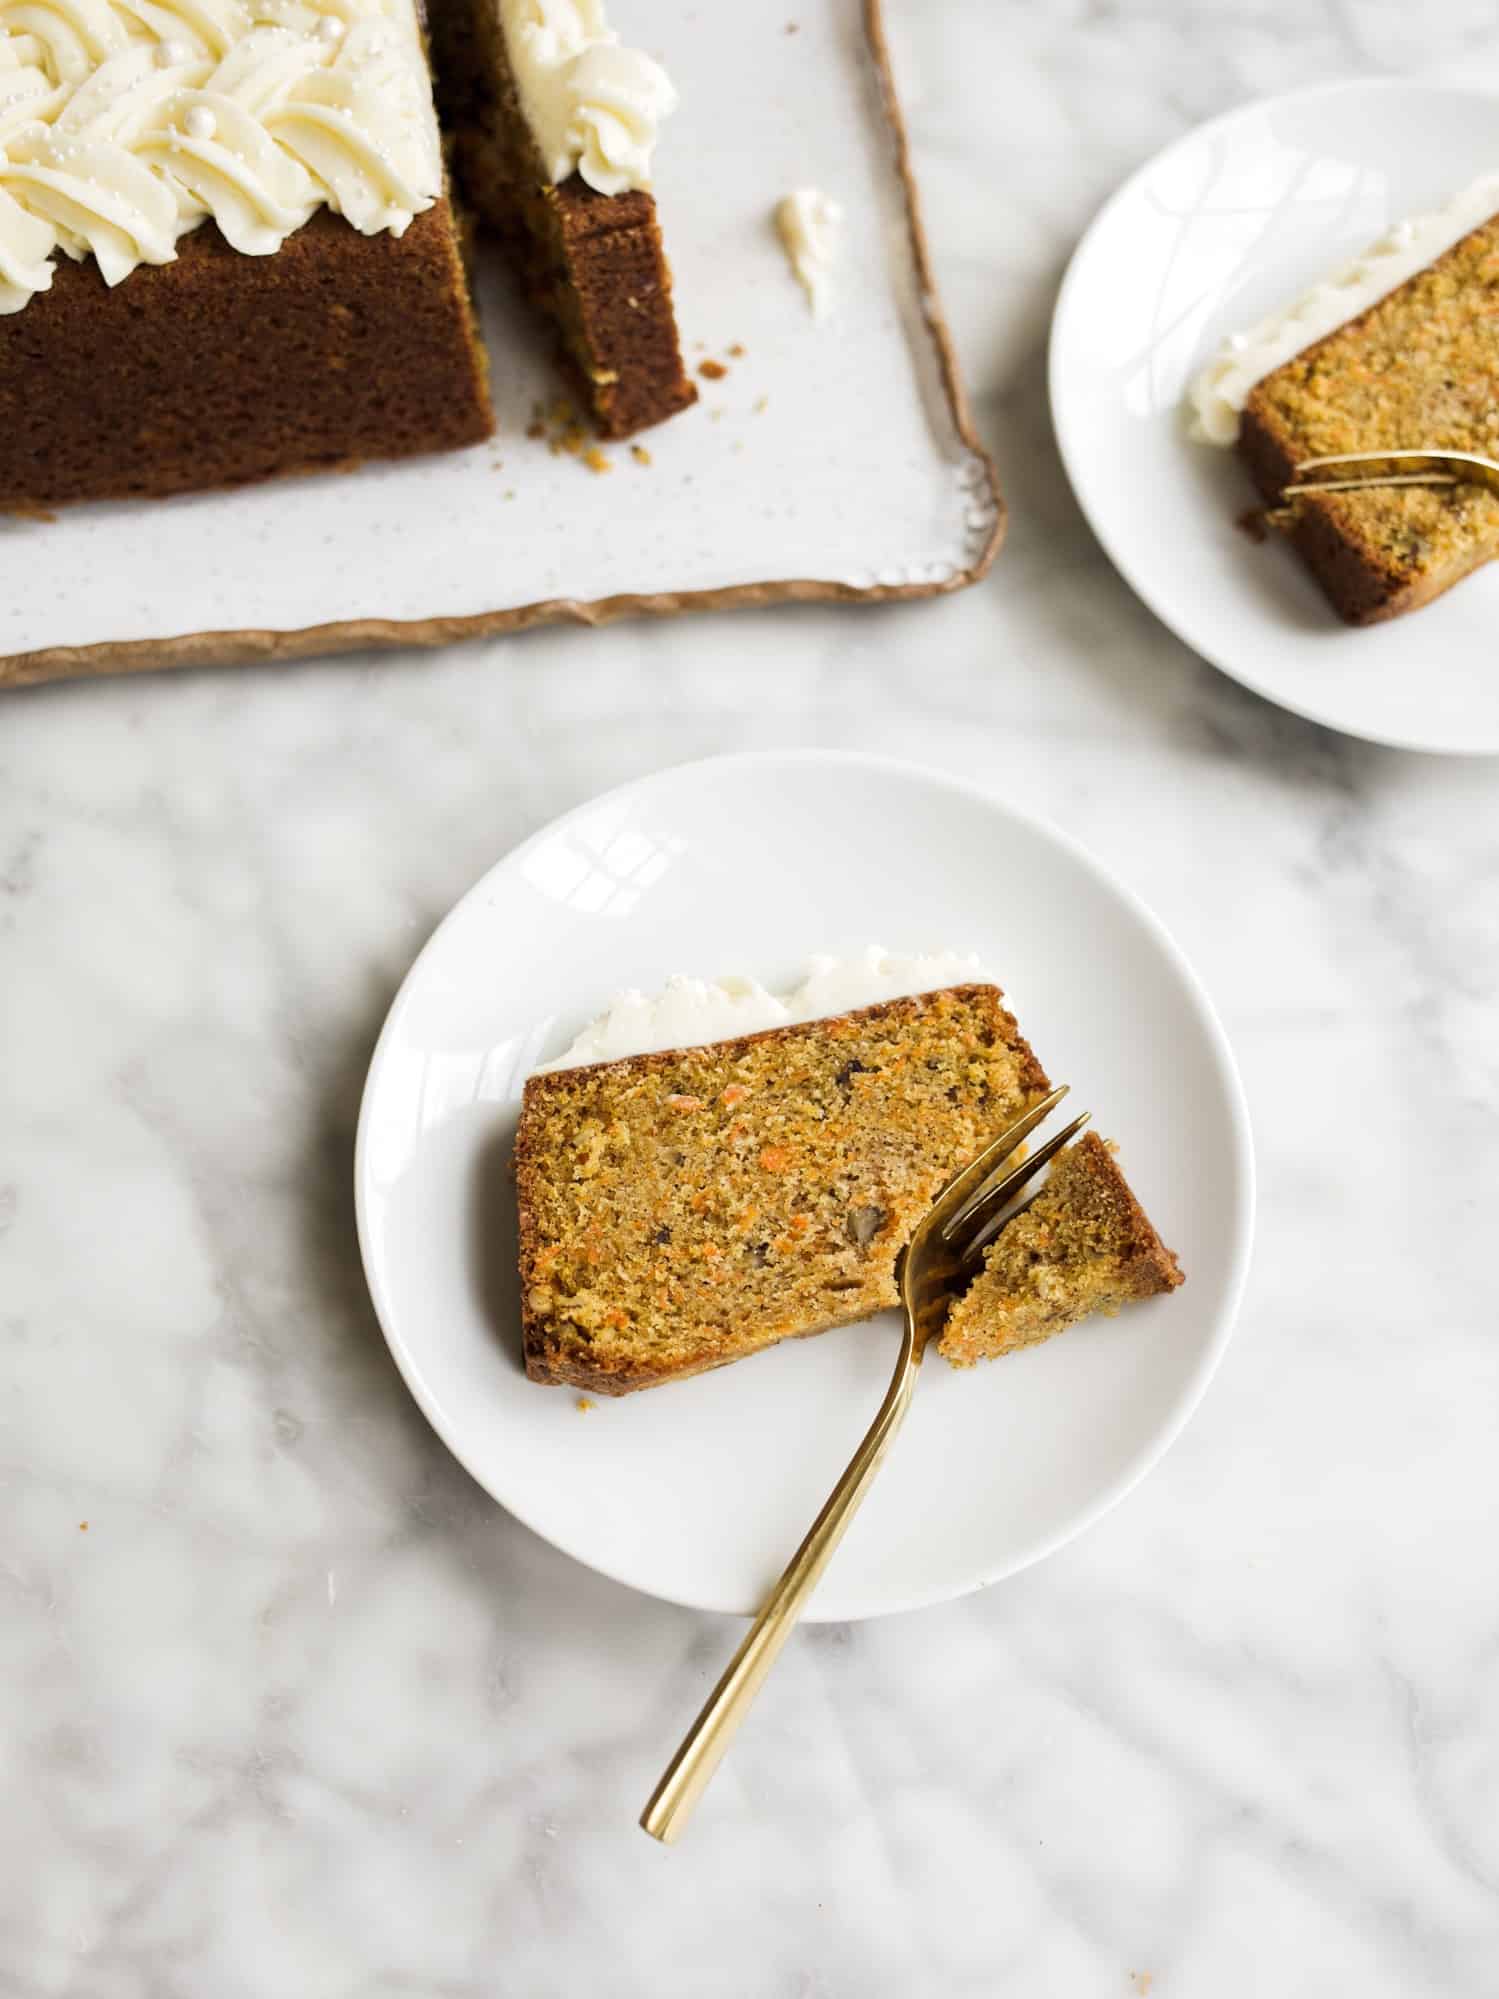
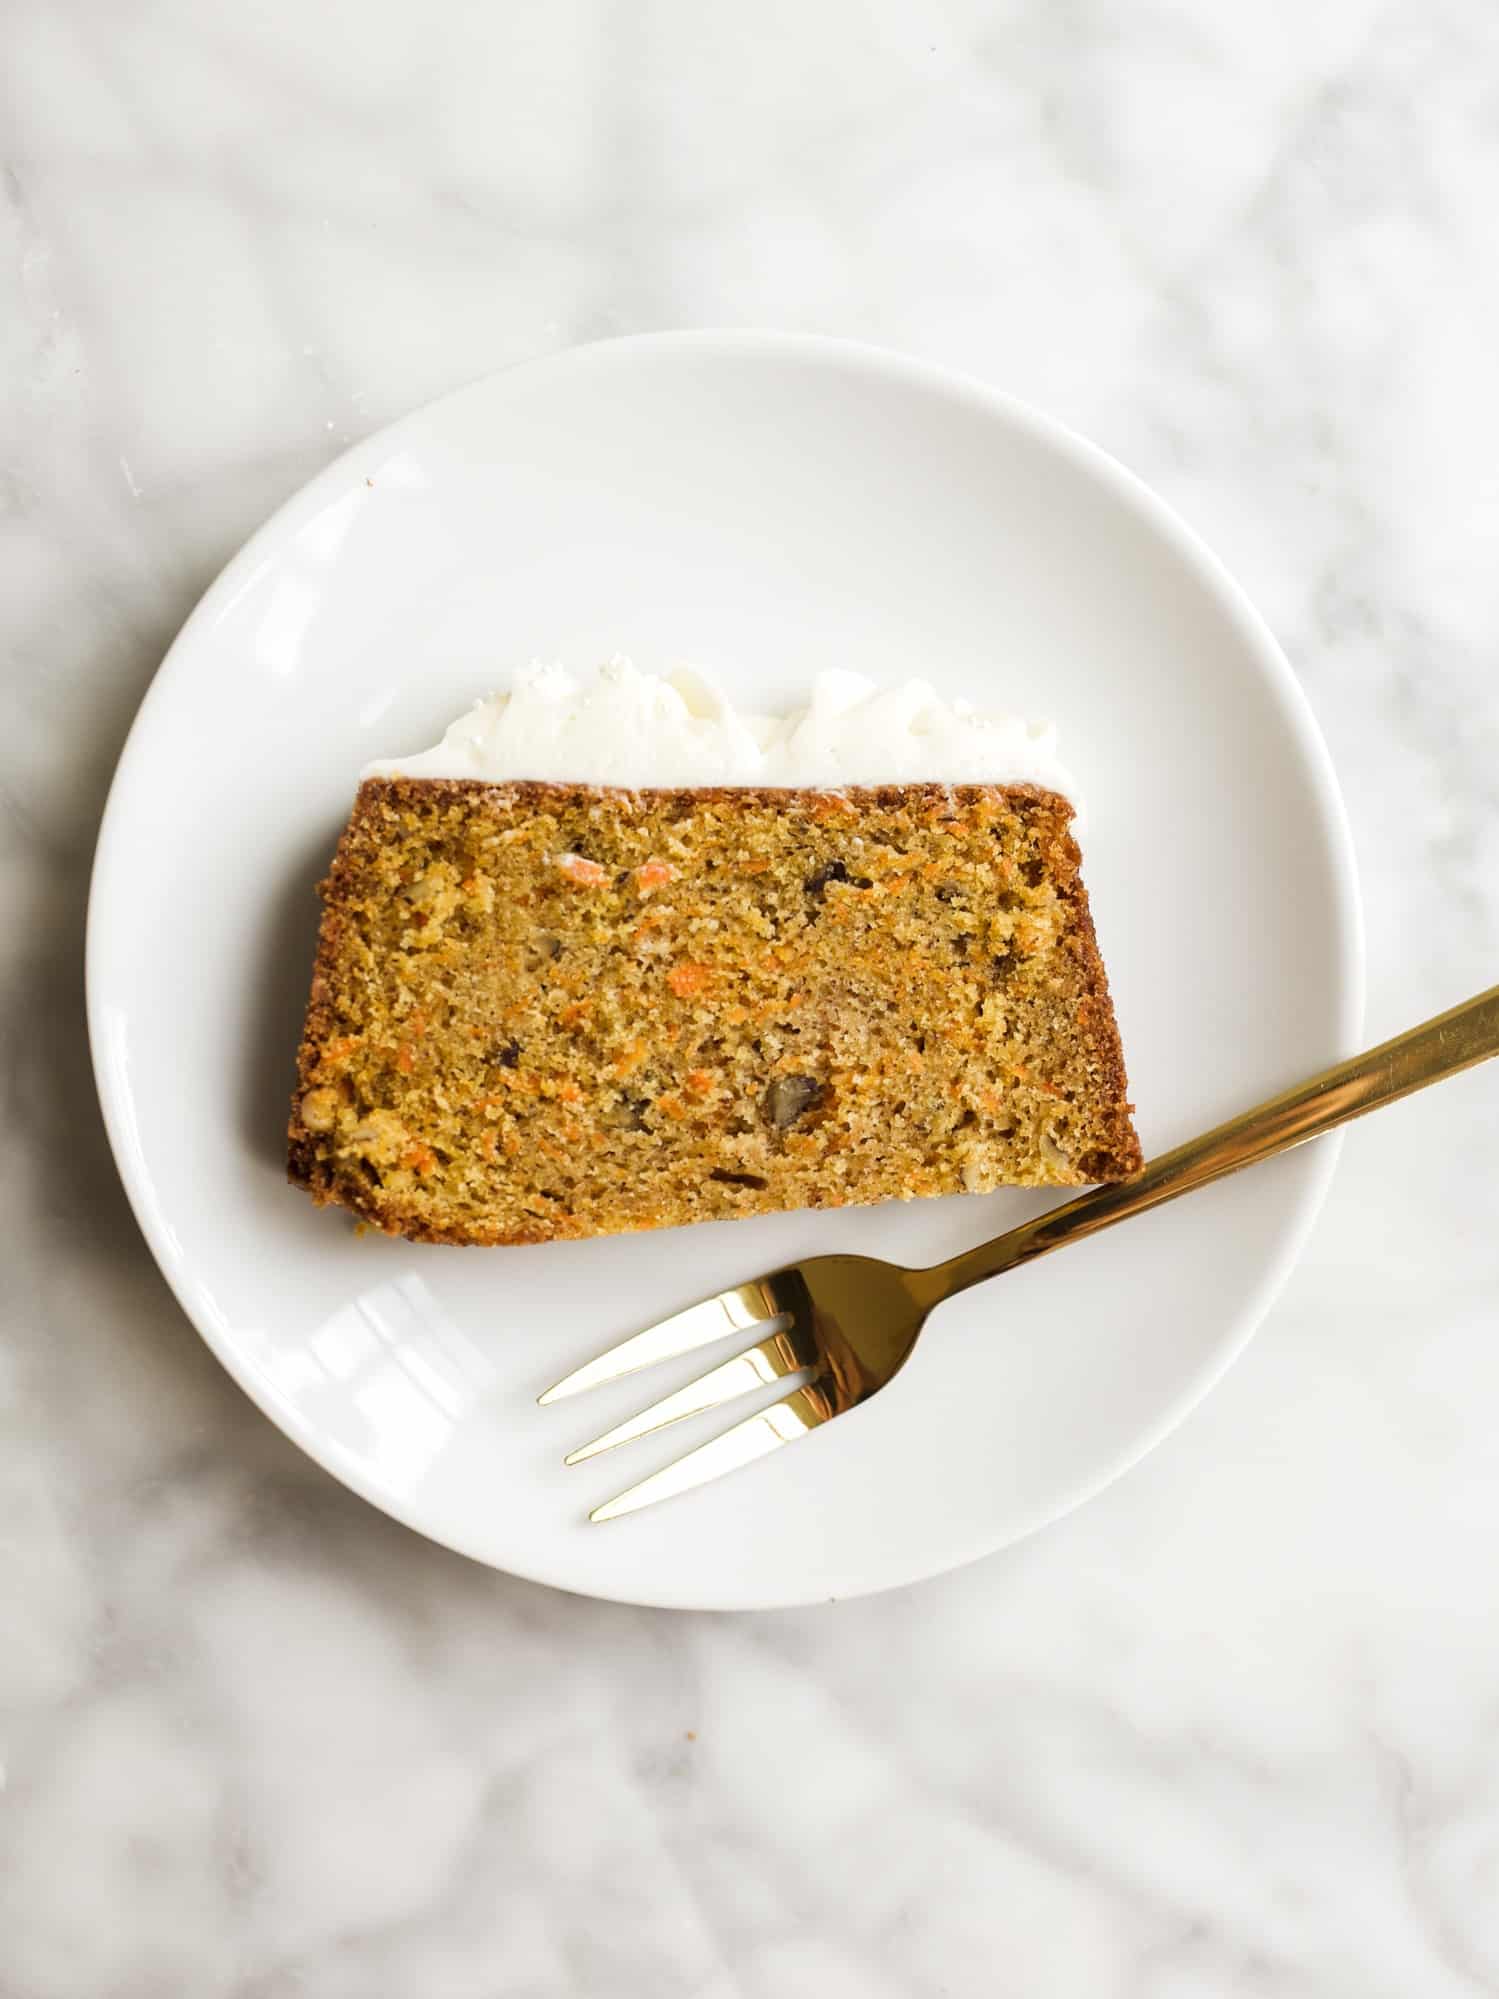
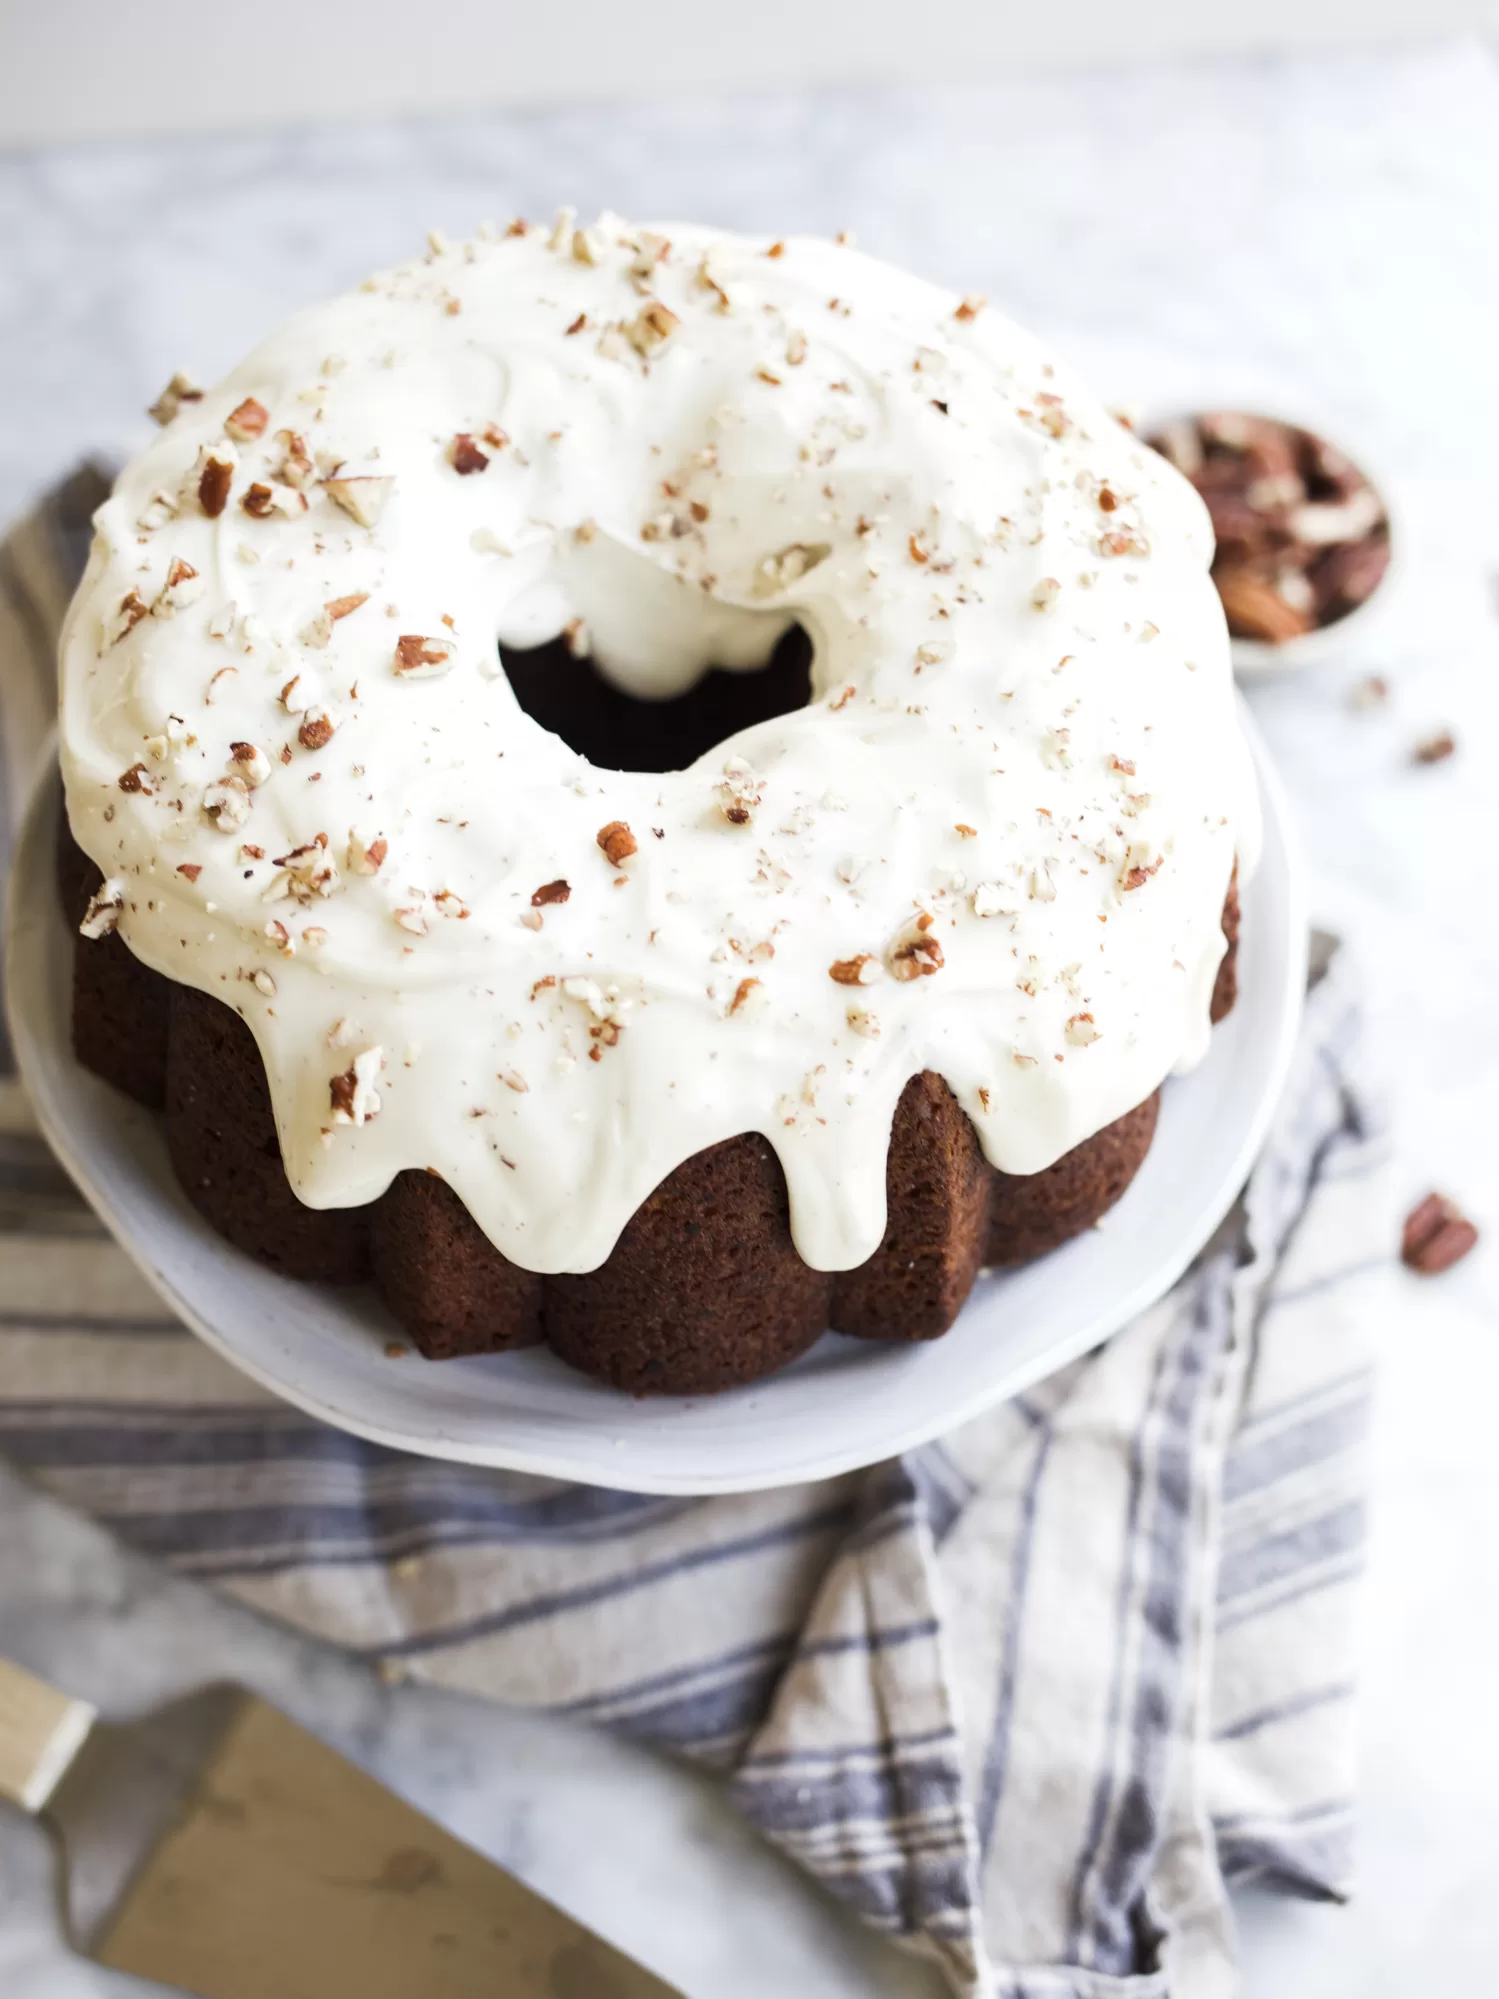
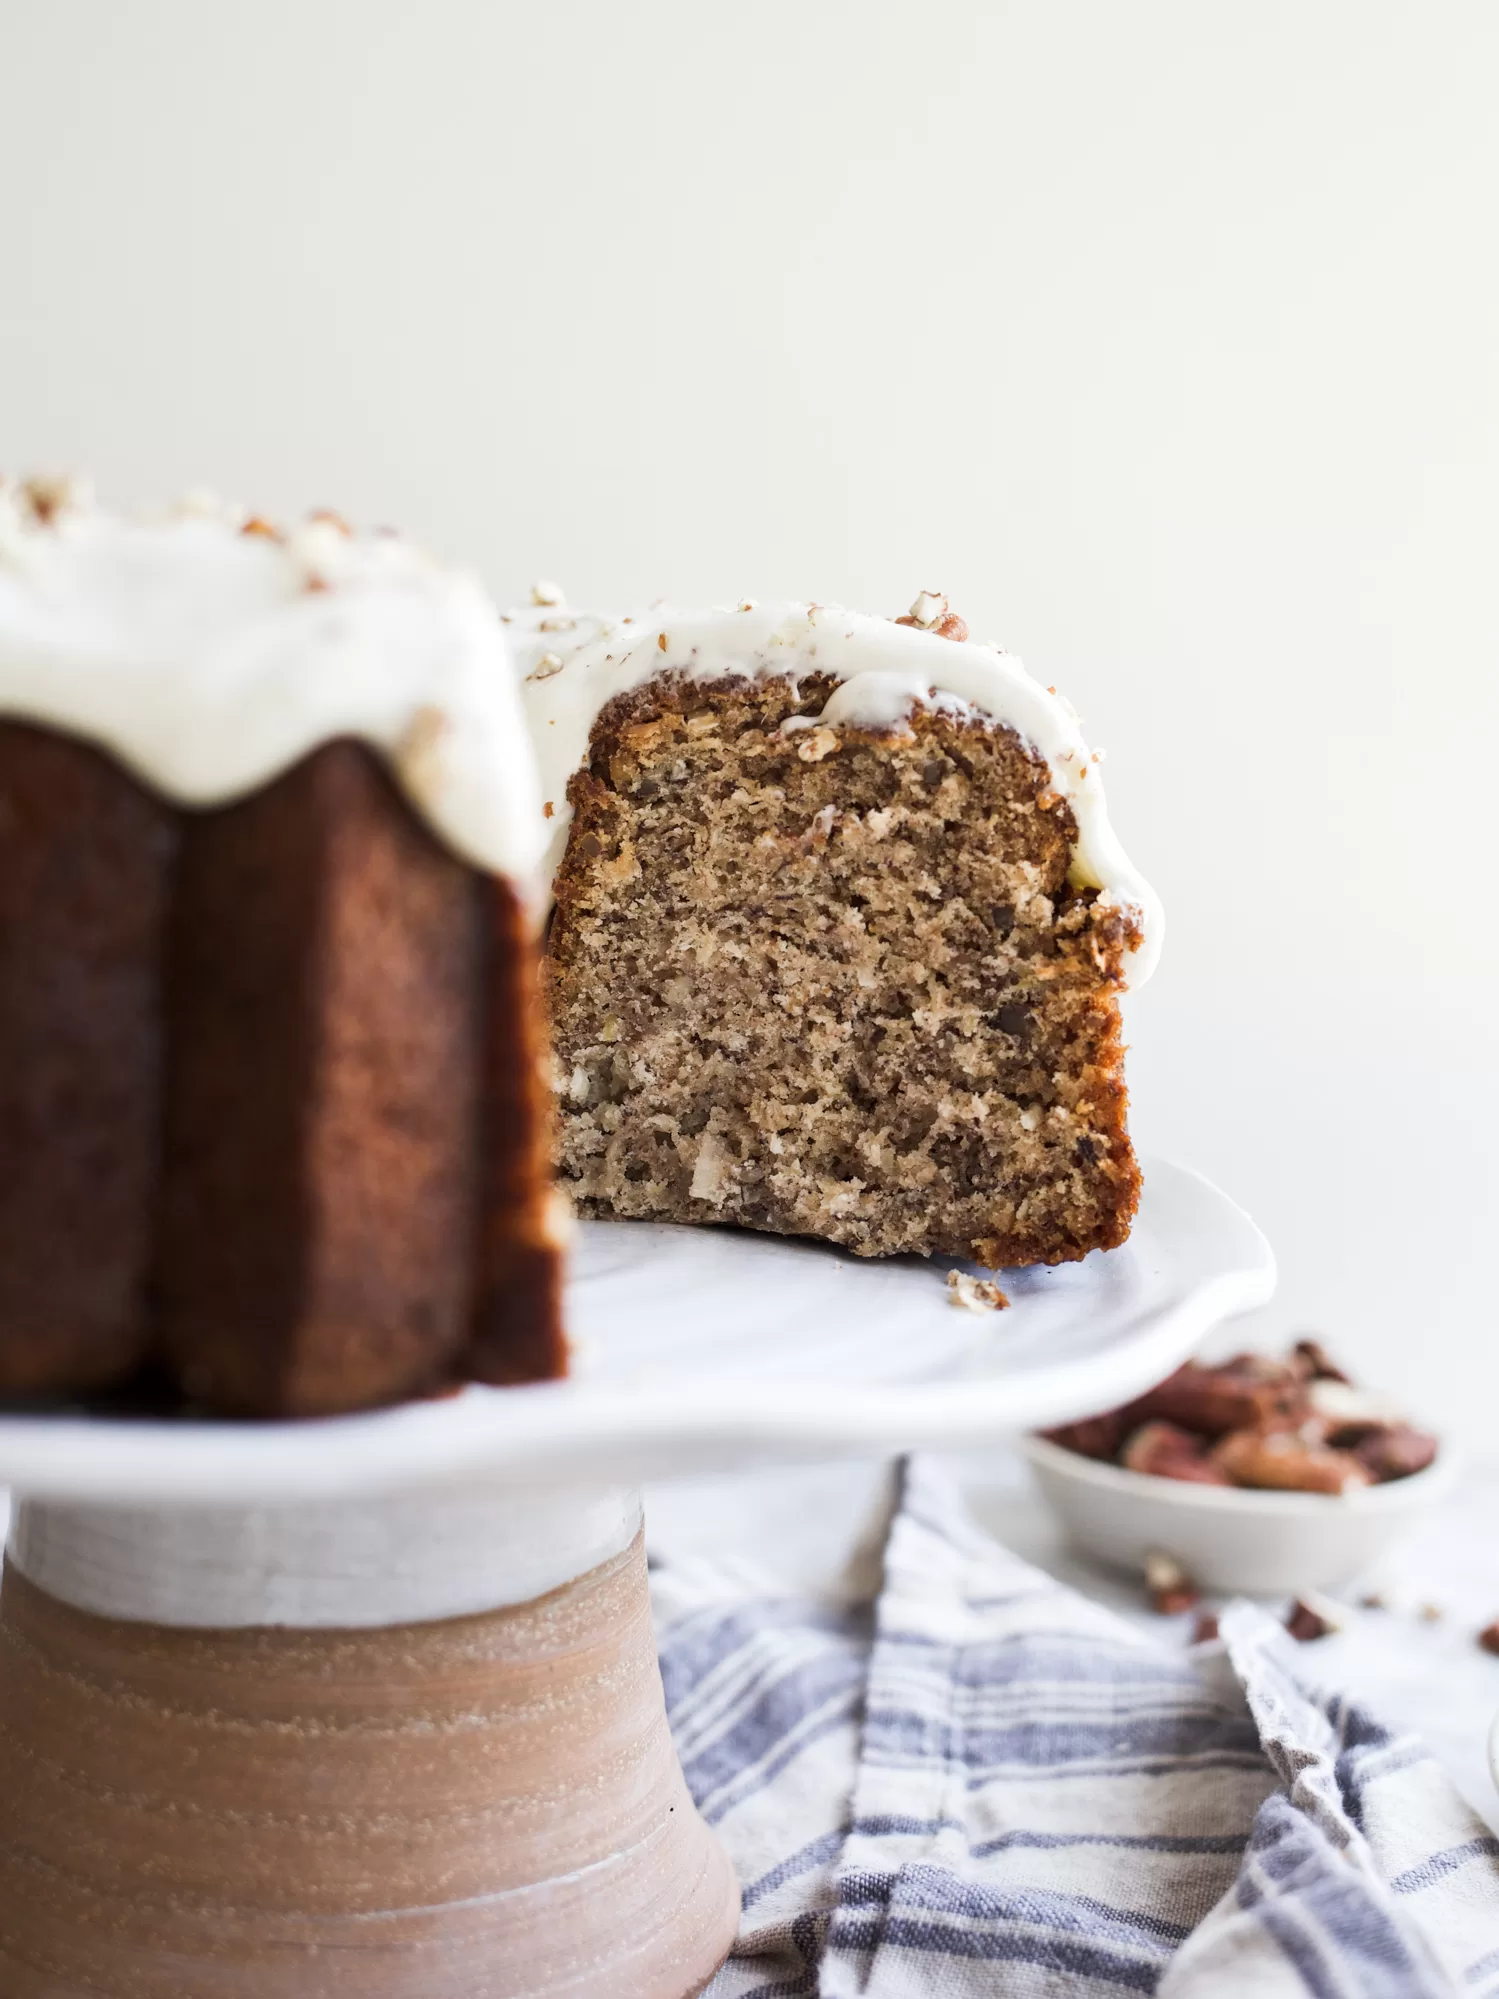
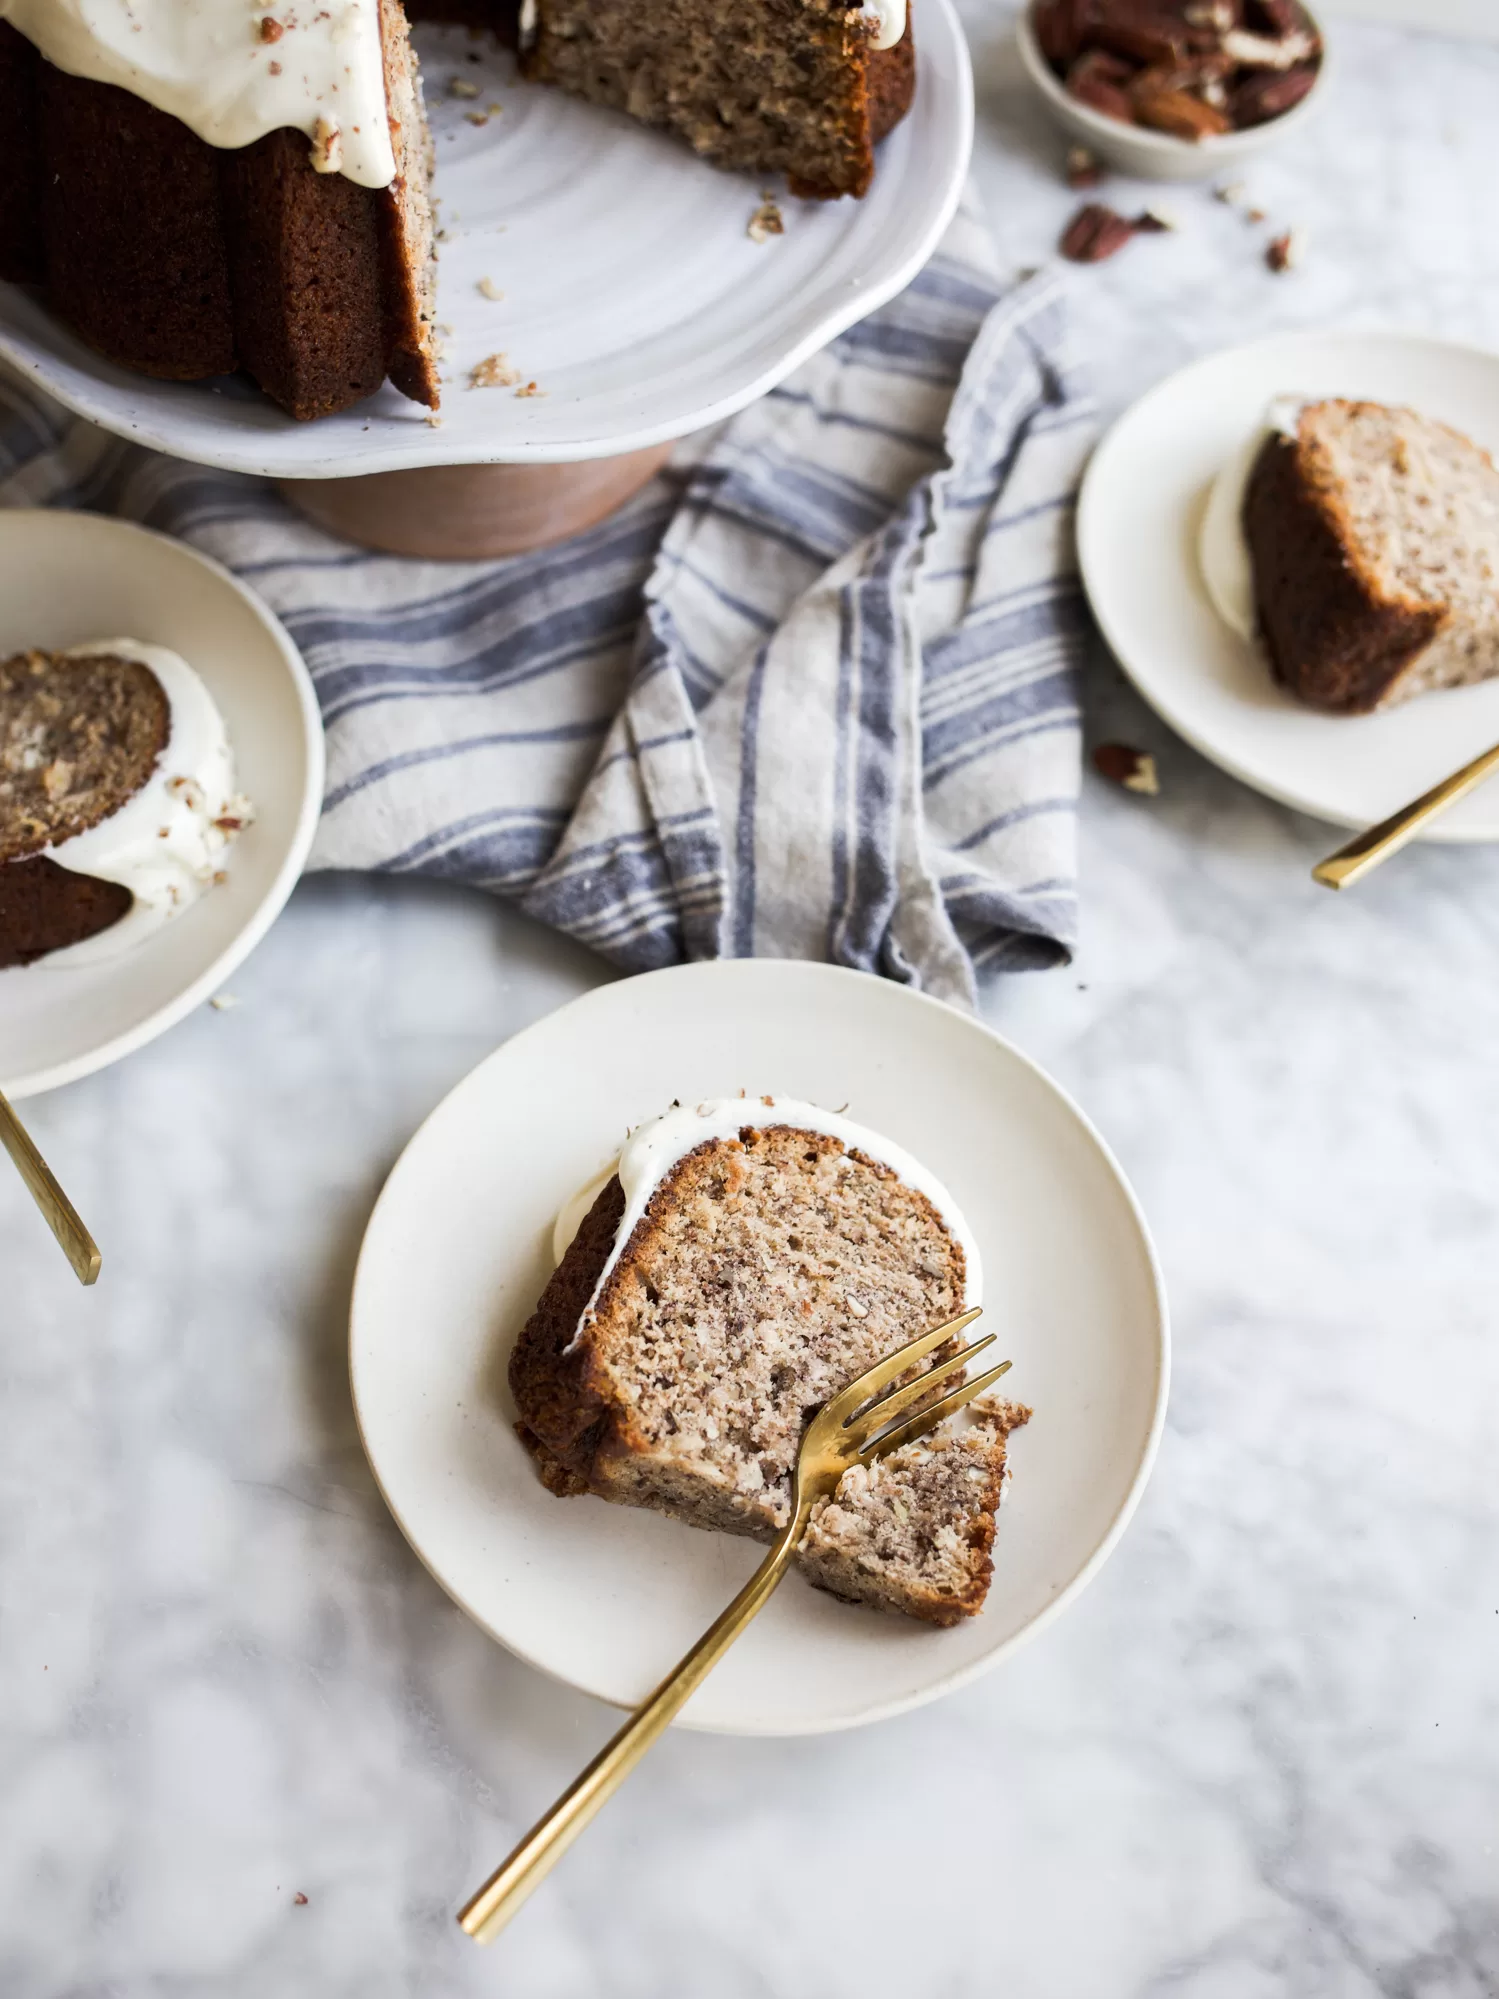
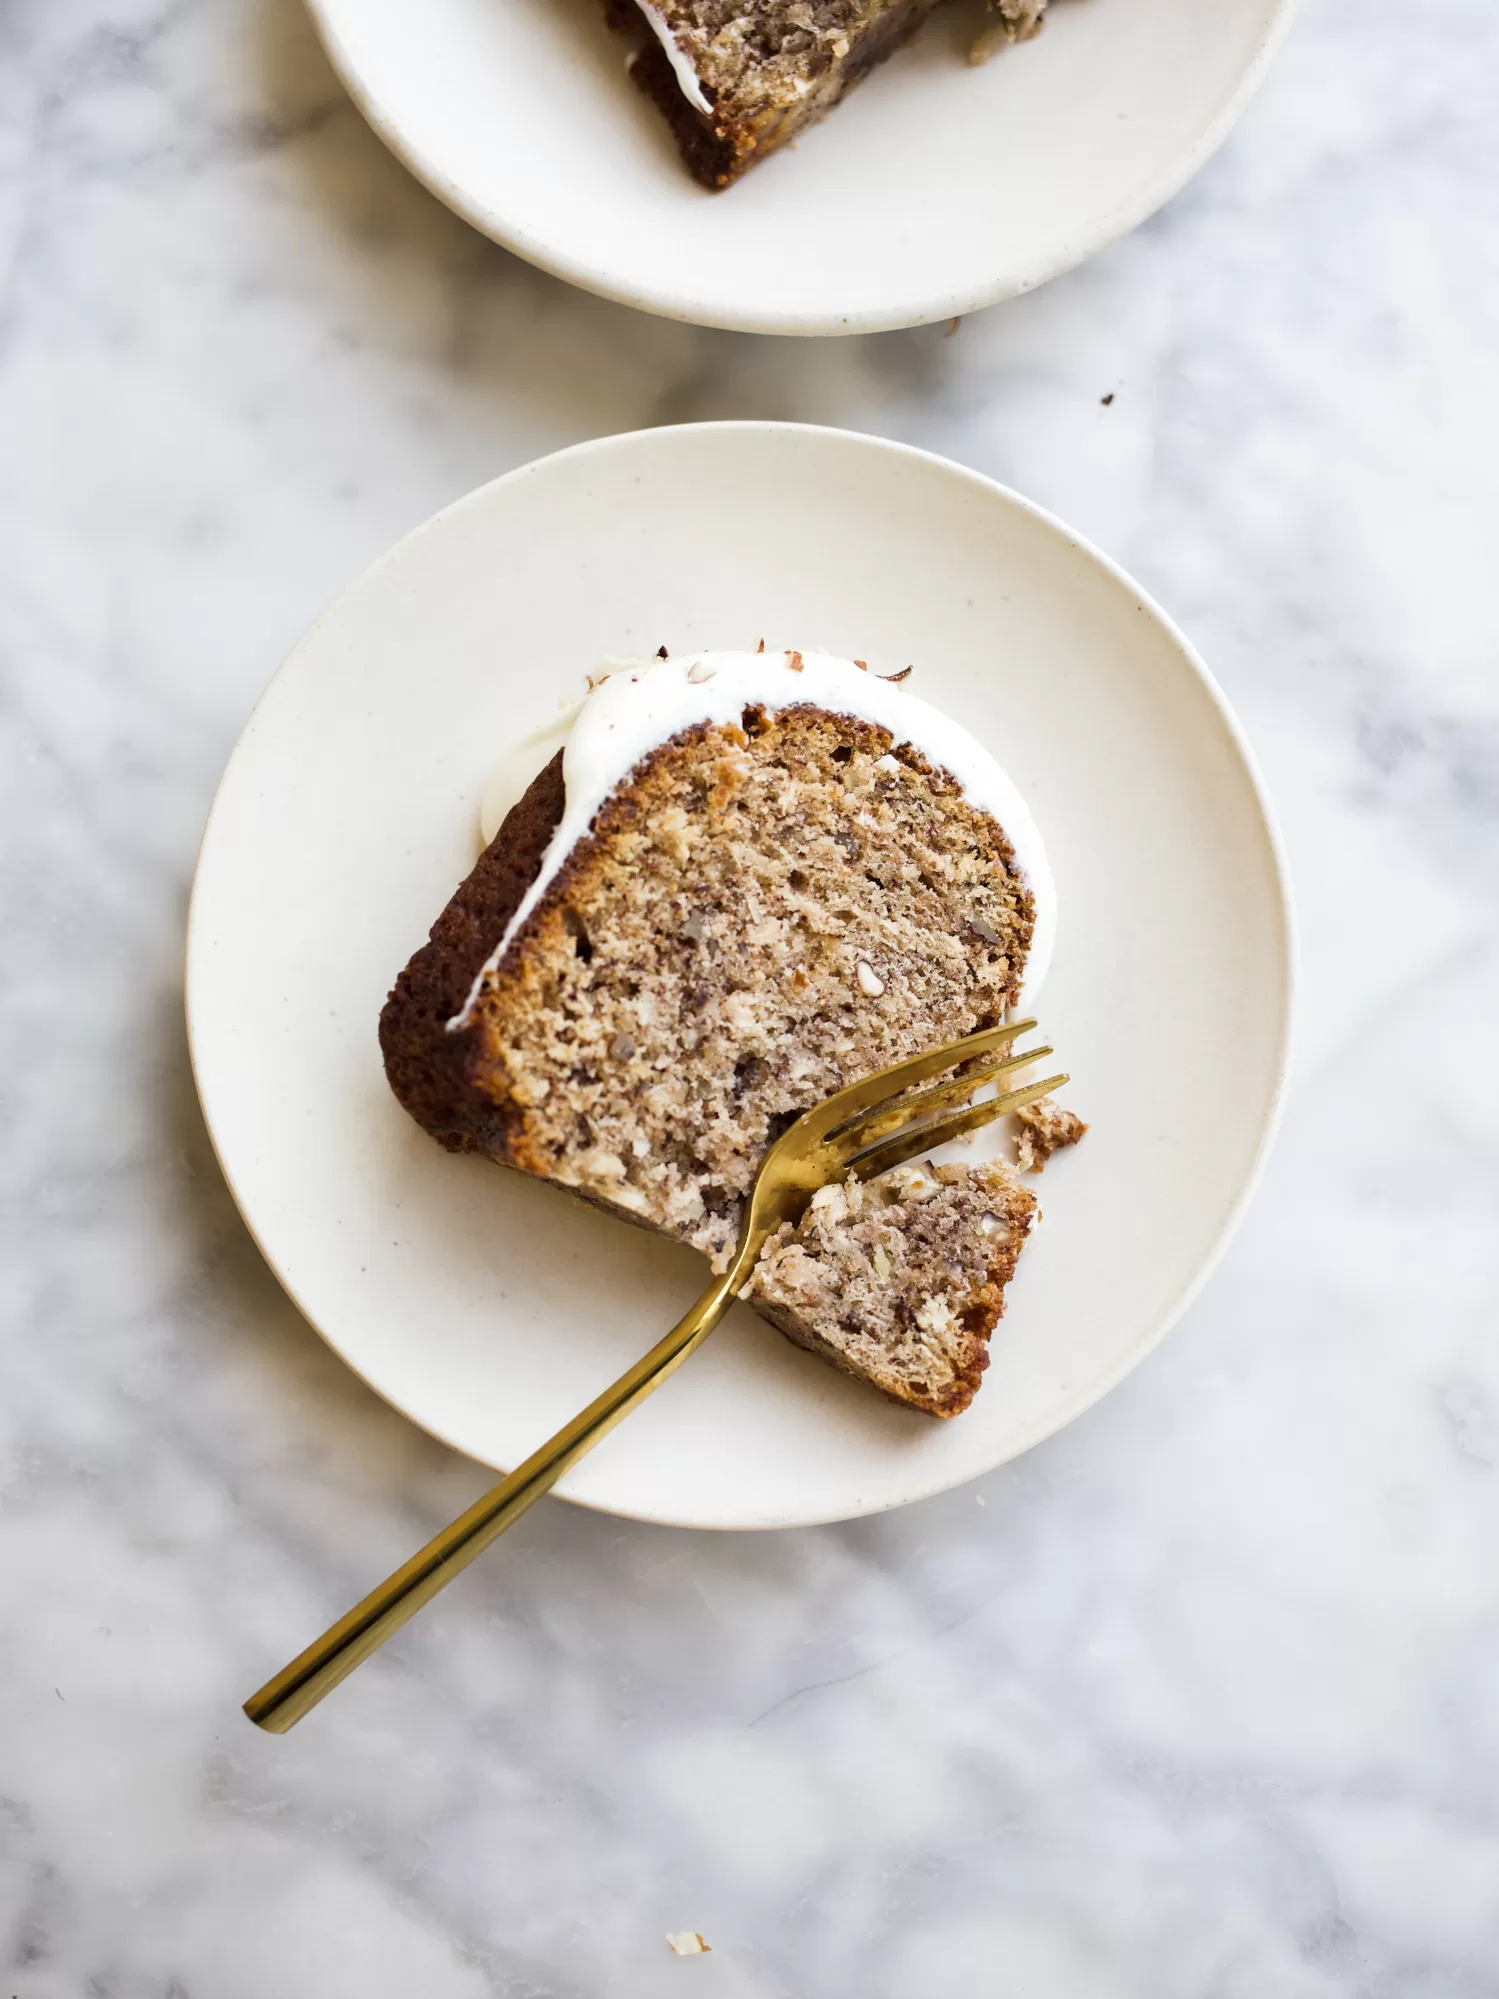
So, you may be asking: “What even is hummingbird cake?” Hummingbird cakes are simple spice cakes that originated in the Caribbean. They have been a fixture in the South ever since coming to America. Sweetened with banana, pineapple, and coconut, the cakes are incredibly moist and flavorful too. I love the added texture from the coconut and chopped pecans, although the sweet cream cheese glaze doesn’t hurt either. If you’re reading all of this thinking it sounds like some kind of weird spring-y fruit cake, don’t worry- while the fruit adds underlying flavor and loads of moisture, it’s more of a background flavor.
f you’re looking for more of a traditional stacked cake, be sure to check out this hummingbird layer cake. The bundt makes a terrific Easter dessert and can even serve a crowd. Can’t you see it decked out with little speckled egg candies? Plus, it can be made in a single bowl. What a win-win!


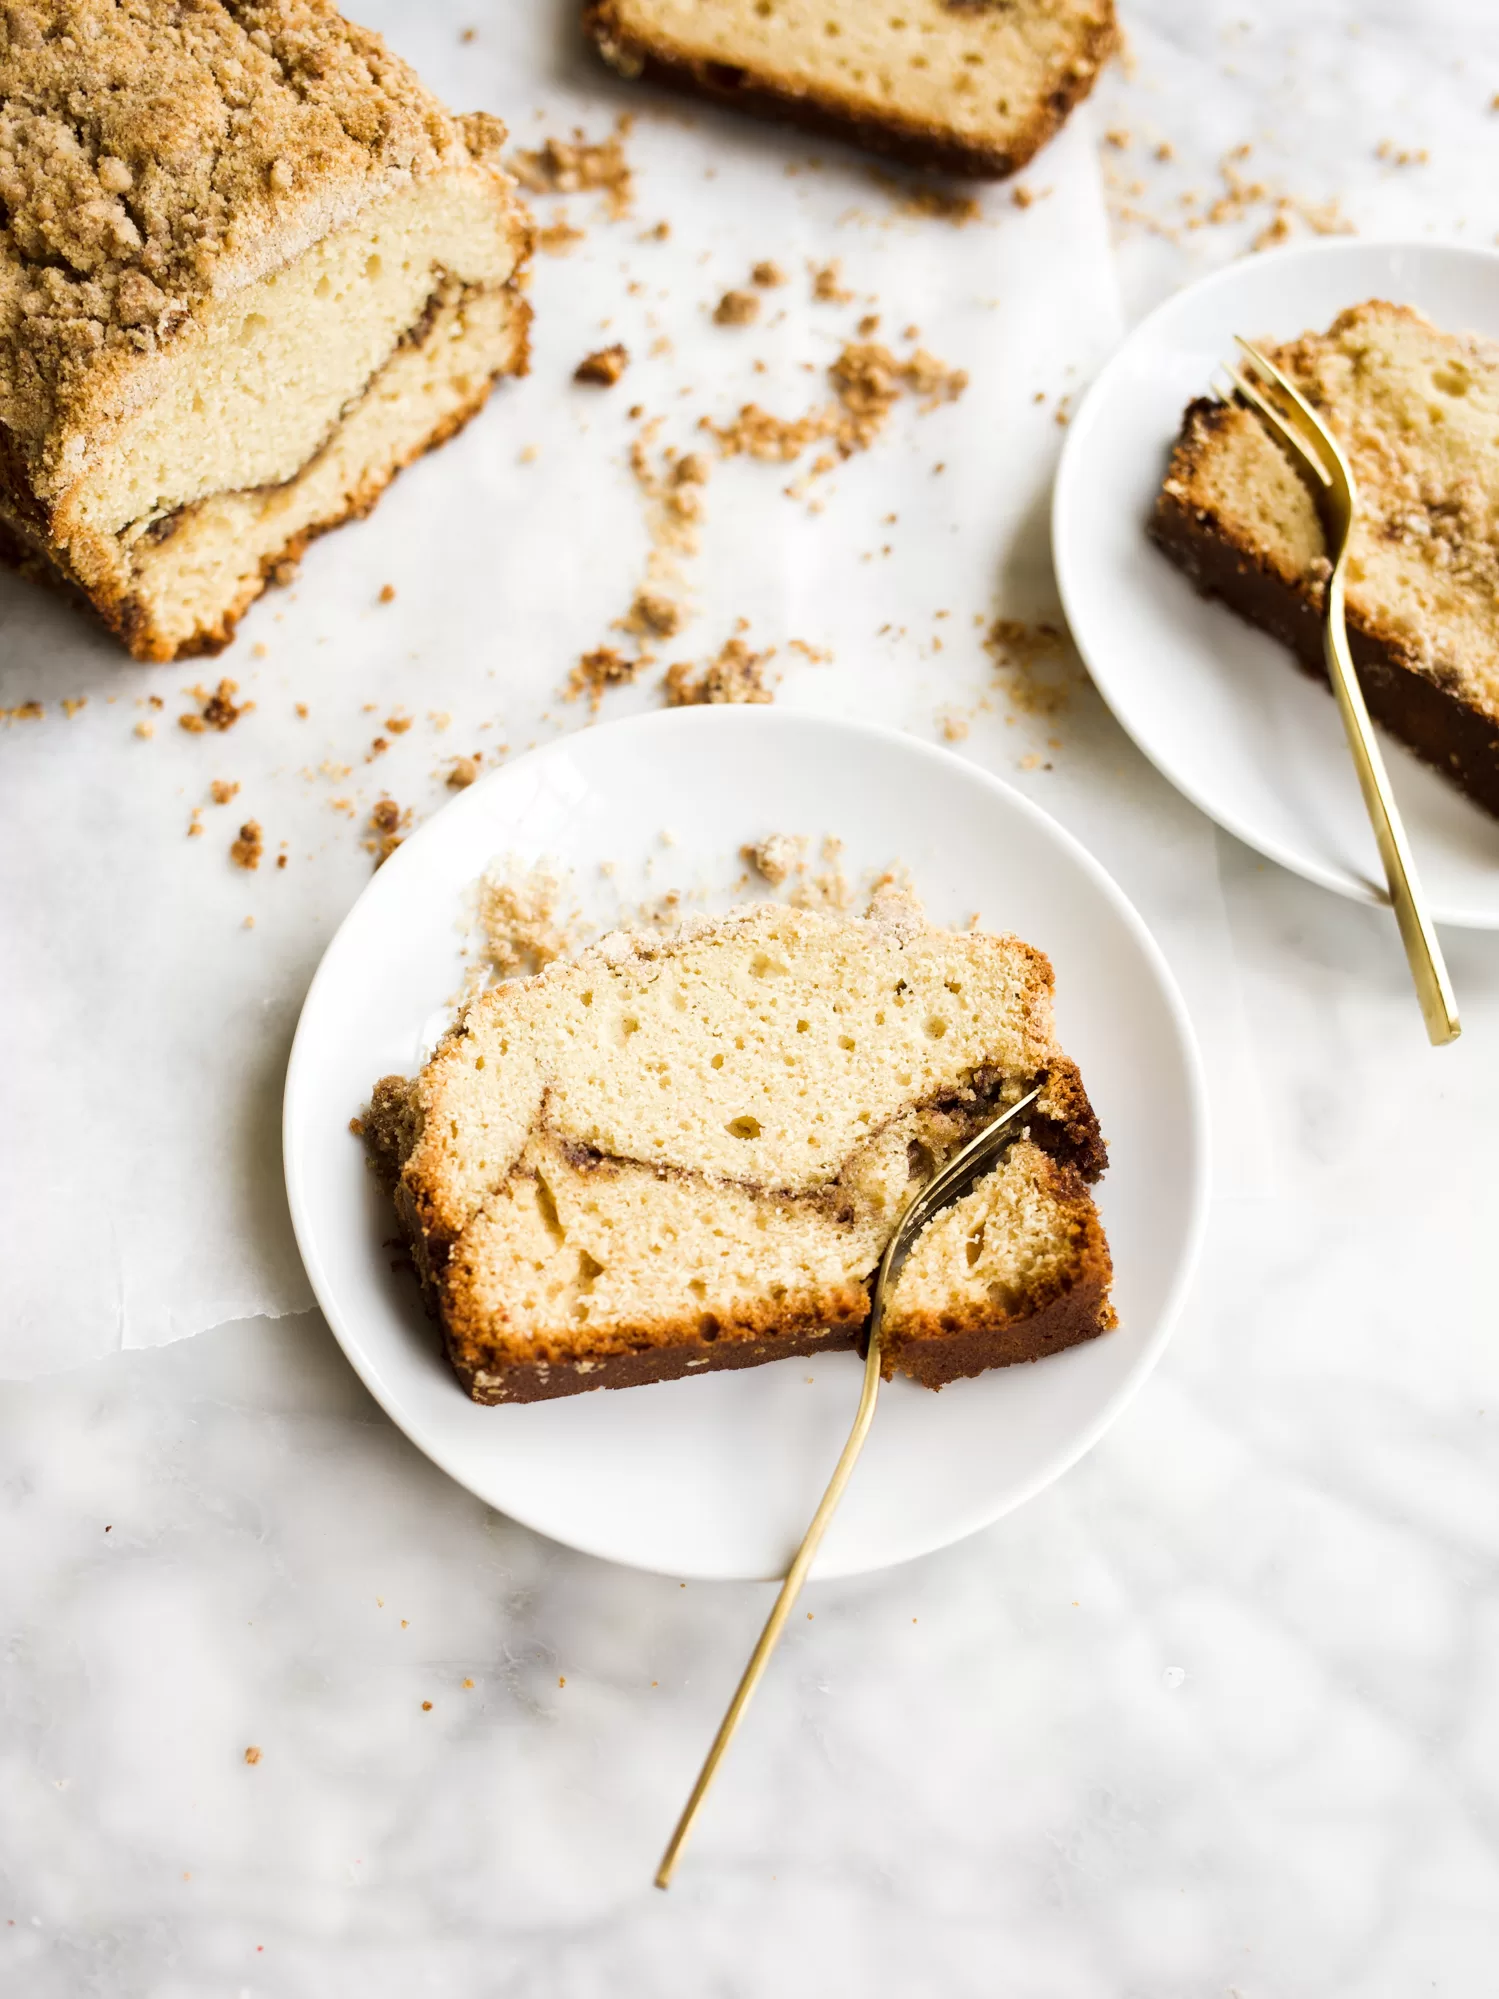
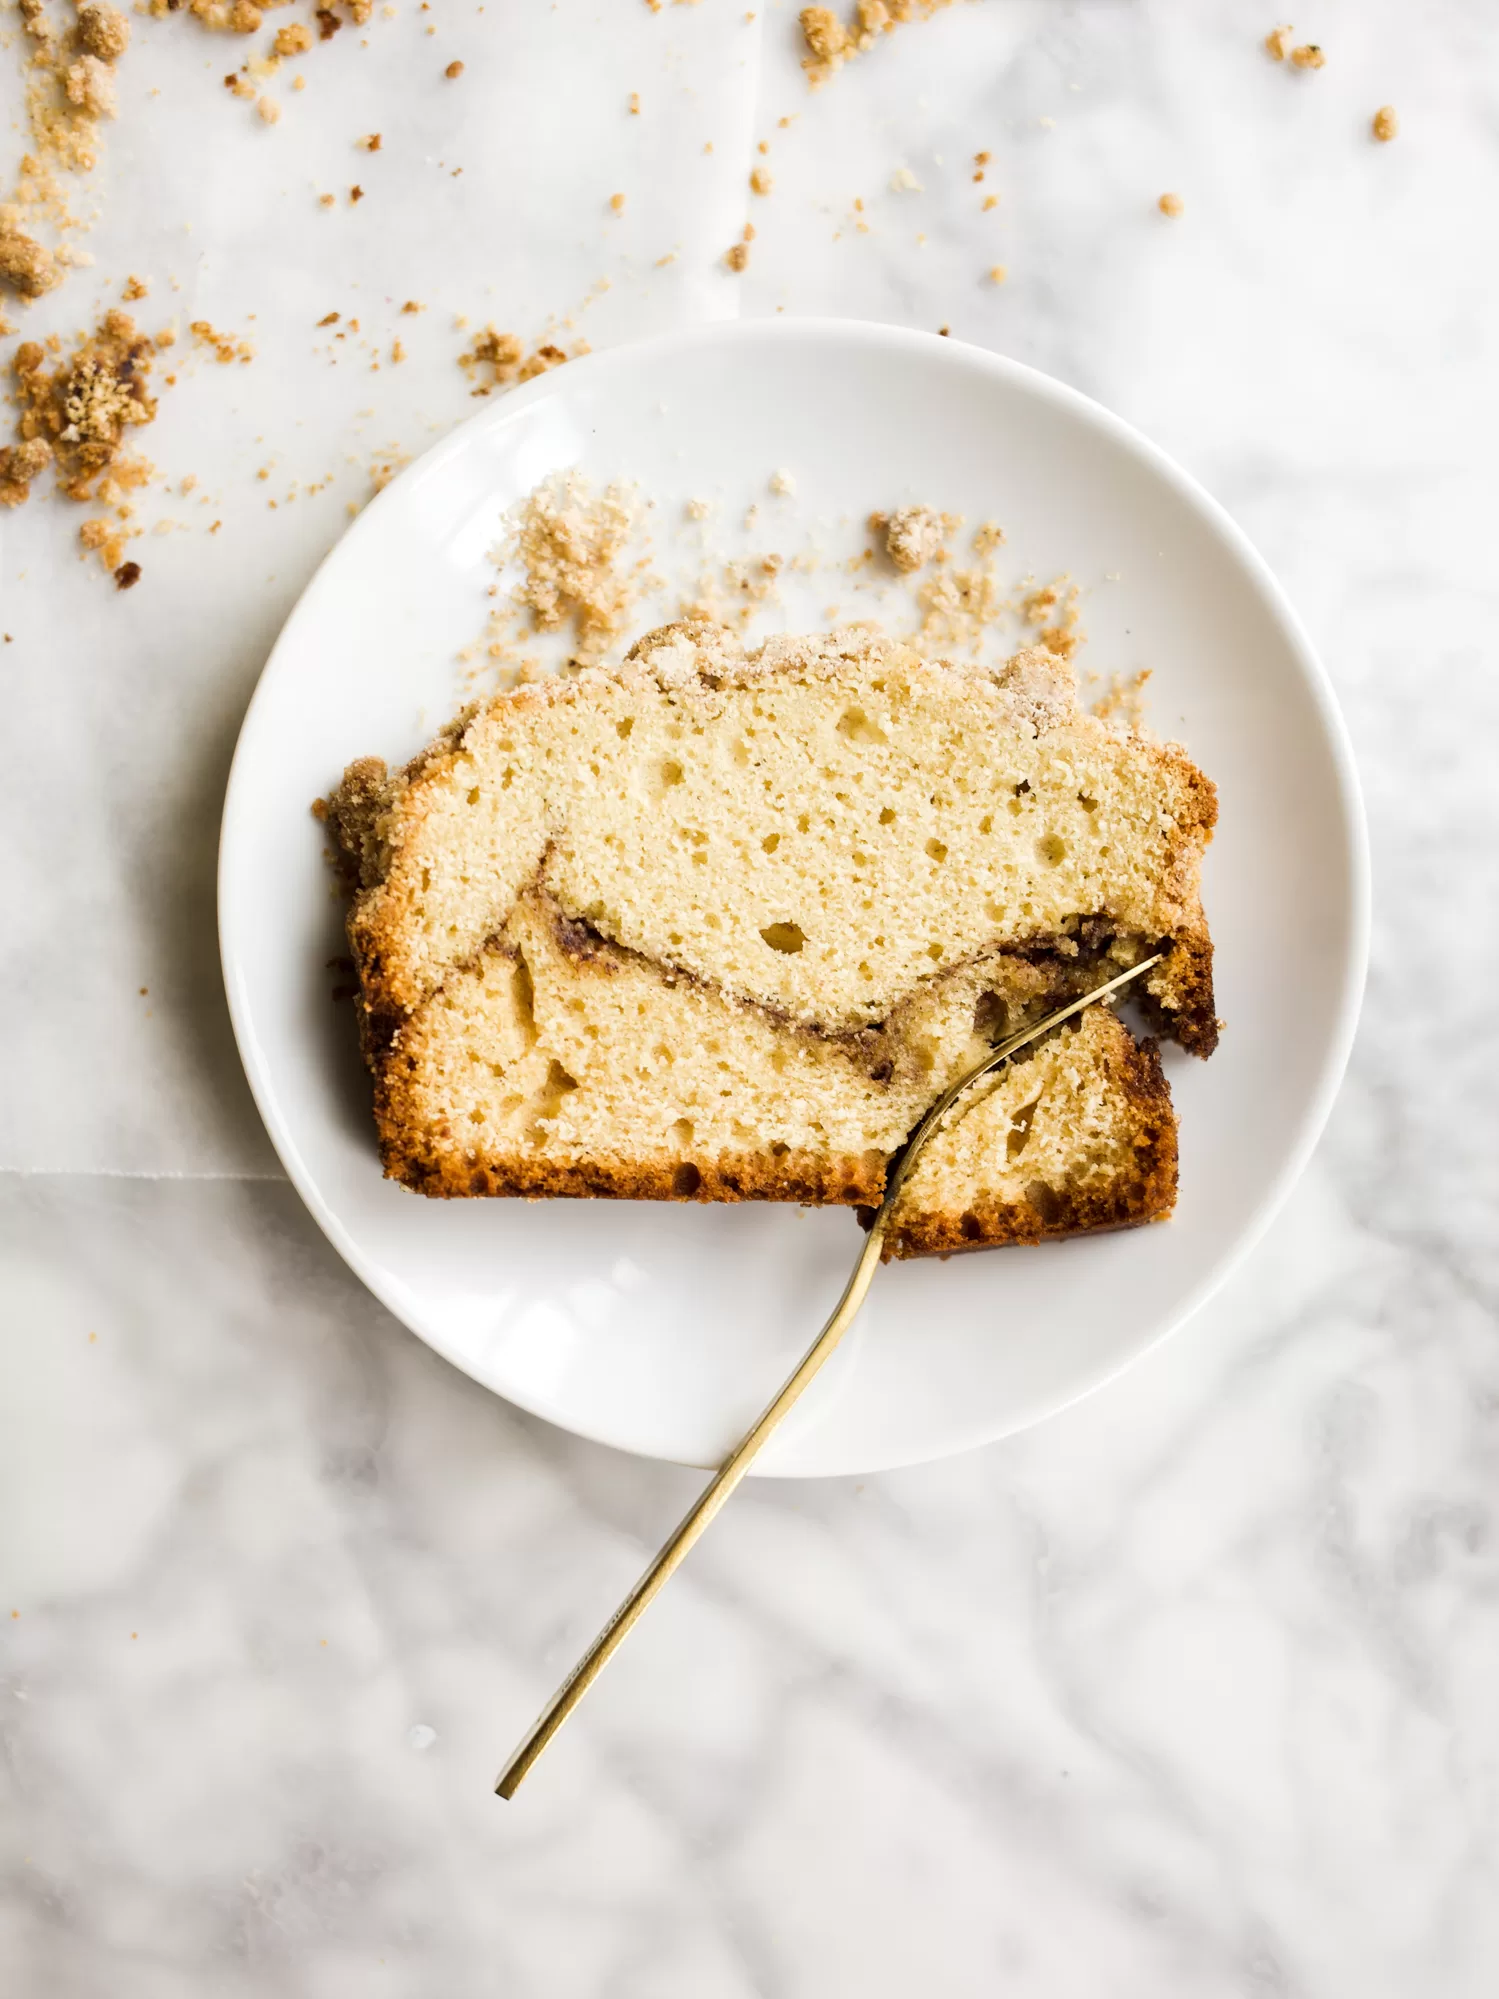
If you plan to entertain this Easter, give this hummingbird bundt cake a try! Happy Easter, y’all!
If you like this hummingbird bundt cake, you should try:
Bourbon Bundt Cake
Brown Sugar Apple Bundt Cake
Chocolate Chip Bundt Cake
Carro Bundt Cake
Blood Orange Bundt Cake
Hummingbird Bundt Cake

This hummingbird bundt cake is a spring southern classic filled with pecans and coconut and sweetened with pineapple and banana.
- Prep Time: 15
- Cook Time: 60
- Total Time: 130
- Yield: 12 Servings
- Category: Cake
Ingredients
For the cake:
- 3 cups all-purpose flour
- 1 teaspoon baking soda
- 1 teaspoon ground cinnamon
- 1/2 teaspoon salt
- 1 cup vegetable oil
- 2 teaspoons pure vanilla extract
- 2 cups sugar
- 3 large eggs
- 2 cups mashed ripe banana (about 3 large)
- 1 can (8 ounces) crushed pineapple, drained
- 1 cup chopped pecans
- 1 cup shredded coconut, unsweetened
For the glaze:
- 4 ounces cream cheese, softened to room temperature
- 1 tablespoon unsalted butter, softened to room temperature
- 1–1/2 cups confectioner’s sugar
- ½ teaspoon vanilla extract
- 1–2 tablespoons milk
Instructions
To make the cake:
- Preheat oven to 350 degrees. Butter and flour a bundt pan with at least a 10-cup capacity.
- In a medium bowl, whisk together flour, baking soda, cinnamon, and salt; set aside.
- In the bowl of an electric mixer fitted with the paddle attachment, beat oil, vanilla, and sugar until combined, about 2 minutes. Add eggs one at a time, incorporating each before adding the next. Beat at medium speed until mixture is pale yellow and fluffy, about 3 minutes.
- In a separate bowl, mix together banana, pineapple, pecans, and coconut. Add to egg mixture; stir until well combined. Add flour mixture; blend well.
- Pour the batter into the prepared pan and smooth. Bake until a cake tester inserted in the center comes out clean, about 50-60 minutes. Allow the cake to cool in the pan for 25 minute and then invert onto a cooling rack to completely cool.
- To frost the cake, prepare the glaze. Combine the cream cheese and unsalted butter in a large bowl, stirring with a hand mixer to combine. Add the confectioner’s sugar, vanilla, and 1 tablespoon of millk, stirring on low to combine. Add additional milk as needed to get the desired consistency. Be careful not to add too much or the glaze won’t stay on your cake! Spoon the icing over the cake and serve once set.