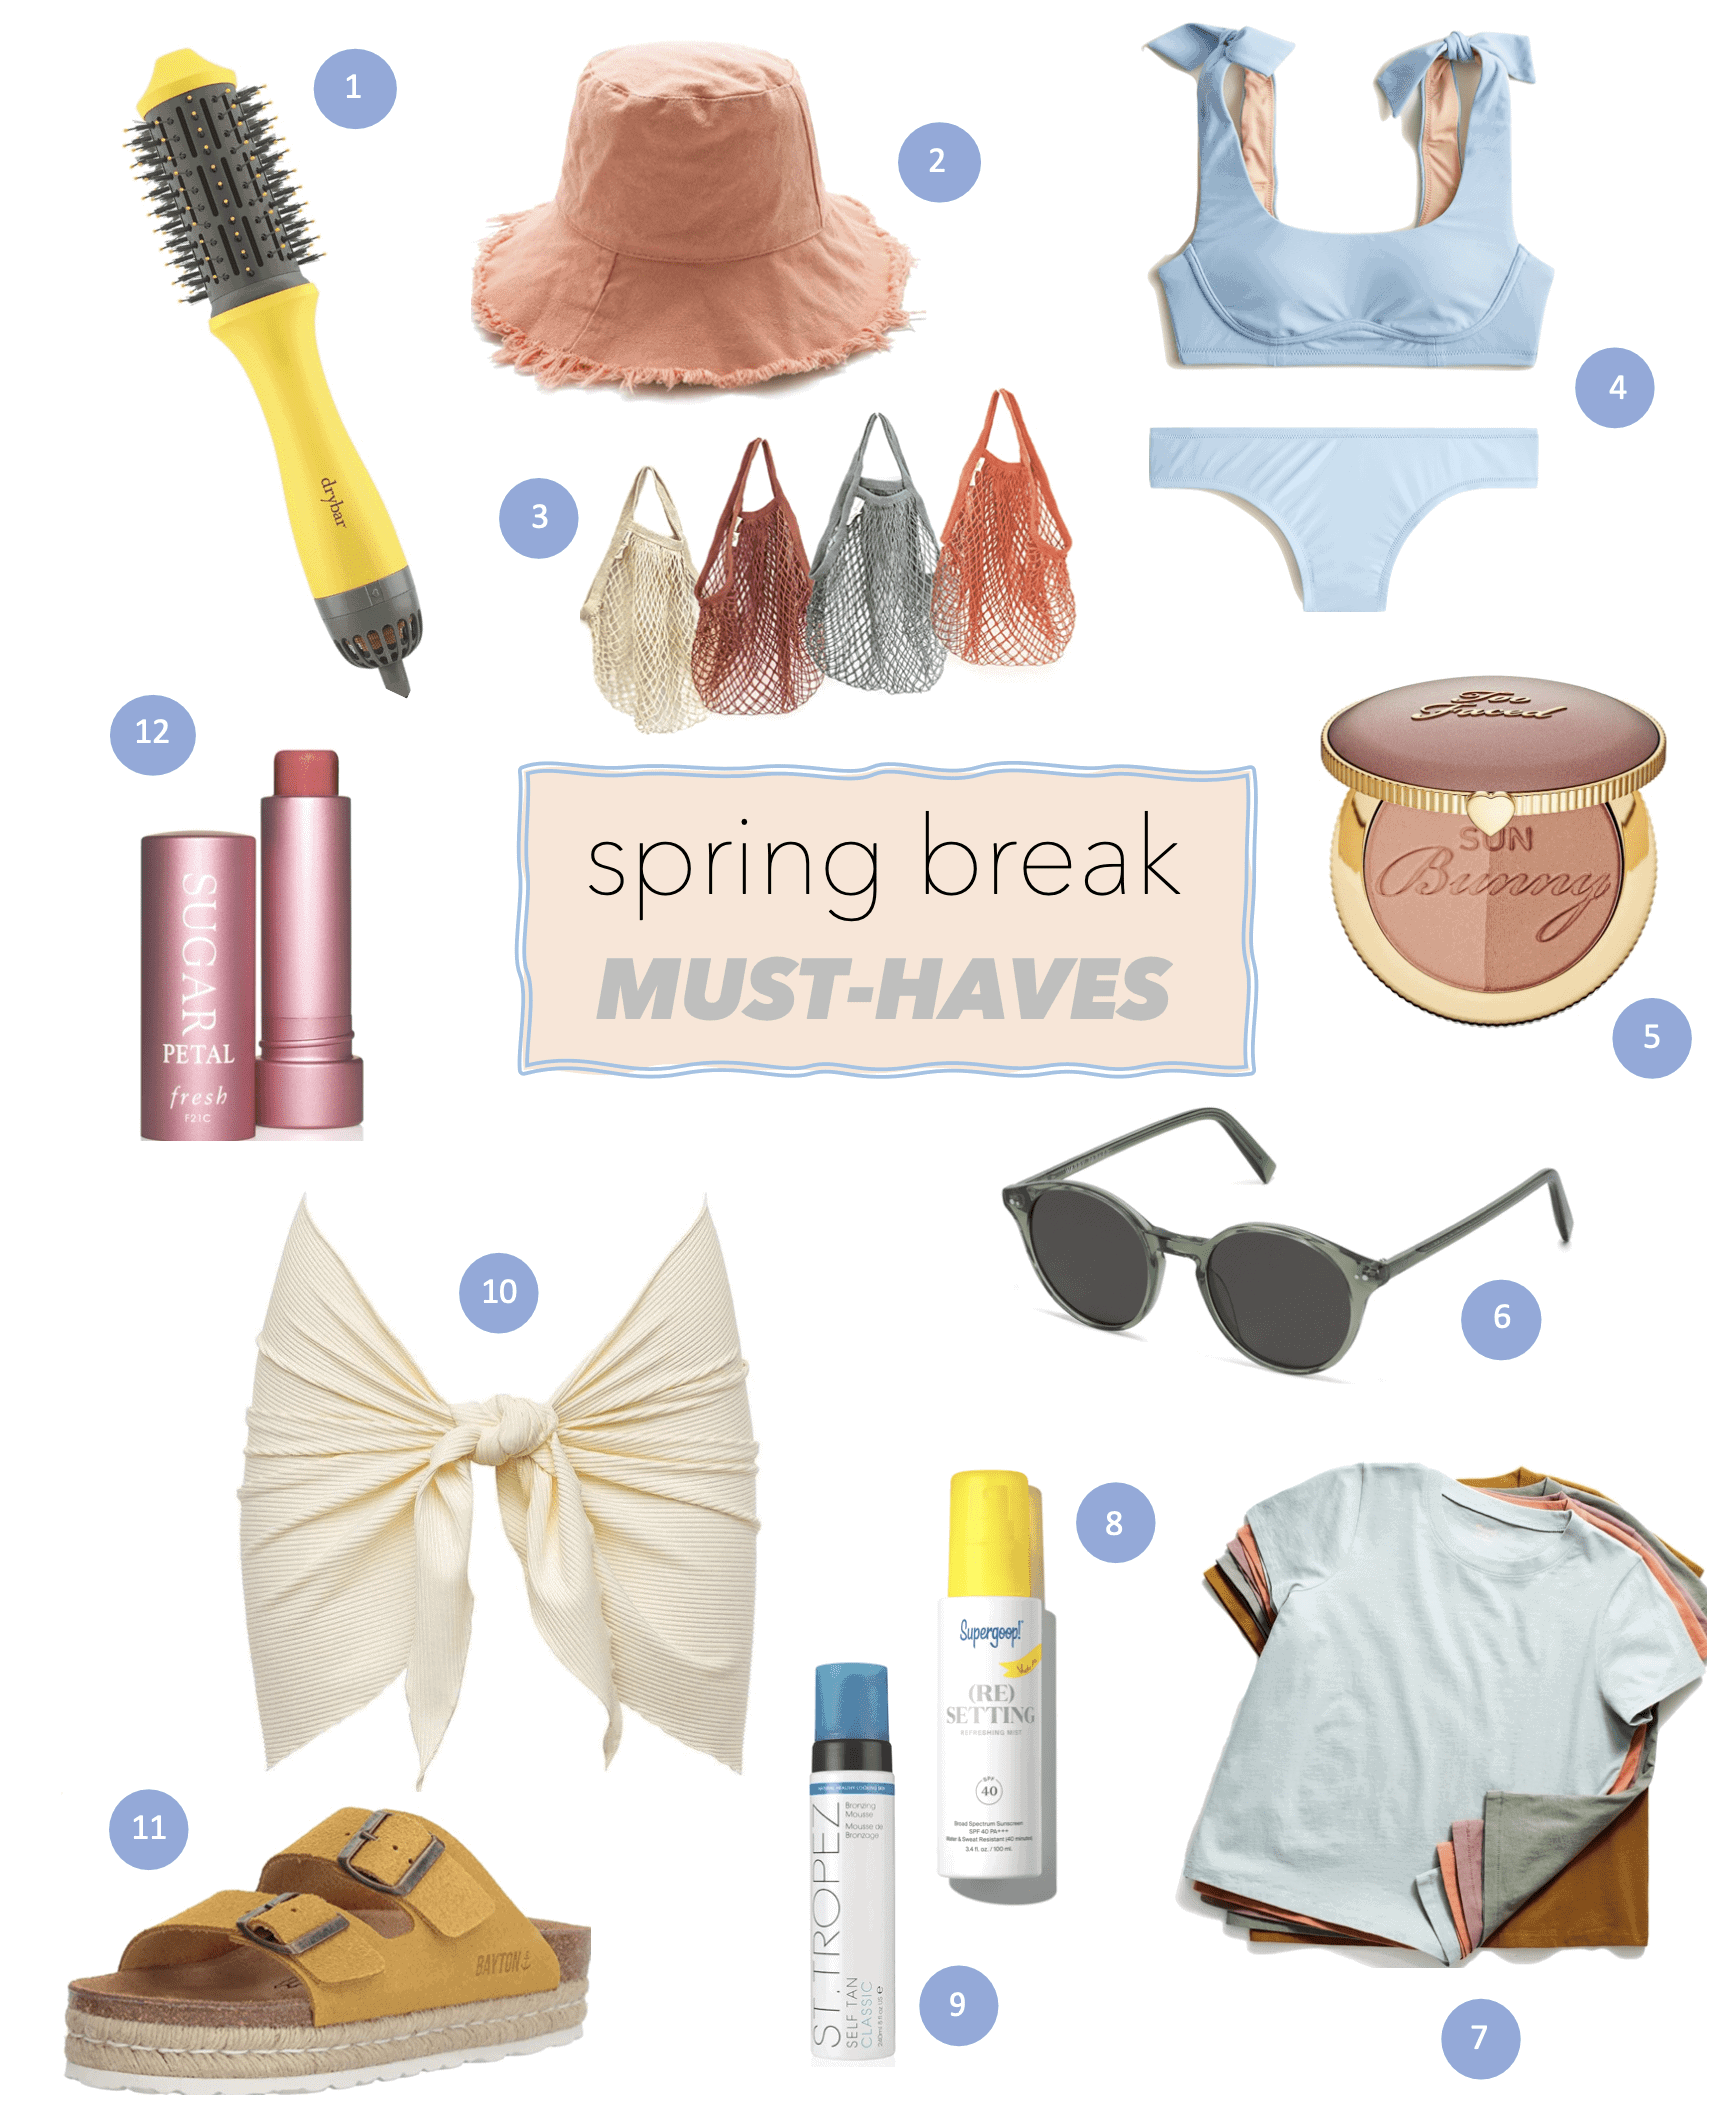
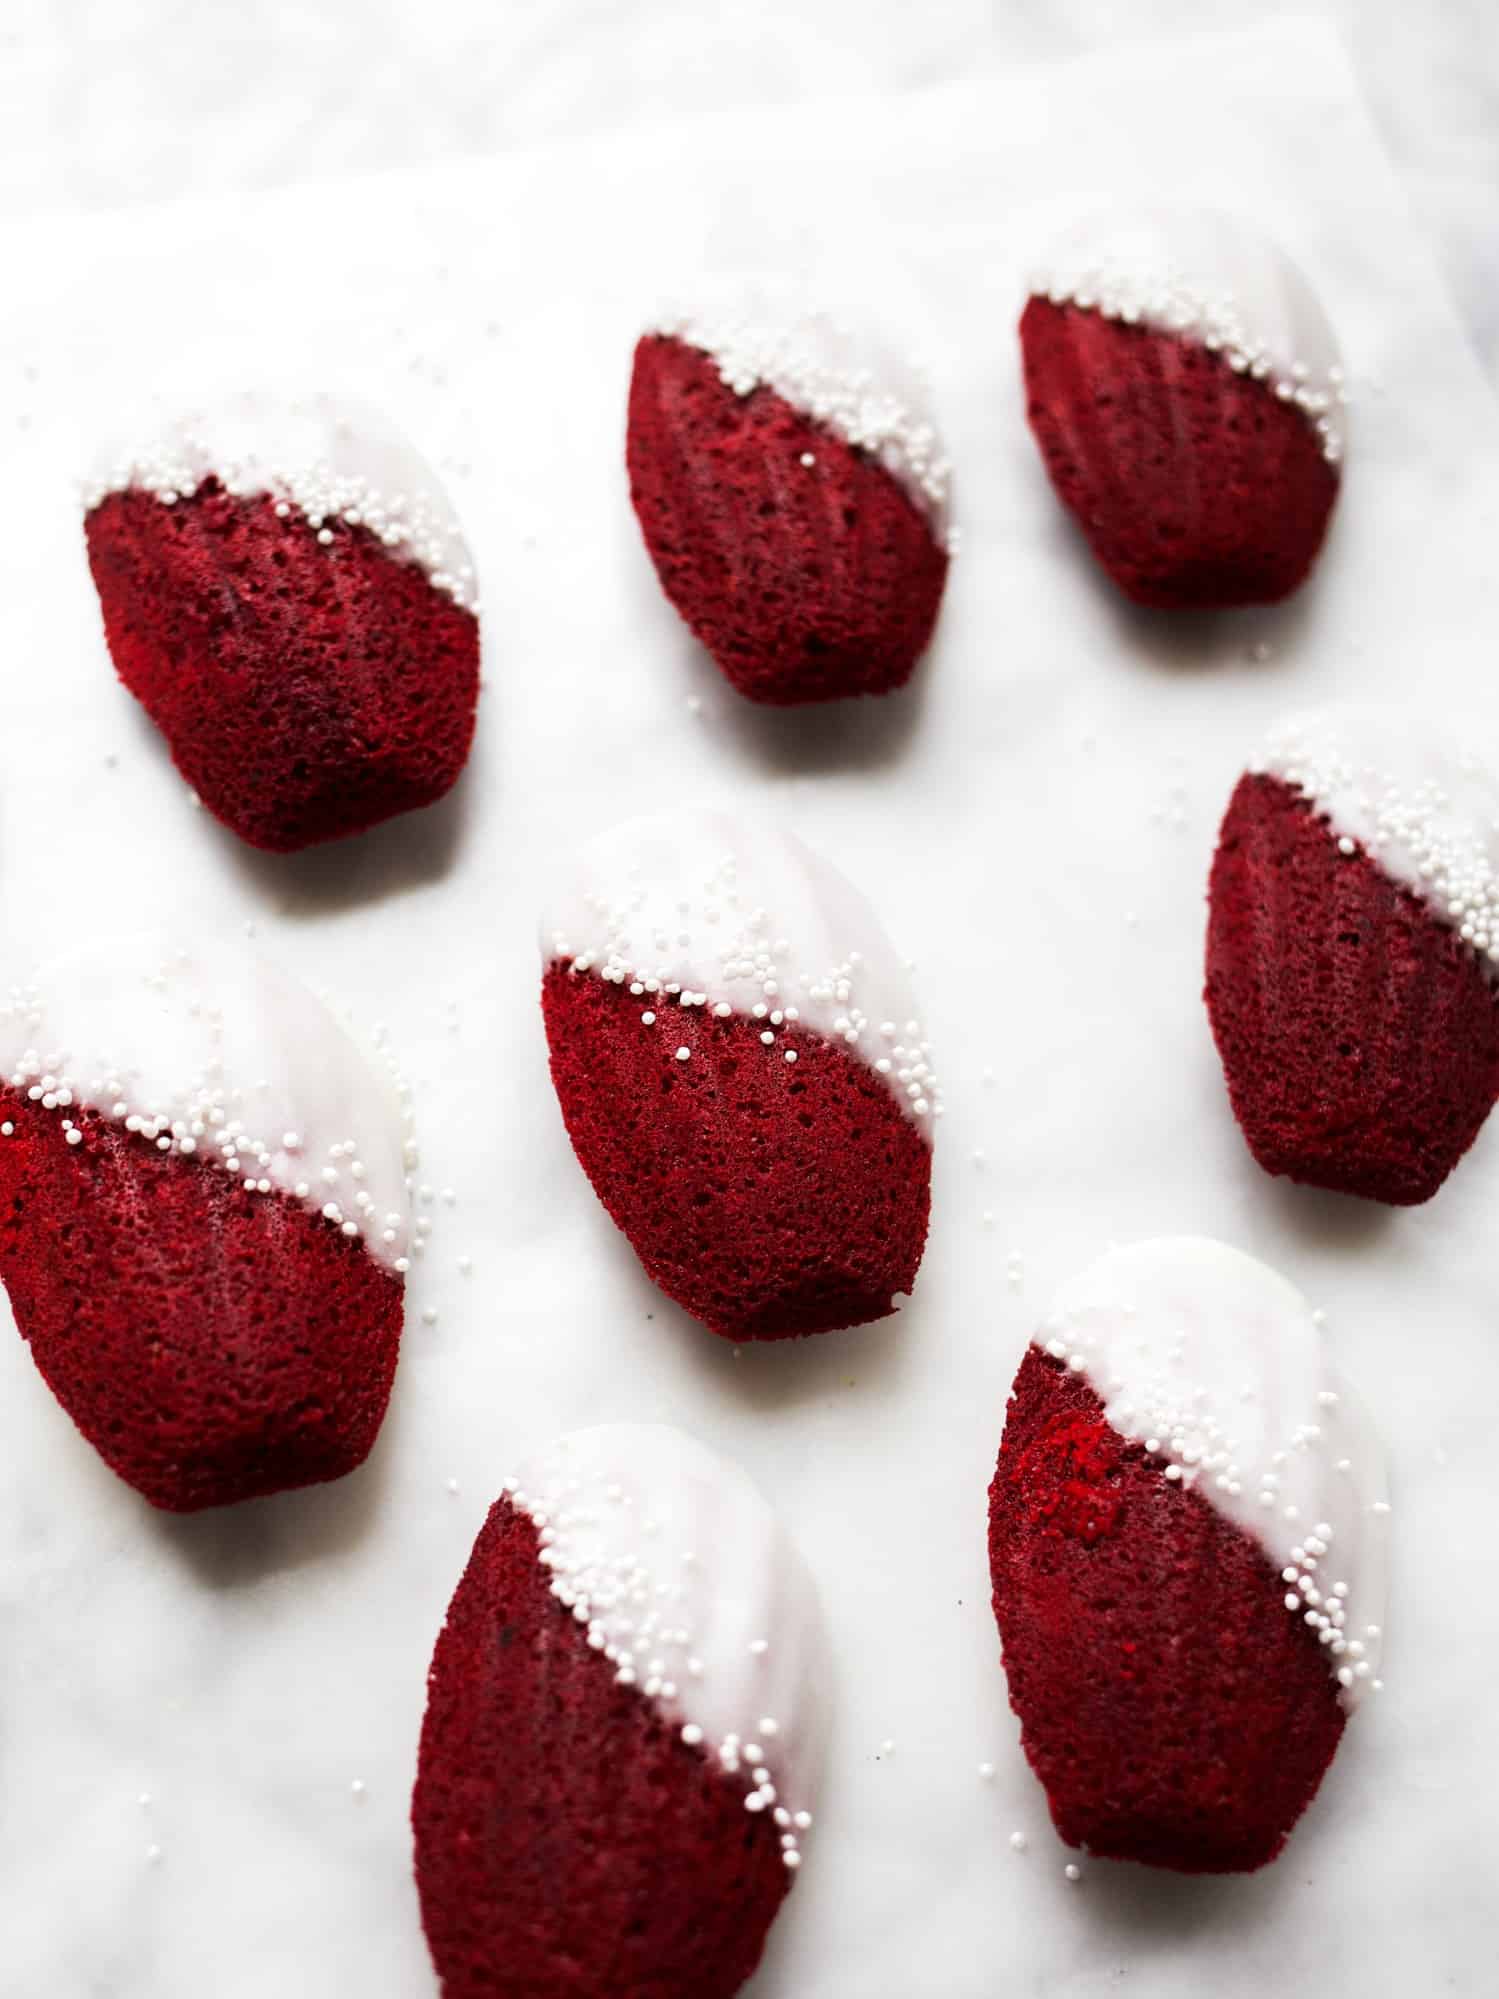
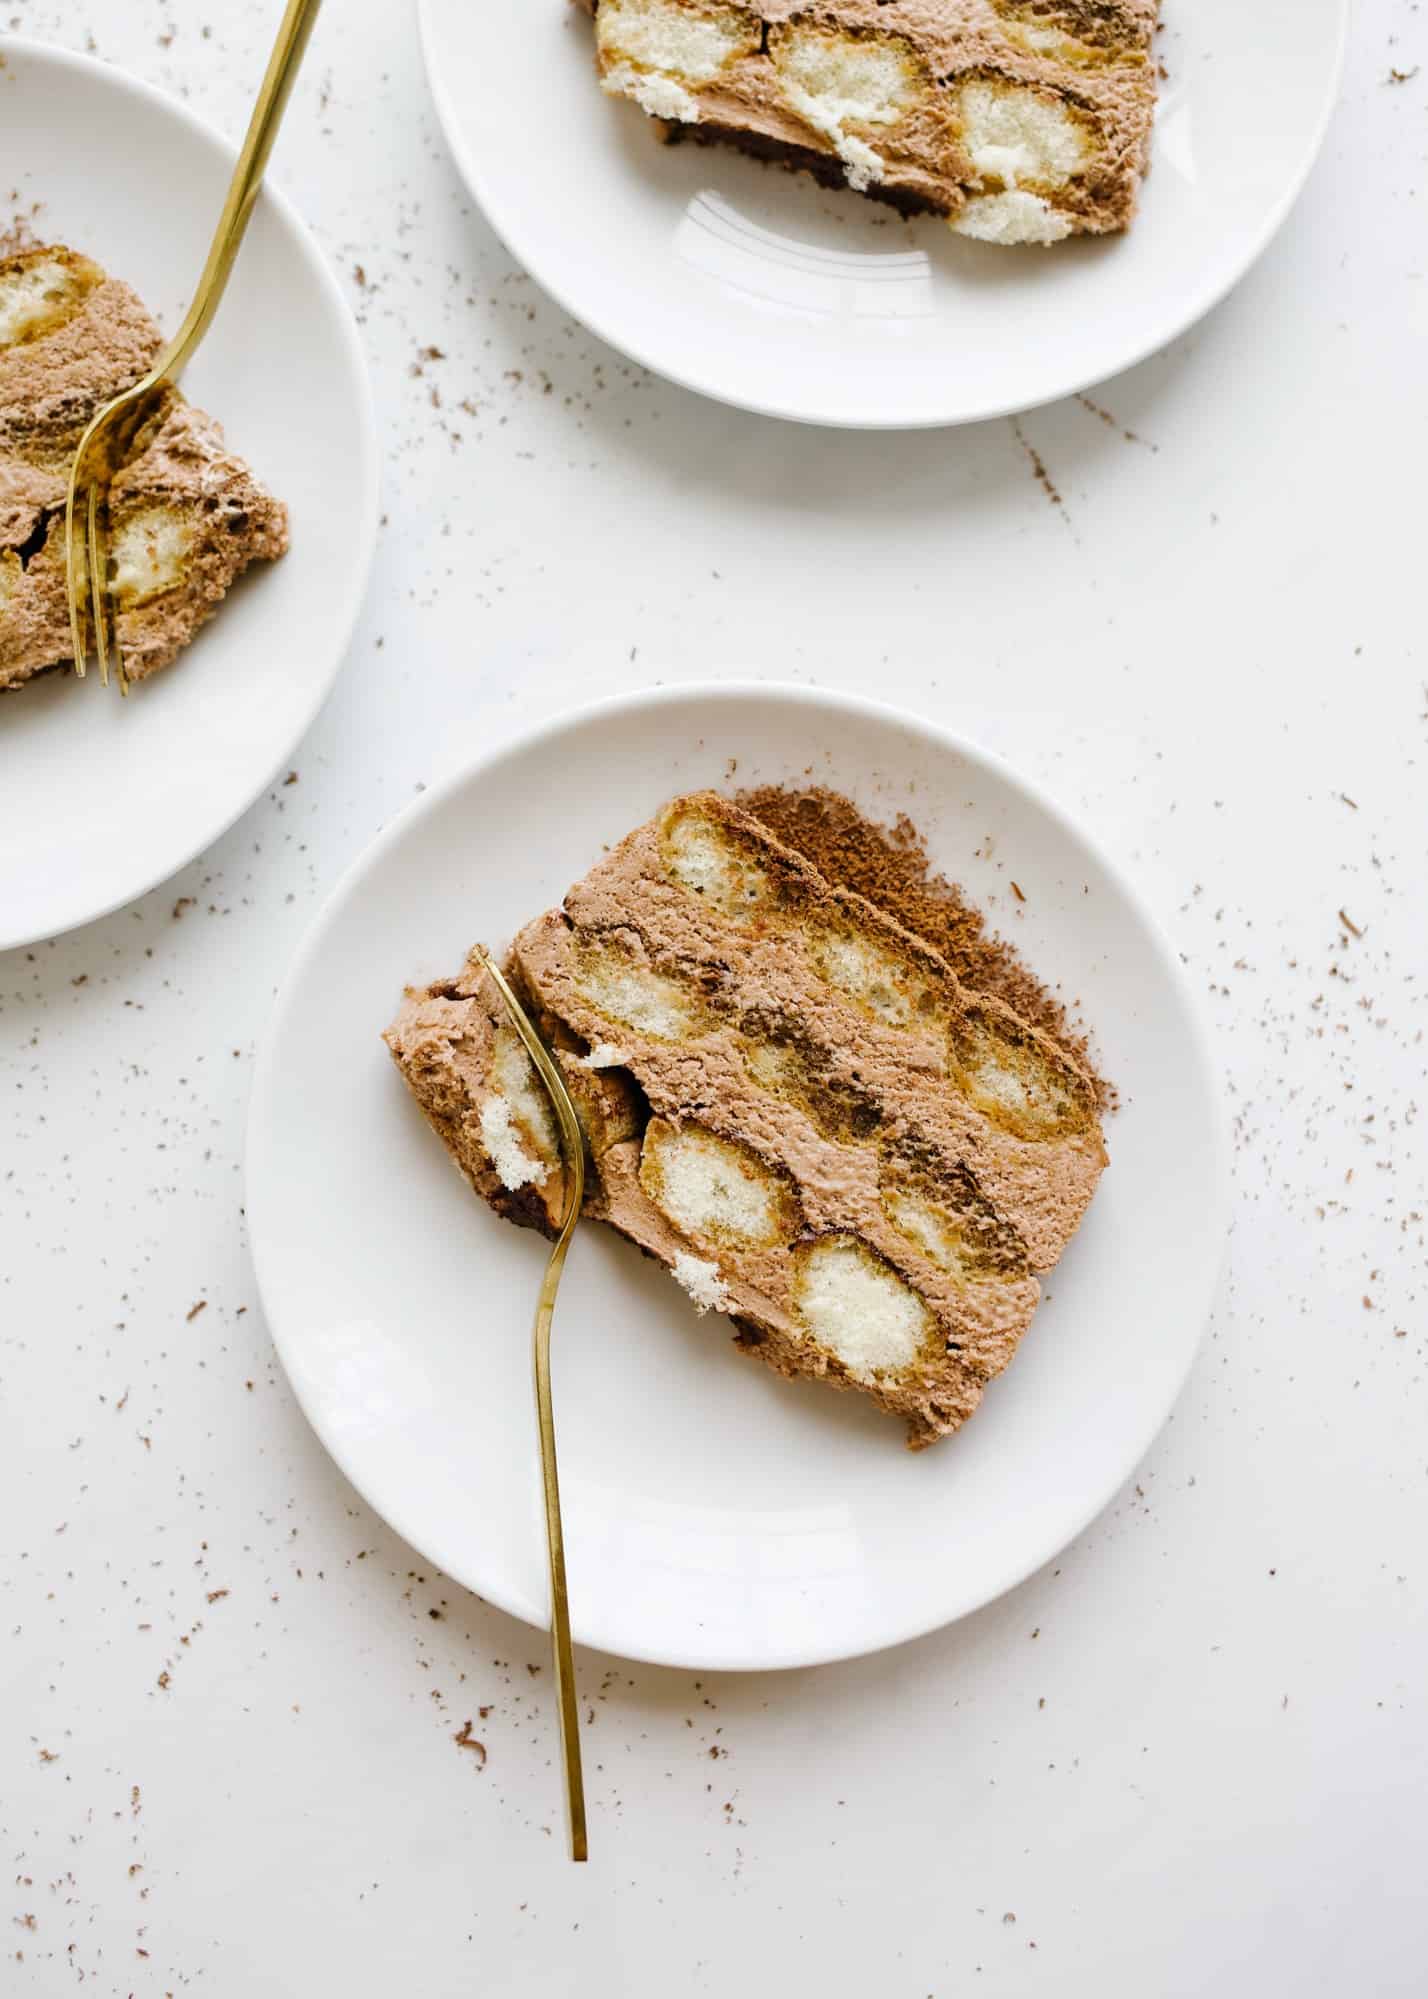
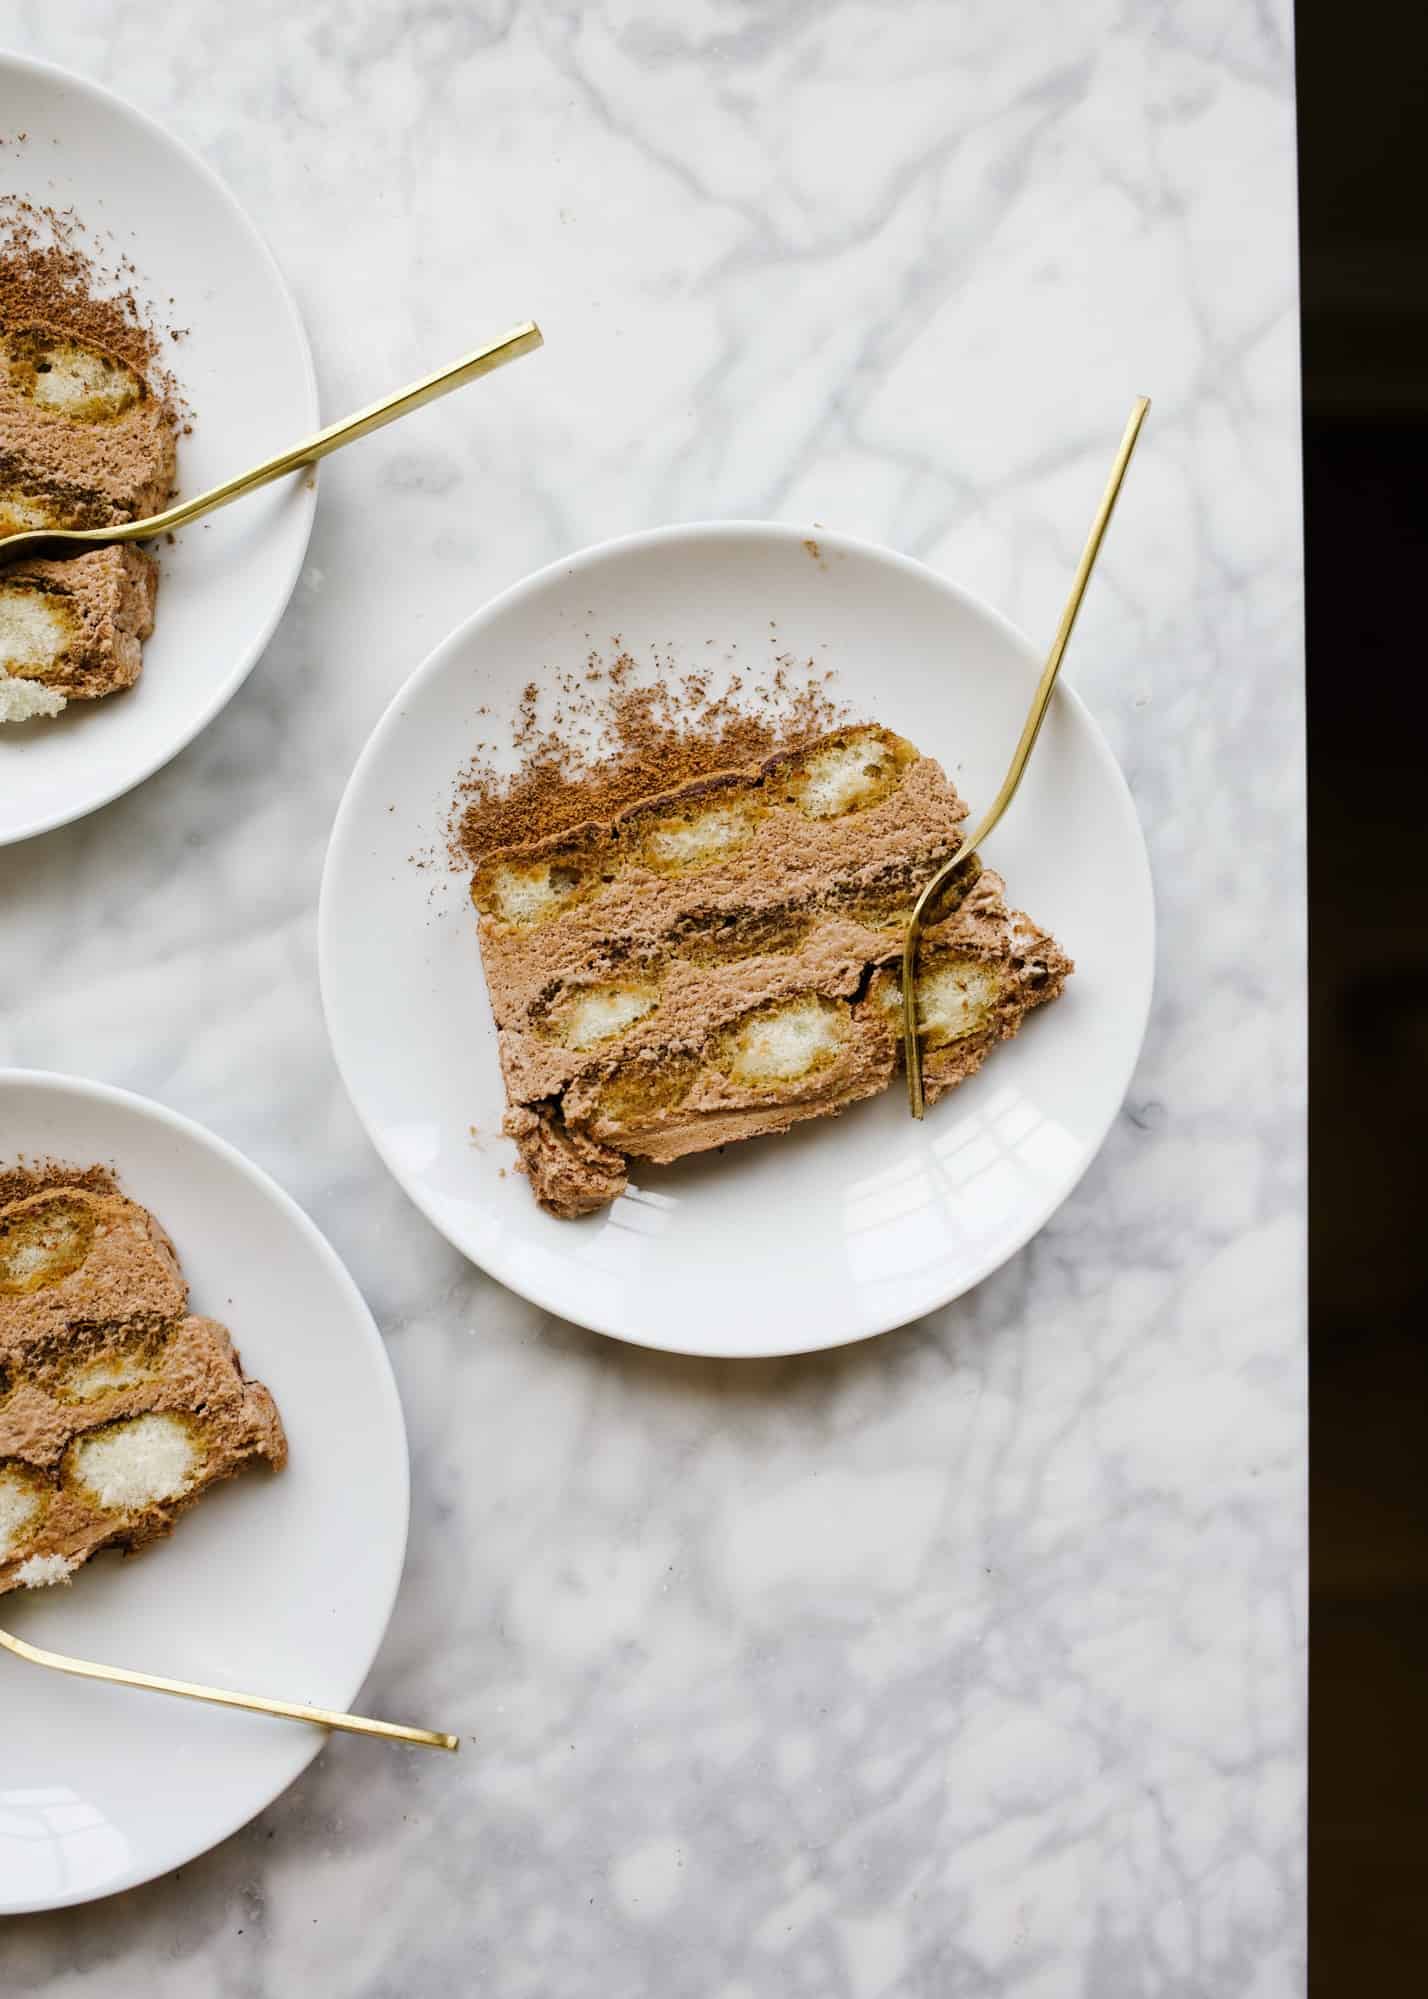
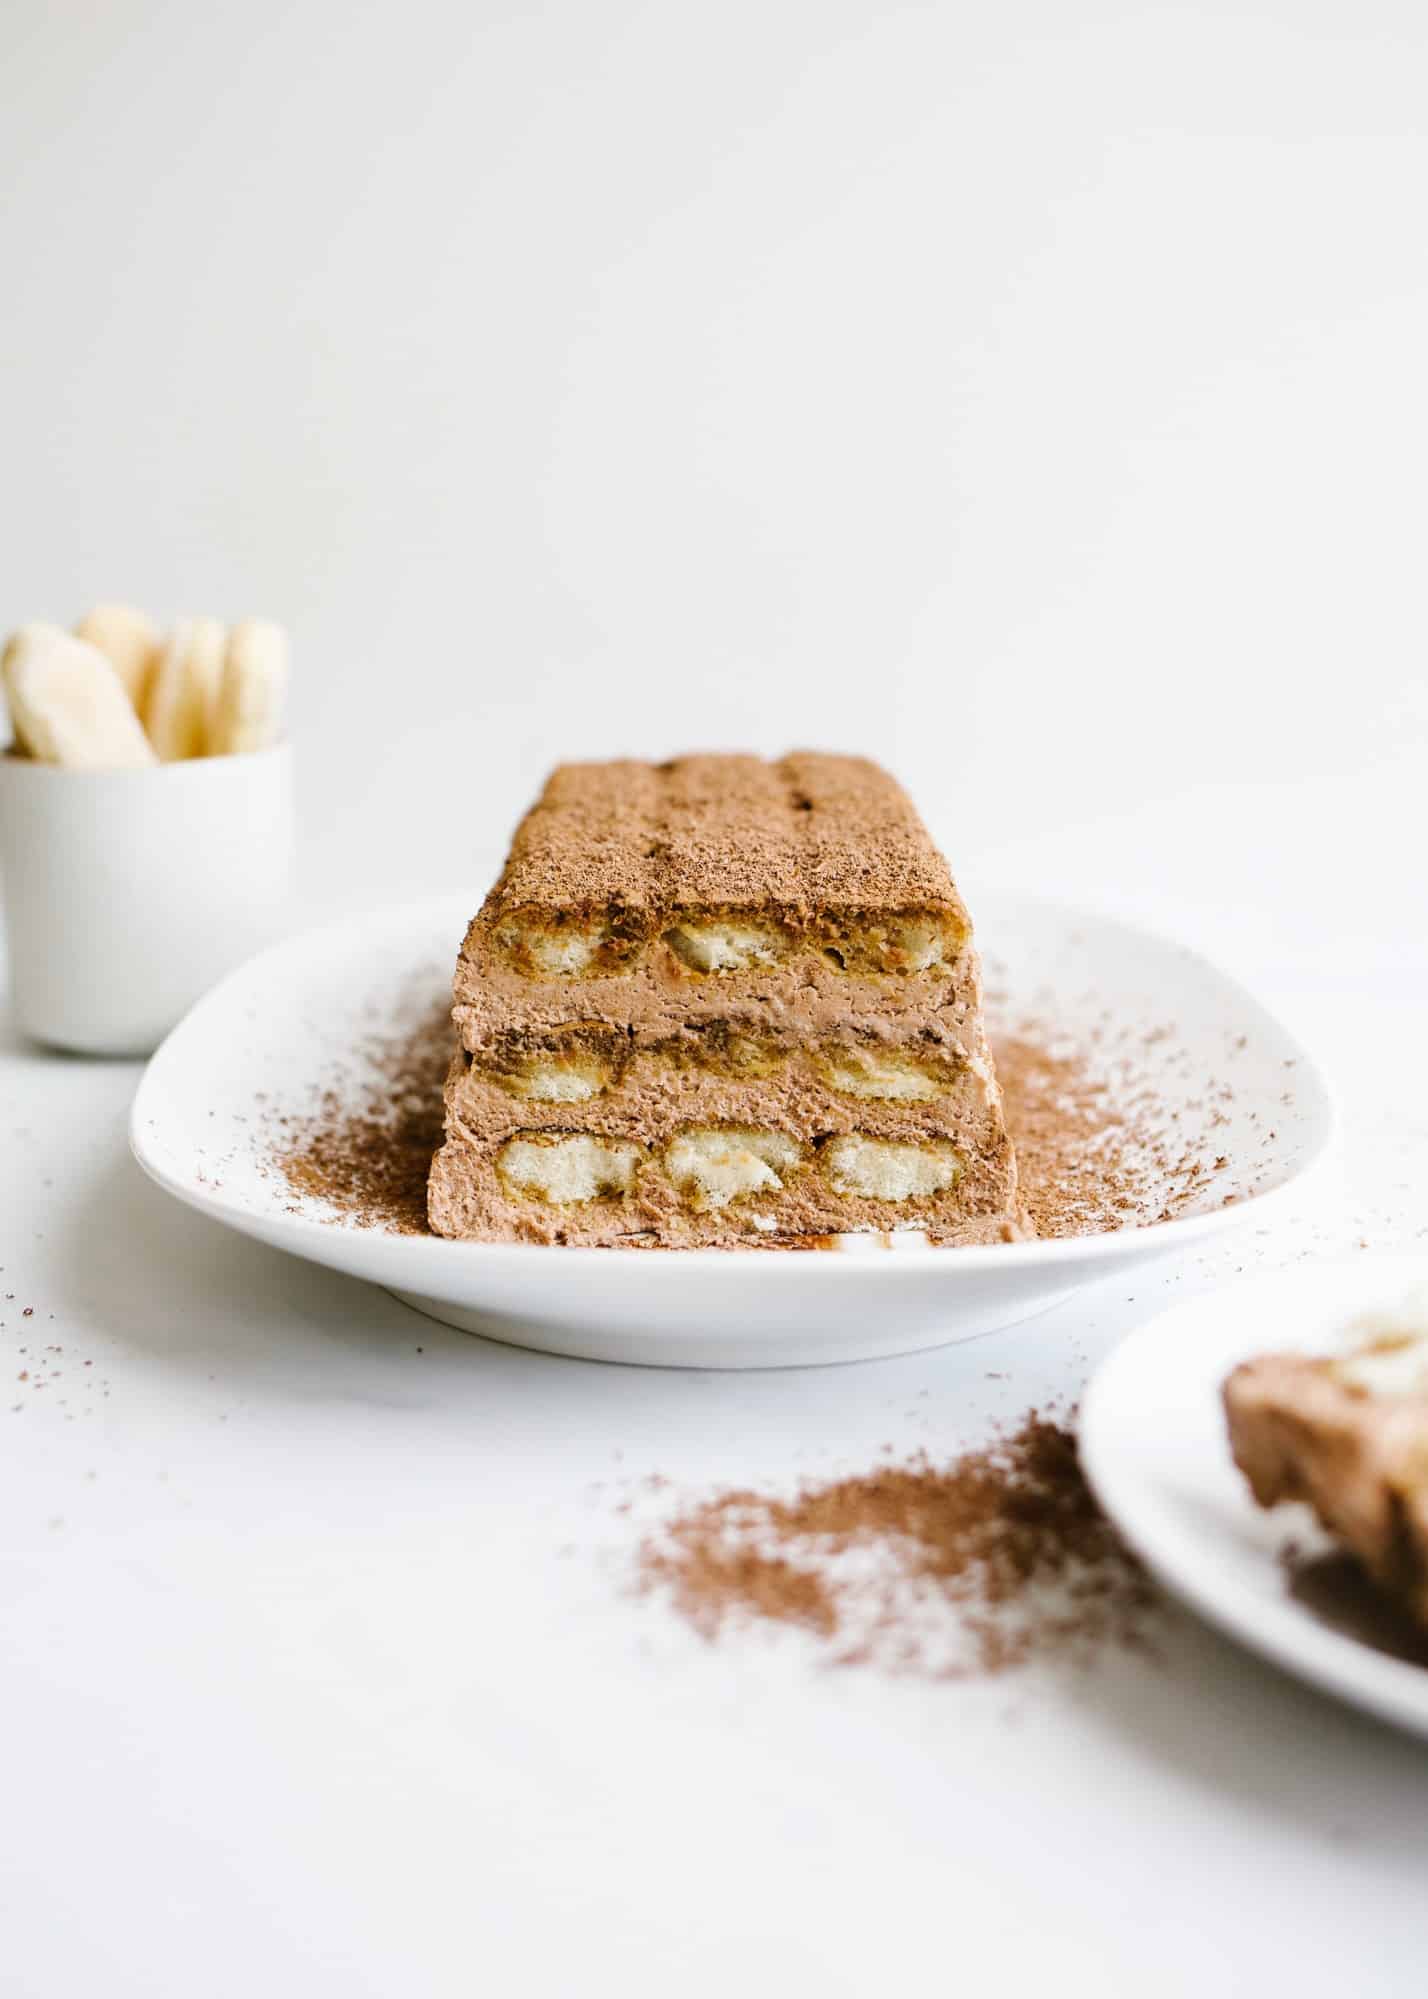
S’mores Hi-Hat Cupcakes
Call me pathetic, but I am 100% trying to be a cool mom. I guess, for now, while my kids aren’t entirely embarrassed of me (yet), I want to be ultra-visible in their worlds. When the teacher needs a Mom to show up, I’m the first to yell, “Pick ME!” When the school says parents can come eat lunch, I’m literally already on my way.
The same goes for school parties. My kids are young, so birthdays, holidays, and random special days get all the bells and whistles. A few weeks ago, Aimee turned 8, and we celebrated with cupcakes and snacks in her classroom. I could have made it easy, buying store-bought cupcakes, or maybe one of those mall cookie cakes. But you know me better than that, right?
Instead, I found the most complicated tie-dyed candy-dipped cupcake on the internet and convinced Aimee that this was “the one.” She took the nibble, so there I was, the day of her party, sweating in the kitchen to impress second graders. Really, I should be embarrassed.

Baking = My Love Language
Baking has and always will be a mode of love for me. Even if the cake comes out dry or the bread craters, the effort really matters. It’s a tangible way I get to show people they matter to me, and can’t we agree that birthdays count for double?
Aimee’s birthday cupcakes were a hit (I think? I hope?), but they triggered a mental rabbit hole of other hi-hat cupcakes. And that, my friends, is how these s’mores hi-hat cupcakes were born.
S’mores Hi-Hat Cupcakes
I’ll be honest: I’m not always on the s’mores train. They’re sticky and kind of a mouthful if you ask me. But I know I’m mostly alone in that, so I wanted to create this recipe for the crazies out there that think s’mores is where it’s at. (Plus, these are so cute, yeah?)


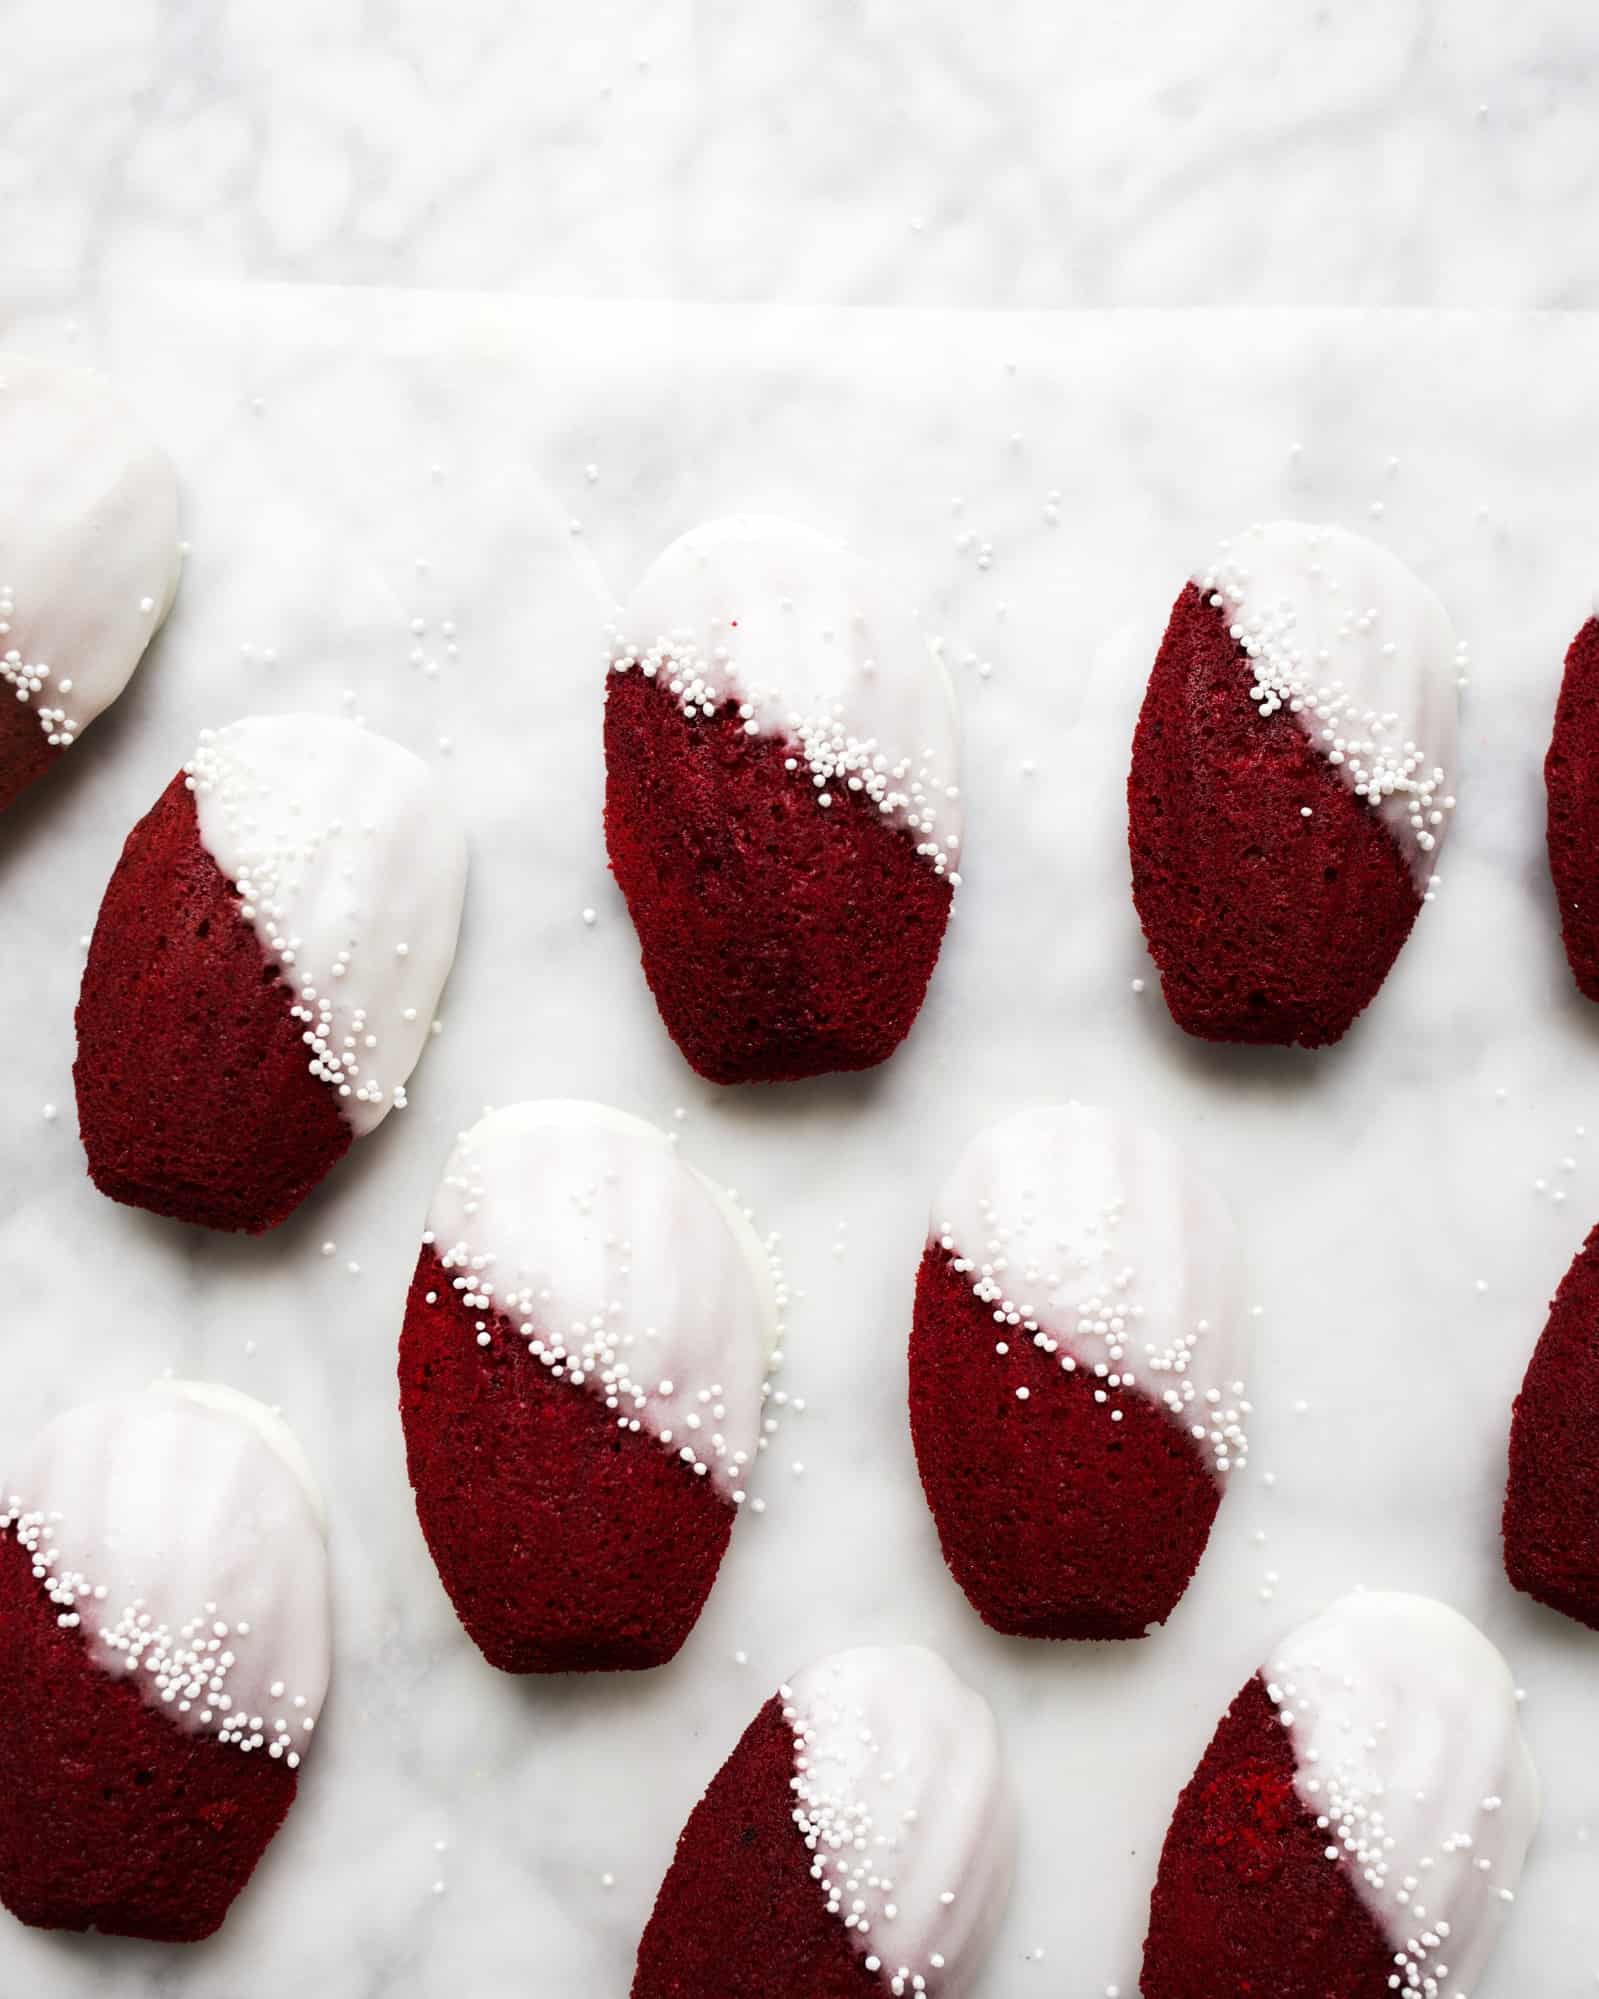
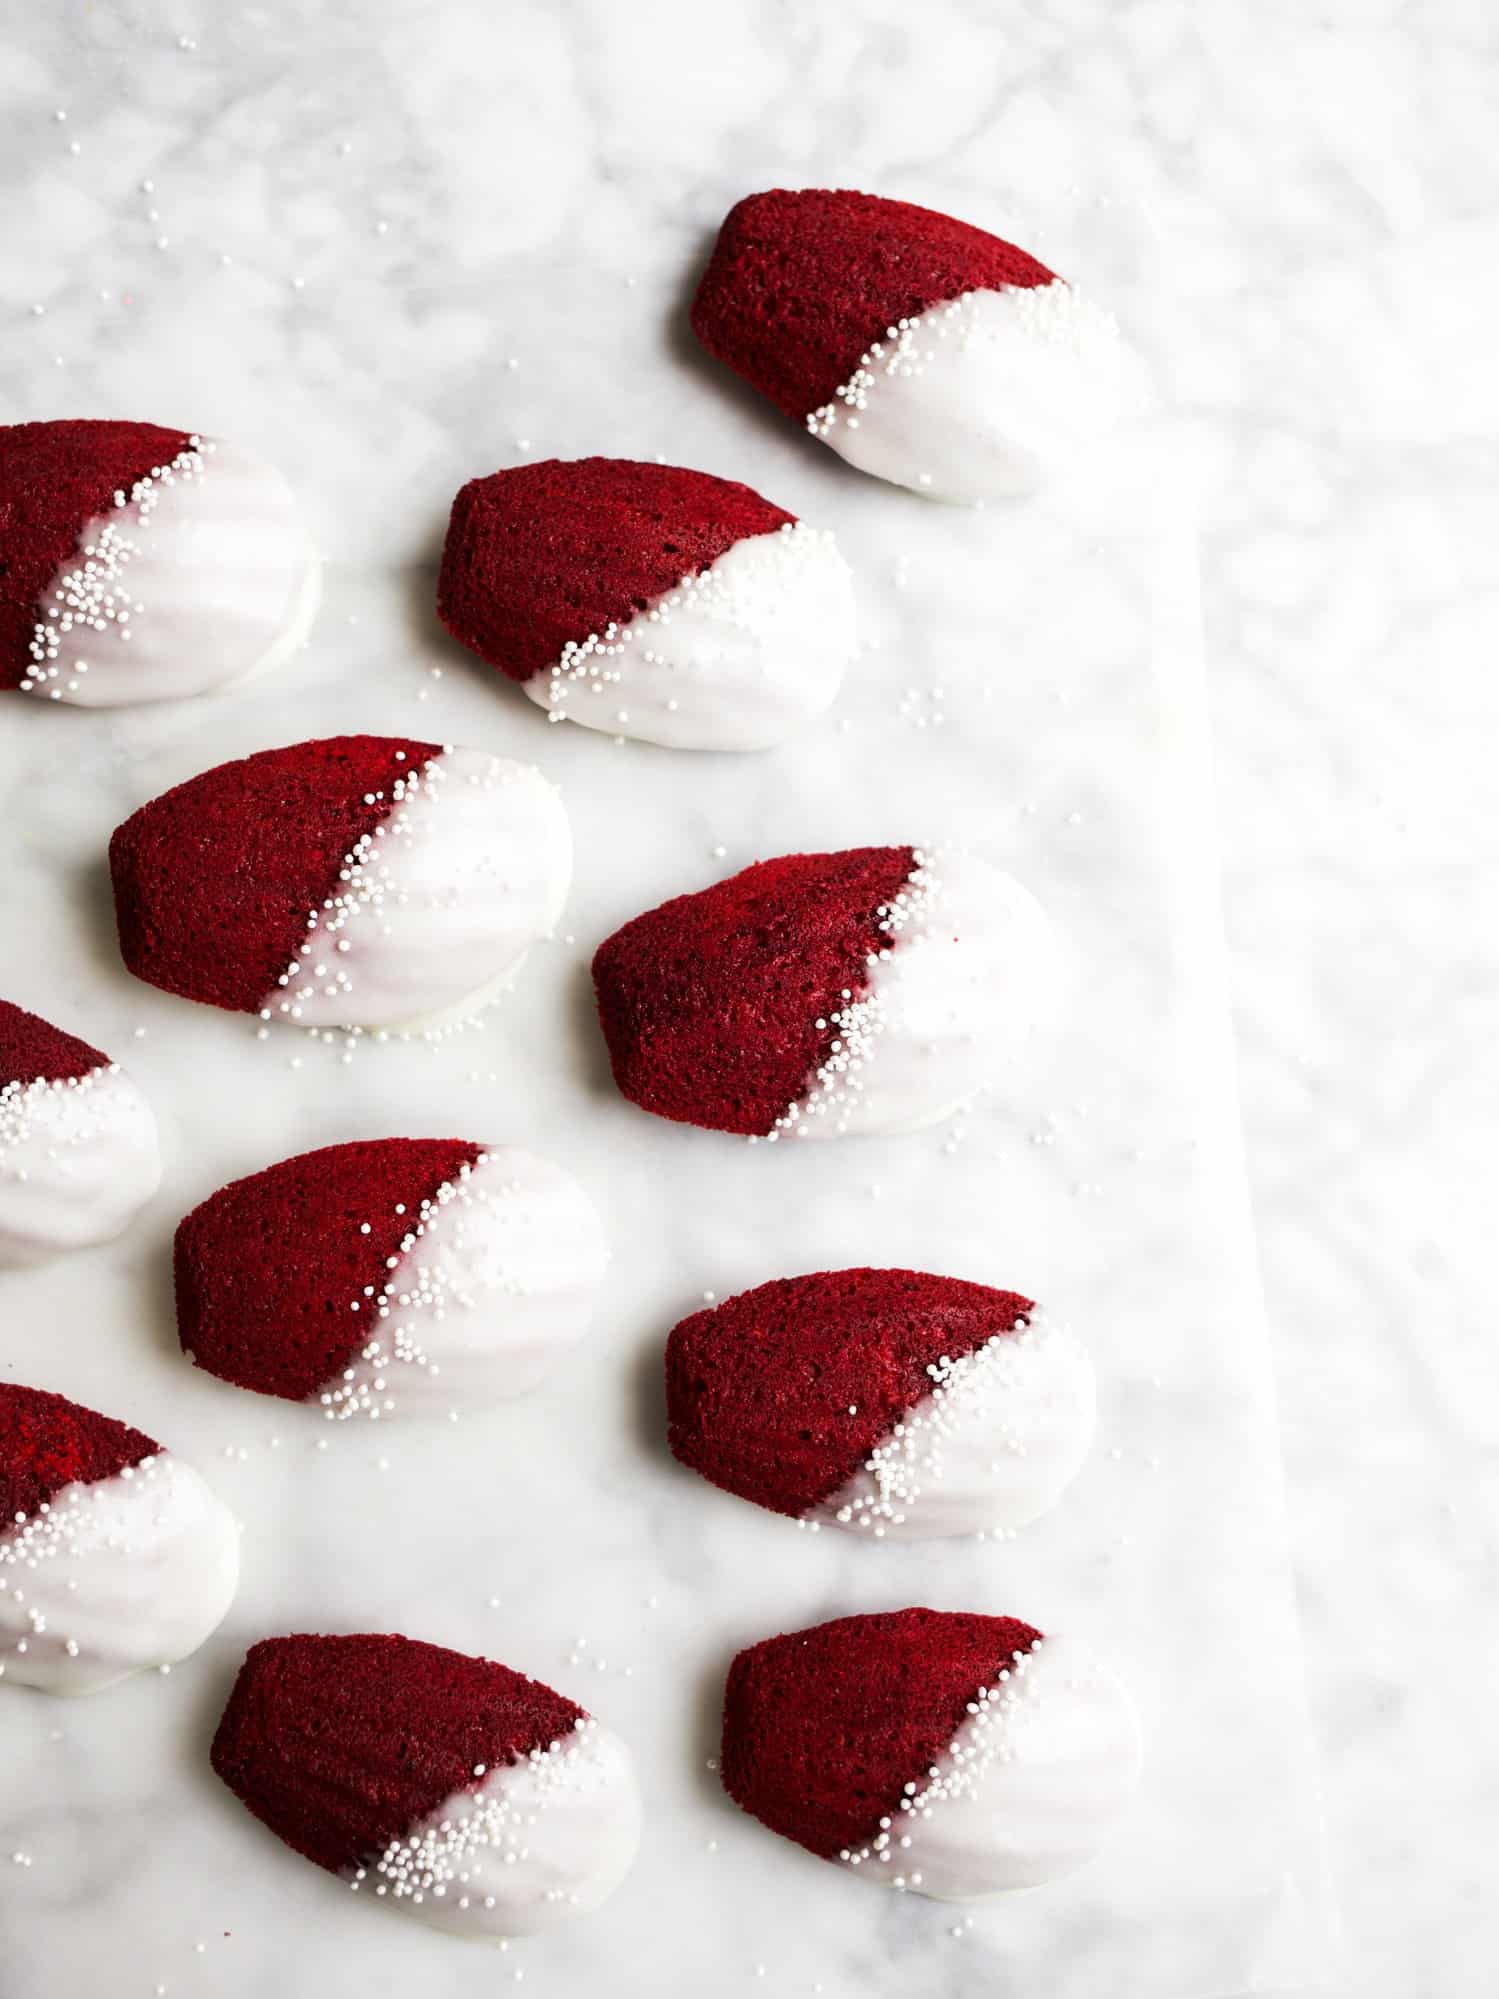
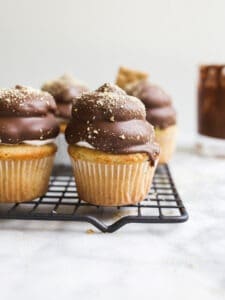
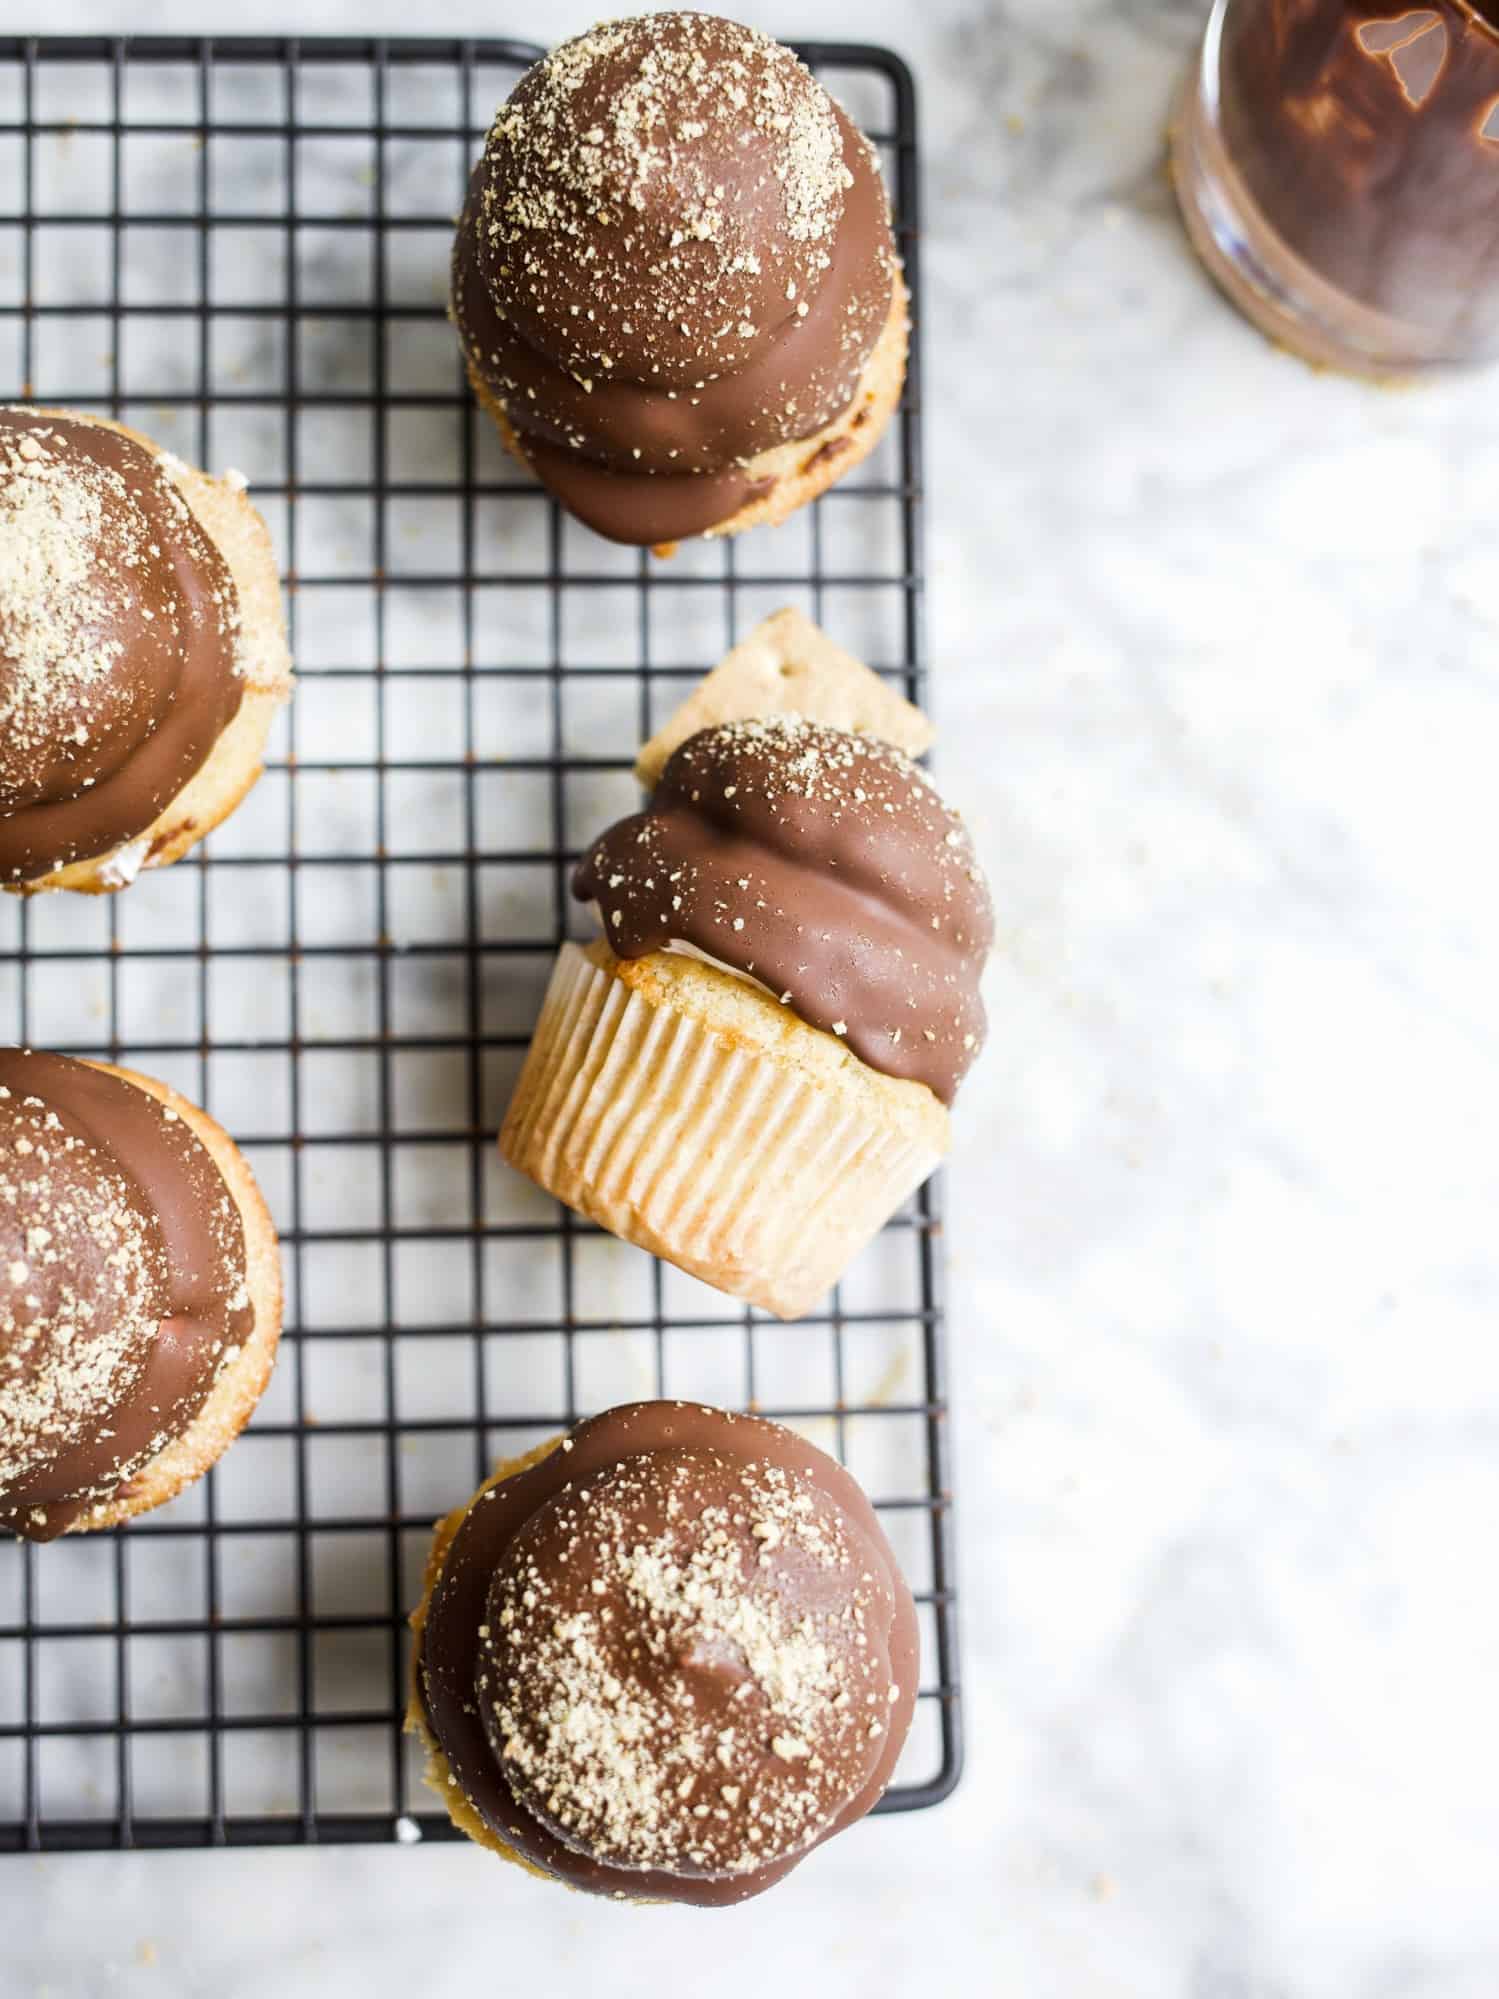
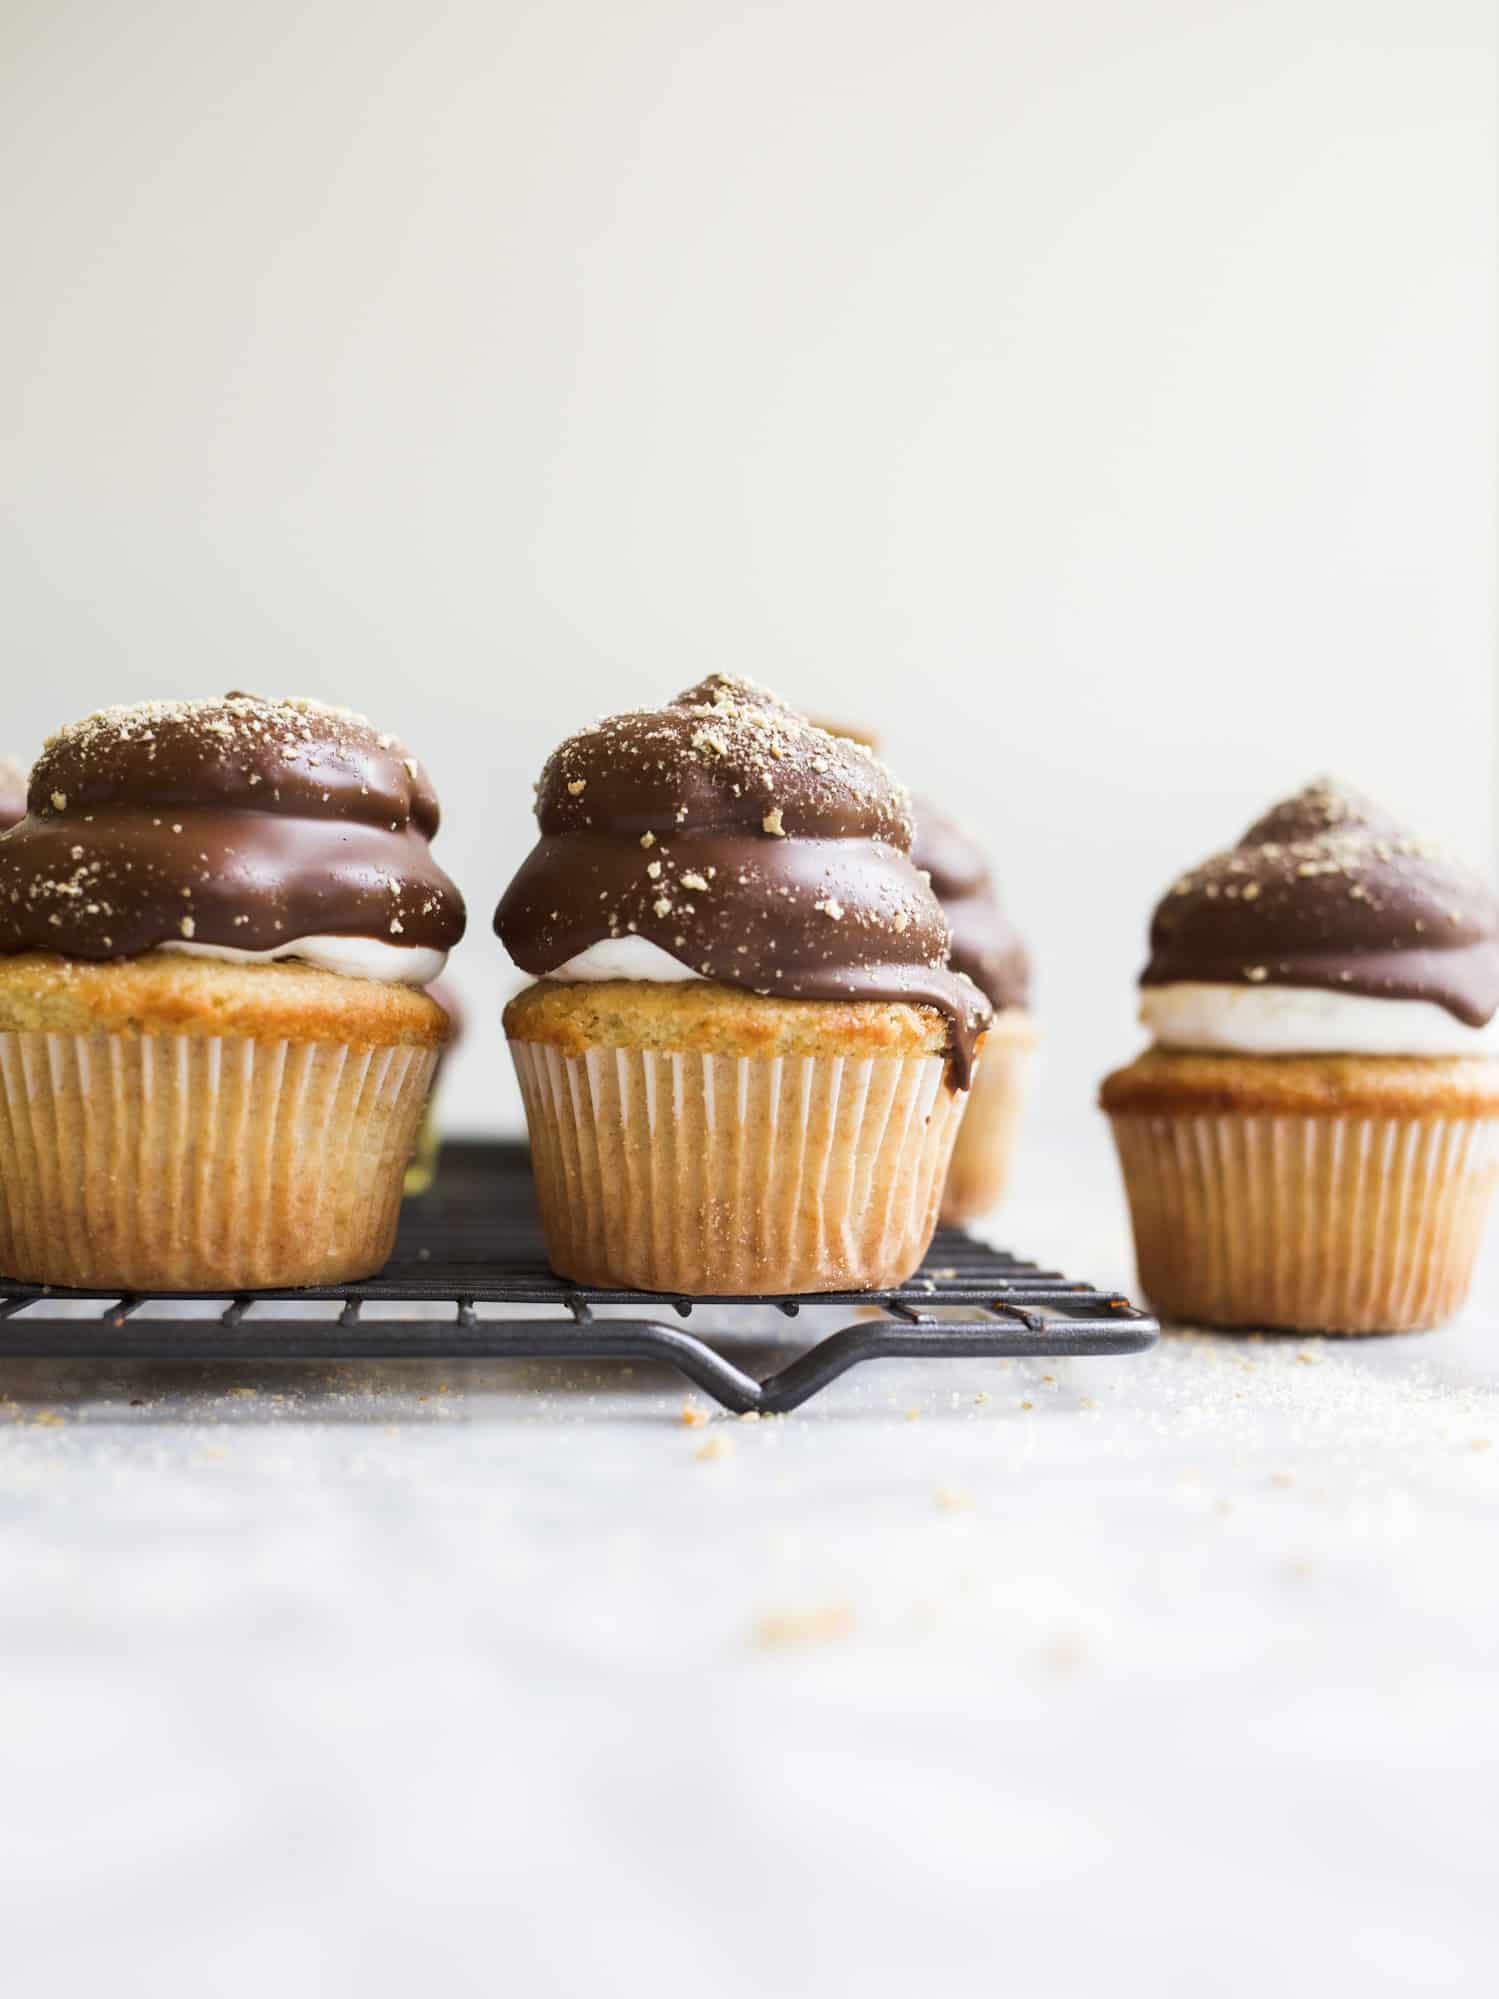
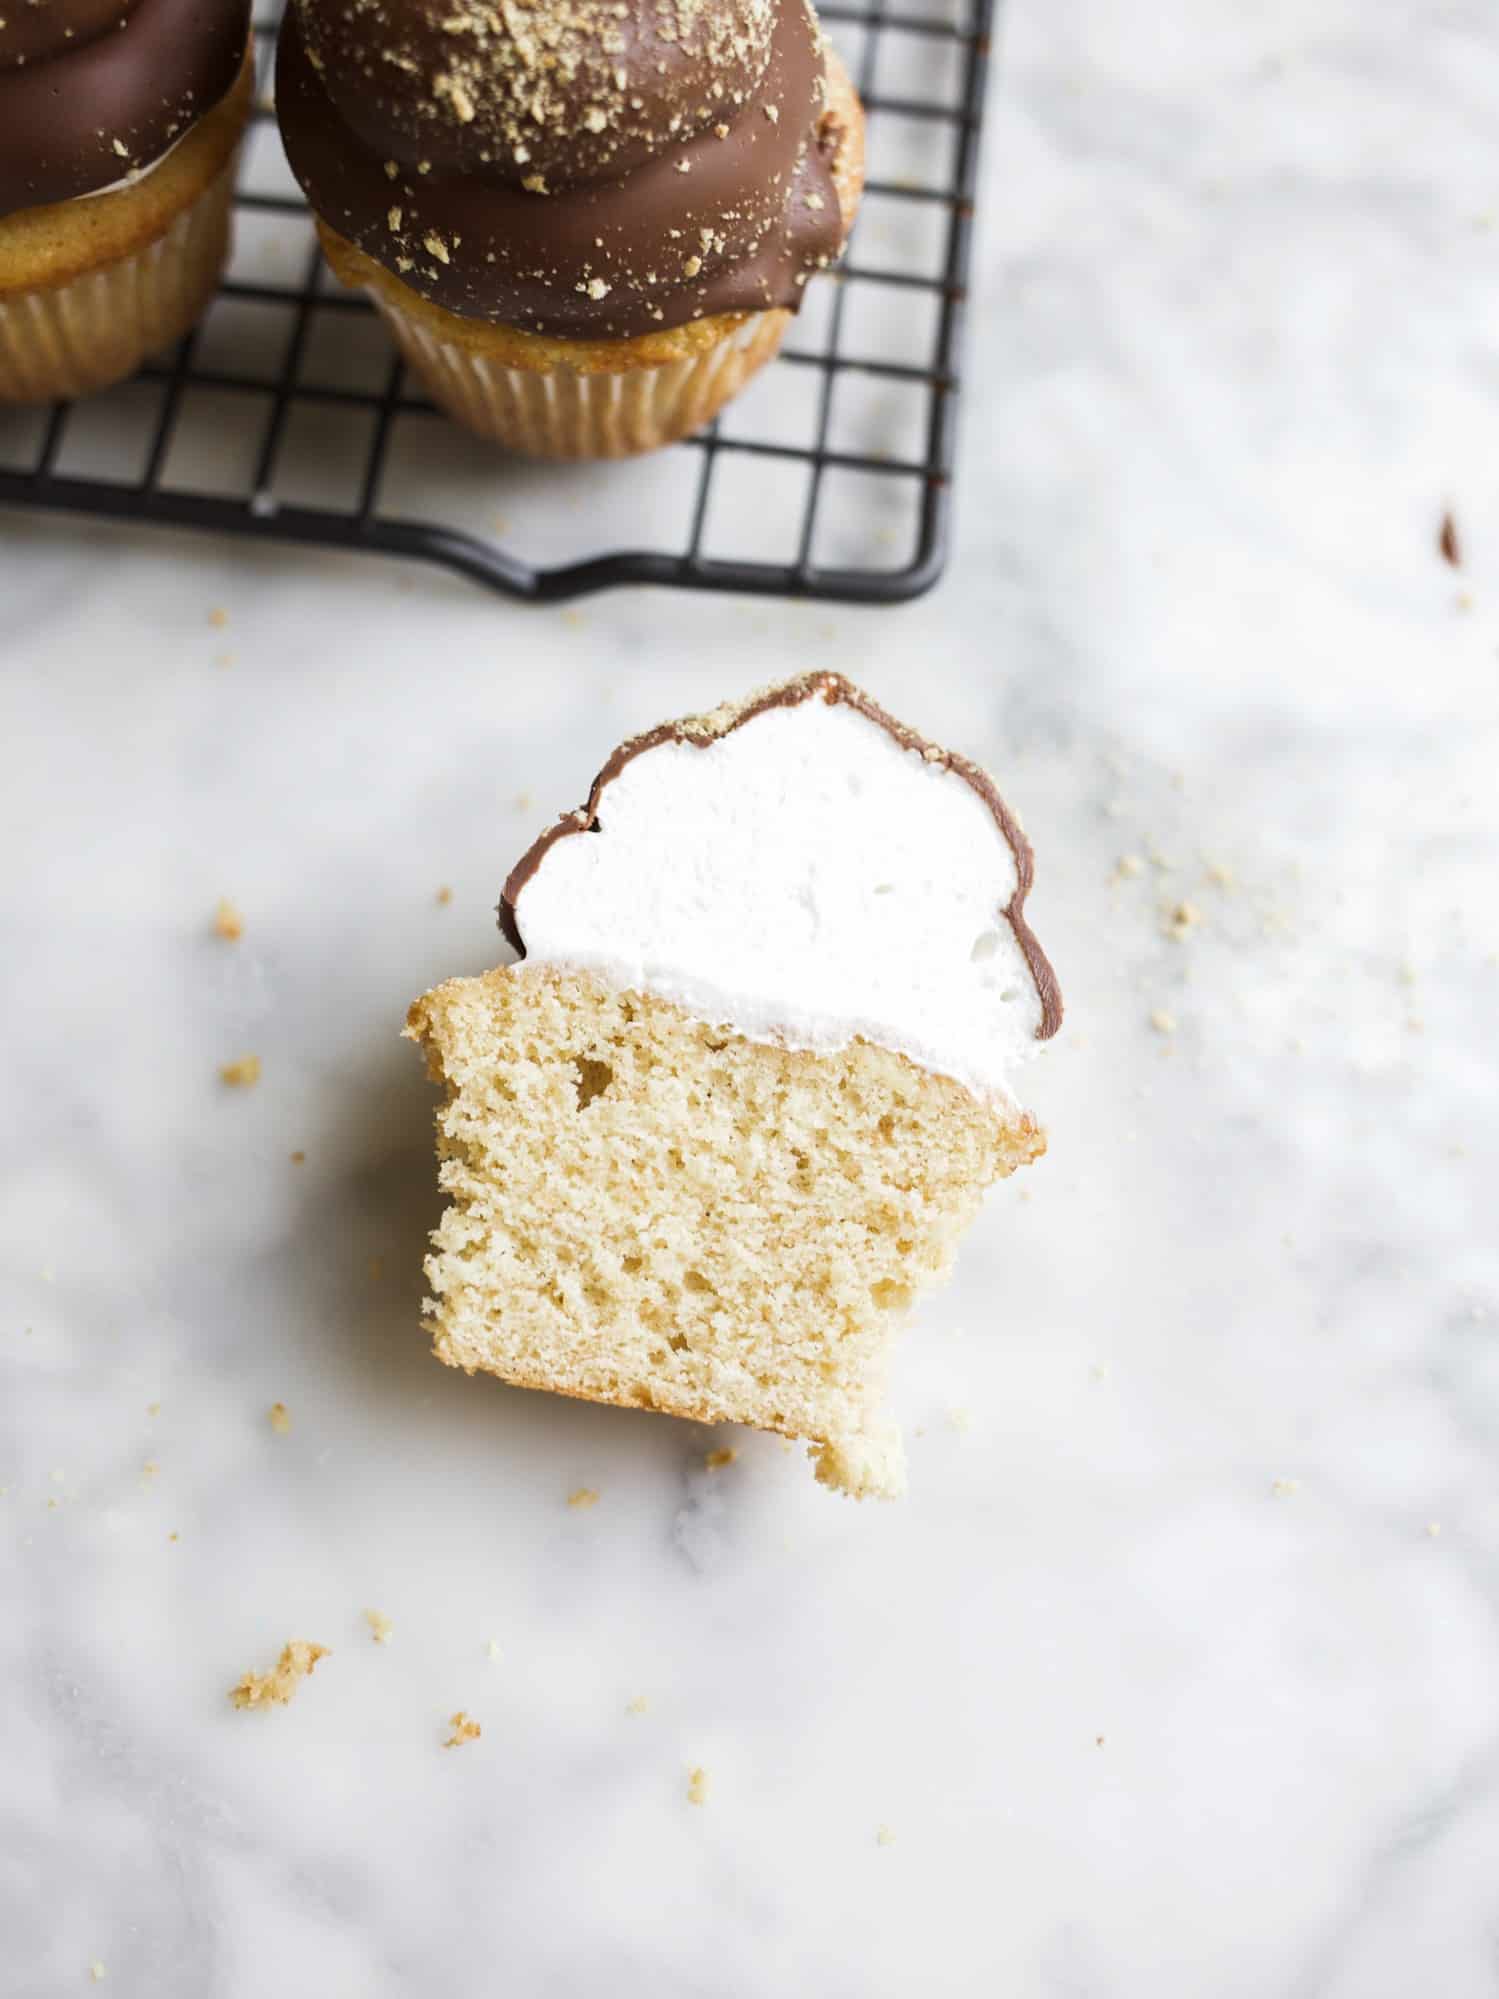
These s’mores hi-hat cupcakes feature a graham cracker cupcake, a marshmallow swirled topping, and a quick dip in a milk chocolate shell. True to their origin dessert, these cupcakes are, indeed, MESSY. But they are good. I’ll give them that. If you’re not a big marshmallow fan, I’d recommend a marshmallow buttercream instead! Whip up a standard buttercream and fold in store-bought marshmallow fluff. Truly, it’s so good. I prefer it to the meringue, honestly, but remember, I don’t love marshmallows anyways.
Show off to your kids, their friends, or whoever with these s’mores hi-hat cupcakes! Impressed or not, you’re a winner in my book either way. Happy baking and happy fall, y’all!
If you like these s’mores hi-hat cupcakes you should try:
S’mores Cheesecake
S’mores Cookies
Sweet and Salty Crispy Rice Treats
S’mores Hi-Hat Cupcakes

These s’mores hi-hat cupcakes feature a graham cracker cupcake, a marshmallow topping, and a chocolate candy shell!
- Prep Time: 60
- Cook Time: 15
- Total Time: 120
- Yield: 12
- Category: Cupcakes
Ingredients
For the cupcakes:
- ½ cup unsalted butter, at room temperature
- ½ cup sugar
- ½ cup light brown sugar, packed
- 2 large eggs, at room temperature
- 1 teaspoon vanilla extract
- 1–1/4 cups cake flour
- ¾ cup graham cracker crumbs
- 1–1/2 teaspoons baking powder
- ¼ teaspoon salt
- ¼ teaspoon cinnamon
- ½ cup milk, at room temperature
For the marshmallow topping:
- 1 tablespoon white vinegar
- 3 large egg whites, at room temperature (see notes)
- ¾ cup sugar
- ¼ cup water
- ½ teaspoon cream of tartar
- 1 teaspoon vanilla extract
For the chocolate topping:
- 1–3/4 cups milk chocolate chips
- 1–1/2 tablespoons vegetable oil
Instructions
To prepare the cupcakes:
- Preheat the oven to 350 degrees Fahrenheit and line a 12-compartment cupcake tin with liners. Set aside.
- In a large bowl or the bowl of a stand mixer, cream the butter, sugar, and brown sugar on medium speed using the paddle attachment for 2 minutes until creamed. Add the eggs, one at a time, stirring on low until smooth. Add the vanilla and stir to combine. In a small bowl, combine the cake flour, graham cracker crumbs, baking powder, salt, and cinnamon. Add half of those dry ingredients to the butter bowl, stirring on low to combine. Scrape the sides of the bowl and add half of the milk, repeating with the remaining dry ingredients and milk once combined. Scarpe the sides of the bowl and fold in any unincorporated bits. Use a large cookie scoop to portion the batter between the 12 tins. Bake in the preheated oven for about 16 minutes or until a toothpick inserted comes out clean. Allow to cool completely.
To prepare the marshmallow topping:
- Place a small saucepan with an inch or two of water on the stove on low heat. Fold up a paper towel and dampen it with the vinegar. Wipe down the inside of a metal mixing bowl (or the bowl of your stand mixer) as well as the whisk attachment for your mixer. (This cleans your bowl of any residue that may prevent your egg whites from fluffing. Once cleaned, add the eggs whites, sugar, water, and cream of tartar to the bowl. Place over the pot of water to set up a double boiler, being sure that the bottom of the bowl isn’t touching the water. Begin whisking gently regularly until the sugar completely dissolves, about 4-5 minutes. You can test the mixture for dissolved sugar by carefully rubbing a small amount of the mixture between your fingers- it should be smooth. Place the bowl on the mixer and begin whipping on high speed until the mixture fluffs to stiff peaks, about 9-10 minutes. Put the marshmallow topping into a piping bag fitted with a large tip and pipe the mixture onto the cooled cupcakes as desired. Once done, put the cupcakes into the freezer to chill briefly, about 15 minutes, while you make your chocolate topping.
To make the chocolate topping:
- Combine the chocolate chips and oil in a microwave safe medium-sized bowl. Heat gently in 30 second increments (to prevent the chocolate from seizing) until the chocolate is melted and smooth. Pour the mixture into a glass or small bowl that you can dunk the cupcakes into. Once the cupcakes have chilled for a few minutes, quickly and carefully invert each one into the melted chocolate, dusting the finished tops with extra graham cracker crumbs if desired. Pop in the freezer again briefly to set up the chocolate and then serve! Cupcakes are best eaten the day they are assembled.